User Guide
Step by step guide - version 1.0
HR Managementback to top
Employee Managementback to top
Basic Configurations
Constant
HR Management ->Employee Management -> Base configuration -> Constant
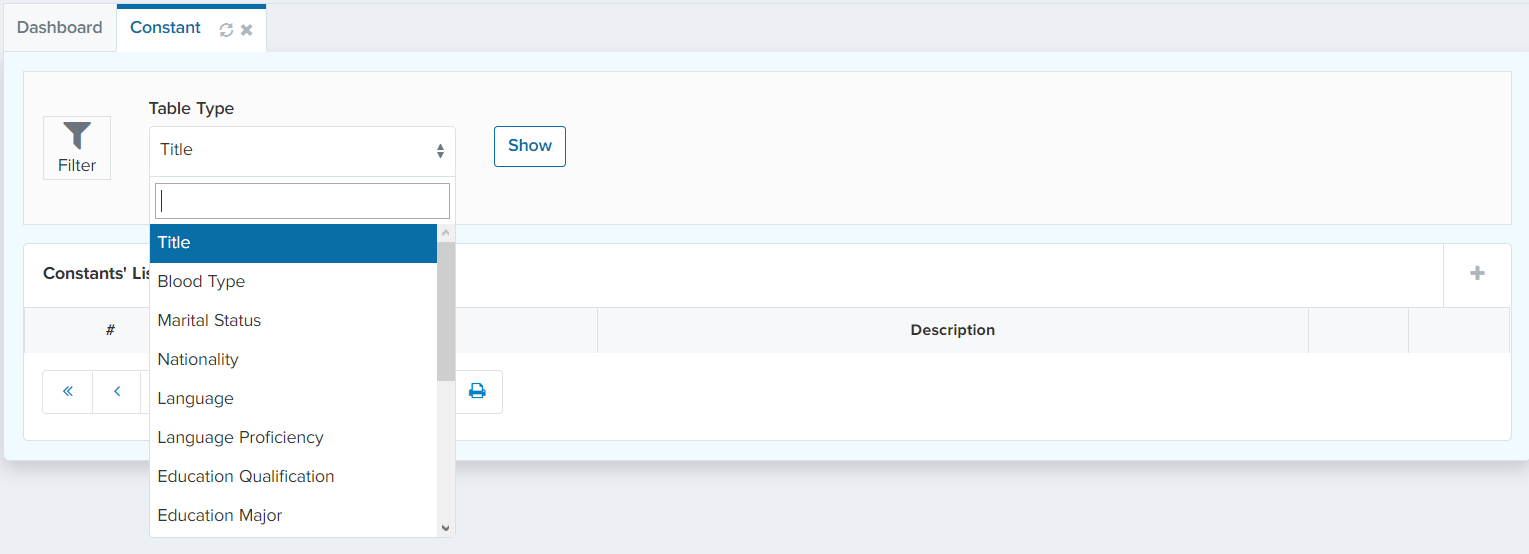
Constant is a value that cannot be altered during normal execution. You are able to define a new constant by clicking on “+” sign. There are several different types such as; title, blood type, marital status, nationality, language, language proficiency, education qualification…etc. You can add a new value by typing the new value in “value” section. Then, click on “Submit”. You are able to see the list of all defined constants in “Constant List”. For example, you are not able to create a person/employee without setting some of these constants.
Departmet
HR Management ->Employee Management -> Base configuration -> Department
Department is the list of all defined departments and sub-departments in a hierarchical order.
For adding a new department click on button. A new tab will appear on the right side of the screen which is shown in the below figure.
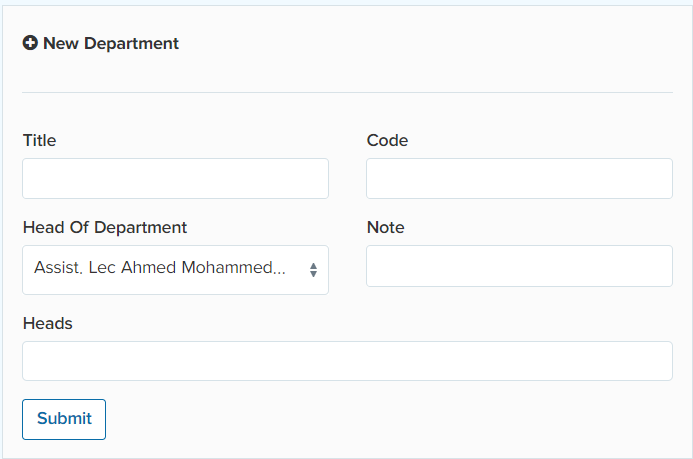
Head of Department has the ability to oversee the activities of his/her employees. You can provide a title, code, and identify Head of Department in this tab. In addition,
for deleting and editing a department, right click on the department. Moreover, for adding a sub-department click on the specific department  click on the specific department
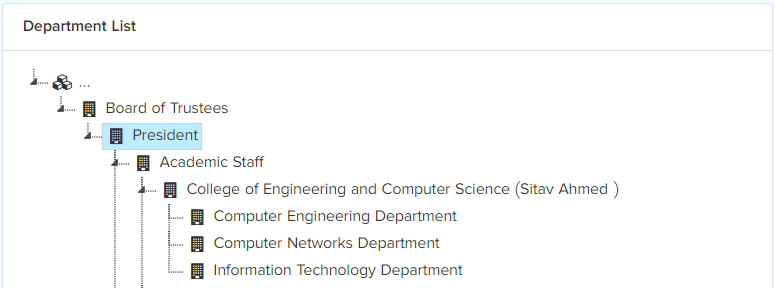
For instance, Sitav Ahmed is head of College of Engineering and Computer Science . She has the access to see all of the sub-departments under college of College of Engineering and Computer Science along with their activities.
Anybody with the access of Heads will be able to see the activity of another department even if you are not the head of that department. And also for viewing all departments’ activities you should set the user type on “System” in access management.
Grade and level
HR -> Base Configuration -> Grade and level
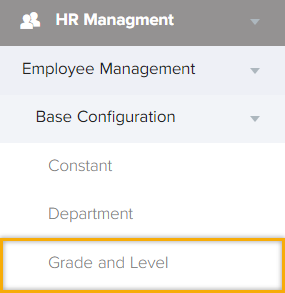
This tab consists of the grades and levels, for defining them click on the “Grade and Level” tab. After that, the below window will pop up.

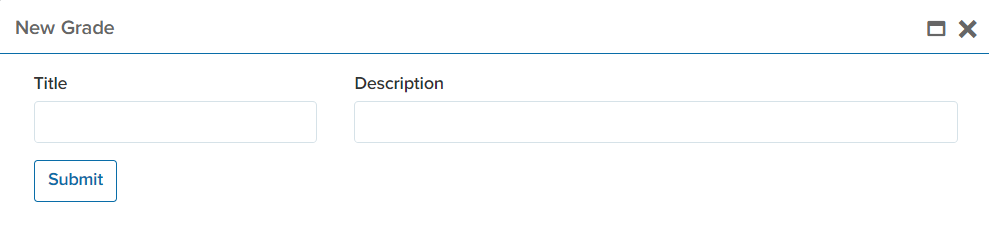
Click on the “+” sign. After that the below window will appear. Write the title and a description if needed. Then, hit the “Submit” button.
After submission, you are able to add a level to it by clicking on the  as shown below.

Following that, the below tab will pop up and you are required to define the title and base salary for this specific level. And hit the “Submit” button.
This data will appear in the employee tab.
Leave Category
How to define a Leave Category?
HR Management -> Base Configuration -> Leave Category
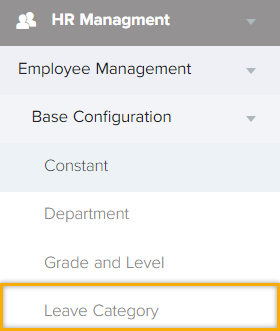
In this tab we will explain the setup of a leave request which is a specific opportunity and formal process within a workplace for an employee to inquire about a set of paid time with management approval. The workflow of a leave request is defined according to the department’s request. After clicking on “Leave Category” a window will pop up which is shown in the below figure.

By hitting the “+” sign you will be able to define a new “Leave Category”
This list consists of several fields which are required to fill in:
Title: a title for the leave category.
Period: is the duration of time for which leaves are allocated.
Allowed request type: : in this field, the request type should be defined depending on the requirements whether it is daily, hourly or minutely. For instance, summer leave is a break between the academic years which is annually. In this case, the allowed request type should be in days.
Balance: is the number of days of the leave.
Maximum Transferrable: is the number of hours remained from the previous year that are required to transfer to the next year.
You are able to add attachments if needed by ticking  button. Lastly, hit the “Submit” button.
Workflow
How to define a workflow?
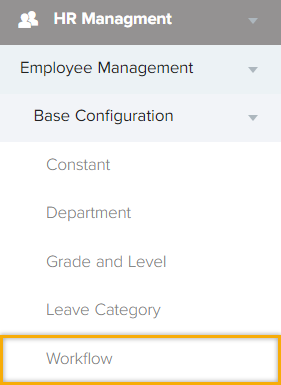
HR Management -> Base configuration -> Workflow
In this tab we will explain how to define a workflow (Hevra-ERP supports the workflow of over work, leave request, job vacancy)
Job Vacancy: is defined as a paid post that is newly created for which the employee is taking active steps for finding suitable candidate from outside the enterprise.
Leave Request: is an official process usually includes a formal written leave request/leave of absence by an employee to a supervisor/manager.
Over Work: refers to any hours worked by an employee that exceeds their normally written schedule. If you define a workflow for overtime and if an employee exceeds their working time (based on their shift and attendance) the extra time will go through an approval process.
The organization/company is able to define three types of workflows for the whole organization/company. Nevertheless, each department is able to define 3 different types of workflows.
How to add a new workflow to the system?
HR Management -> Base Configuration -> Workflow
For adding a new workflow, hit the “+” sign. The below table will appear
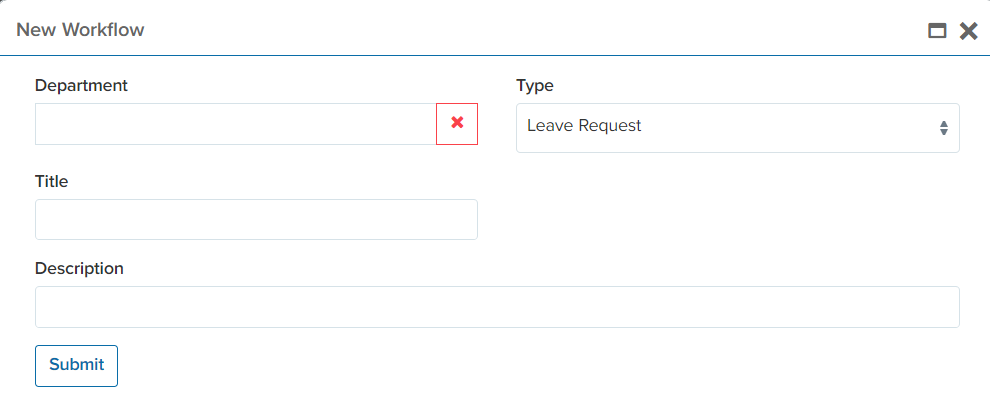
Define the department and the type of the workflow as well as giving a new name to the process. After that, hit the “submit” button.
After performing this action, you are required to add members to the workflow
by hitting  which is shown in the below figure

Click on the “+” sign to add members to a specific workflow. You are required to define members with specific criteria. For instance, you want the workflow to progress from one member to another as well as defining a set of criteria. In this case, member A is adjusted to receive the request if it is between 1 to 3 days. However, member B is adjusted to receive the request if it is more than the specific period of time
People/Employeeback to top
How to create/add an employee/person to the system?
HR management -> People/Employee
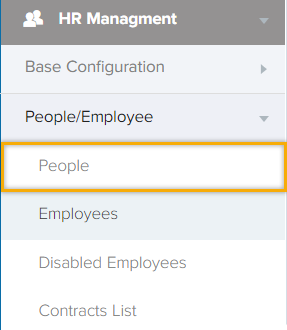
People
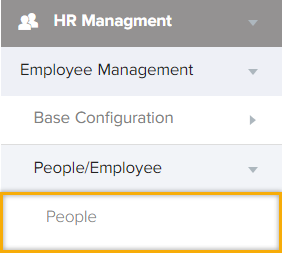
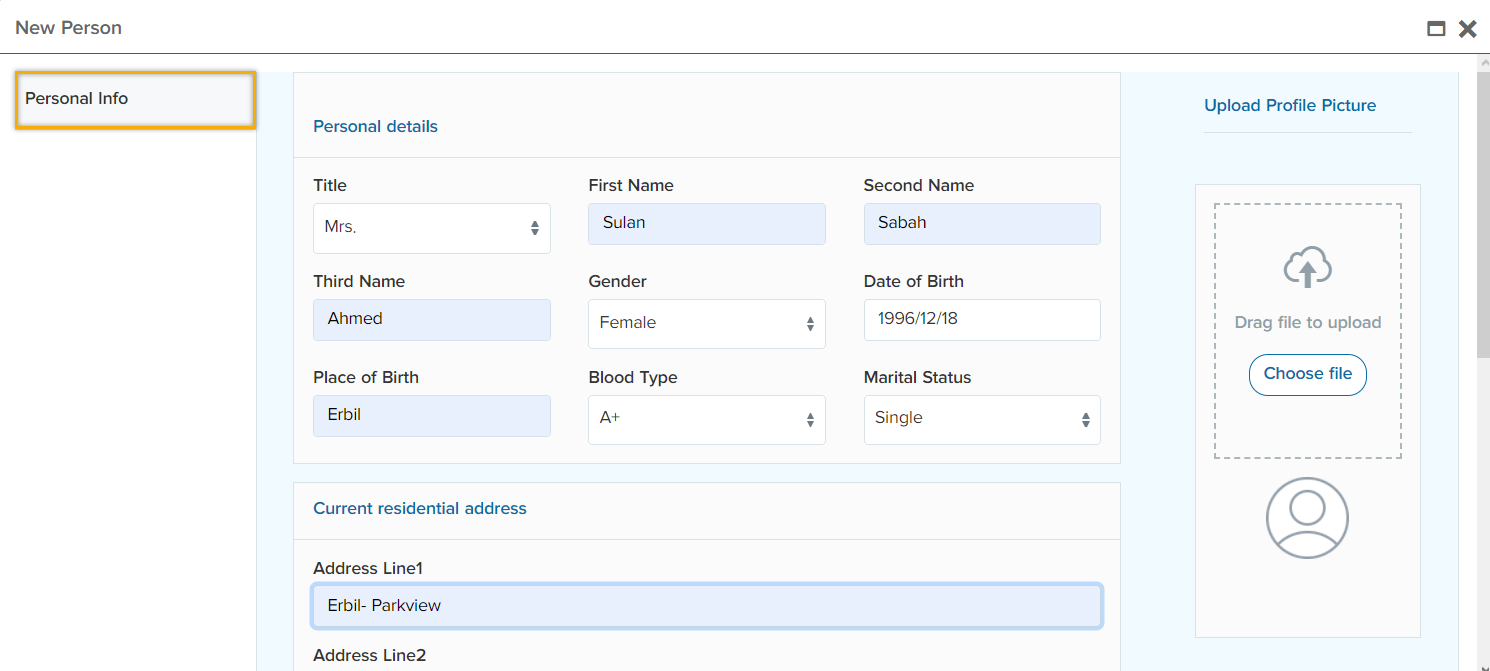
In this tab, you can define a new person to the system by clicking on “people”. Following that, click on “+” sign to complete the required information.

After hitting “+” sign, the below window will appear. After completing the required information, click on “Submit” to add a new person to the people list.
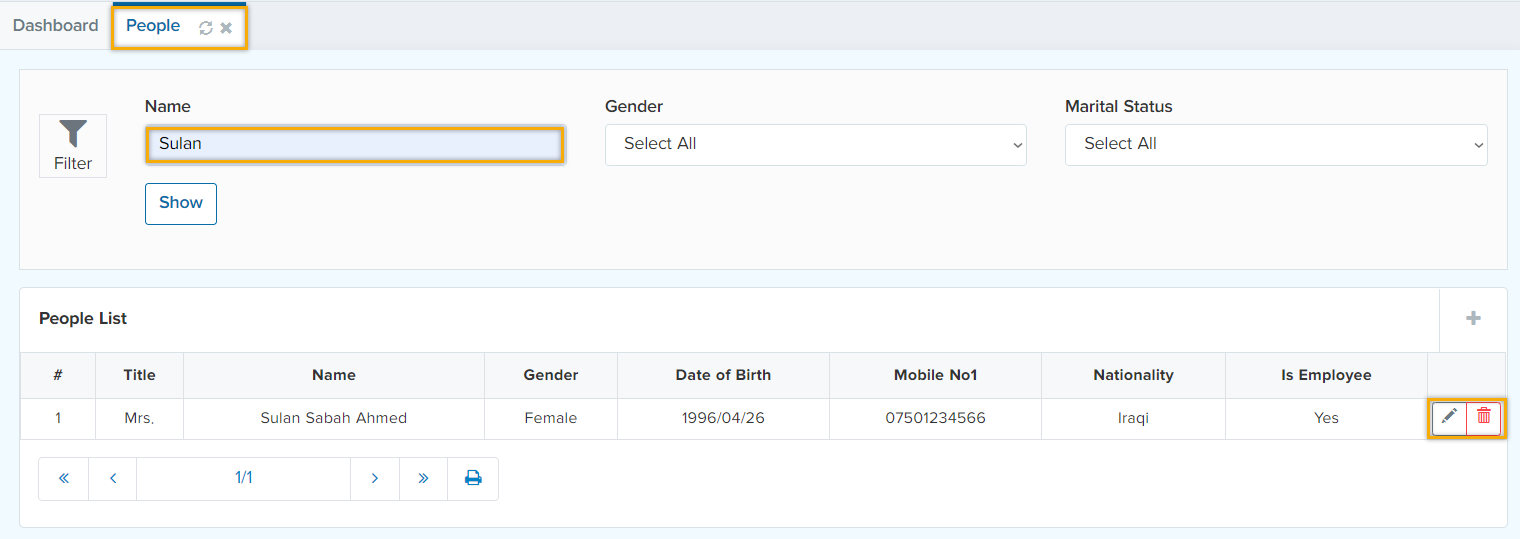
To change people to an employee, go to “People” -> “People List”. Filter the name by hitting
“show” button. Afterwards, hit the  button to edit the information. The below figure shows the step-by-step procedures.
After hitting  button, the below window will appear with a bunch of different fields.
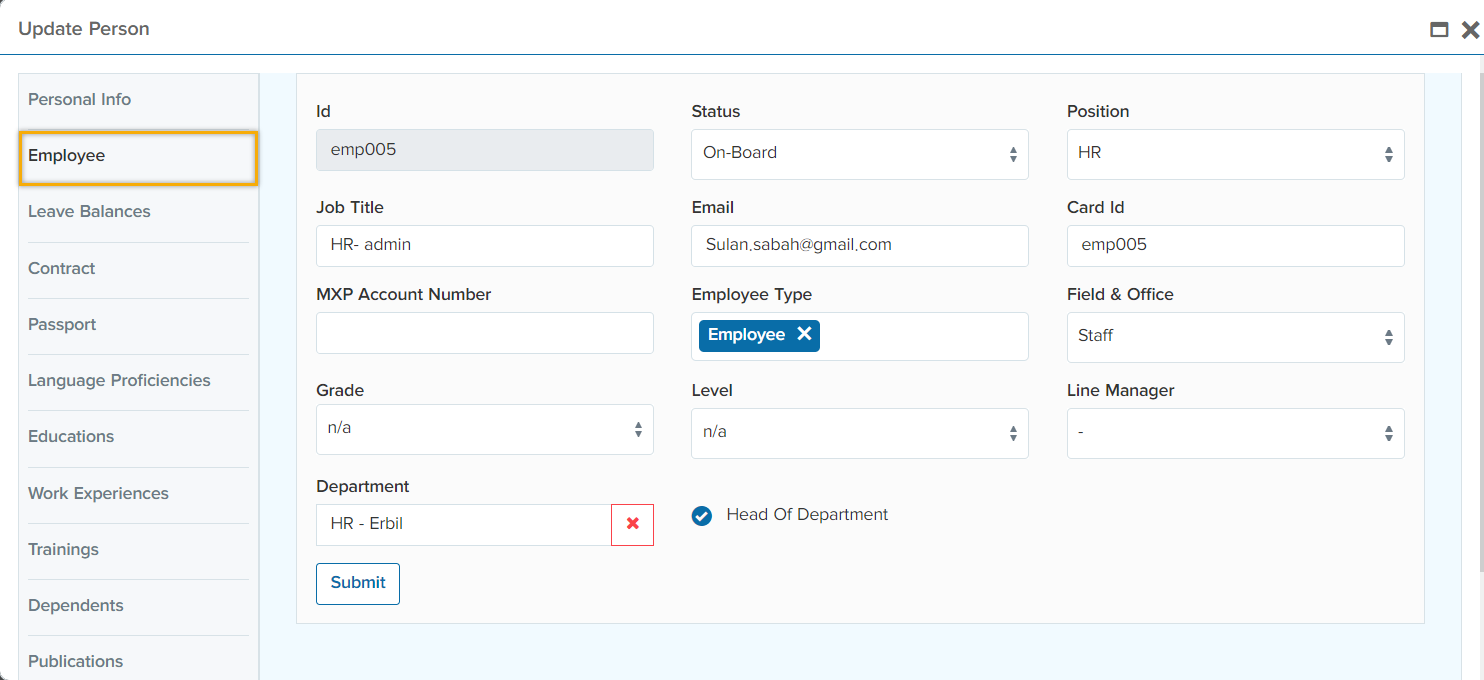
ID (Identity Card) refers to a unique code that is given to the employee by the (Organization/Company) which differs from one employee to another. In addition, the employee’s position,
department, job title, email address, grade and steps and field & office should be defined. Employee absenteeism is a significant issue in most organization/companies; therefore, the ID card of the employee should equal to their attendance ID as it has an impact on their salaries.
Furthermore, state the employee’s line manager and tick  check box if the employee is head of department. Finally, click on “submit” button. As a consequence, the employee will appear in the “Employee” tab.
Employee
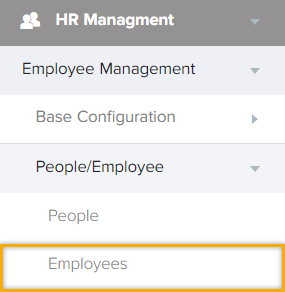
In this tab, you will be able to see all the employee including their full info as well as a filter to narrow down the records. In addition, you are able to view the employees leave balance as well as operating their payroll list. You are also able to set a password for the employee’s account by clicking on
 and the next tab will show up

In this tab you are able to set the password and a role in order to set the access and authentication of this employee. You have the control over your employee’s access by giving them the roles which are being done in Access management.
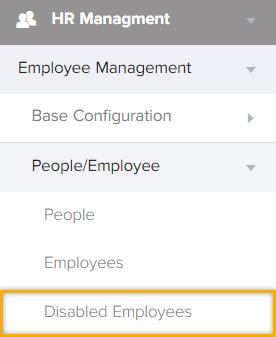
How to disable an employee?
HR management -> People/Employee -> Disable Employee
Filter out the employee by typing their name/Id and then hit  button. Following that, the below window will appear.

Clic on  to disable the employee. After this action, the employee will be disabled and will automatically go to “Disabled Employee” tab.
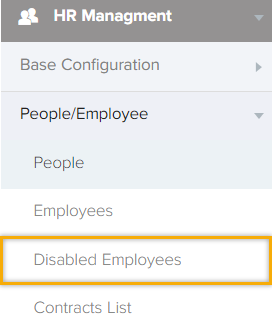
In “Disabled Employee” tab, you can enable an employee back by hitting  button as shown in the below figure.

Contract List
Request Managementback to top
HR Management -> Request Management
Apply, approve, reject, and manage leave requests from any place, any time, from any device and track the progress of your leave requests and cancellations instantly.

New leave request
For requesting a leave first click on Leave management tab and then New Leave Request. After clicking on this tab, the below tab will appear which shows all leave categories along with the remained balance and used balance will be shown.
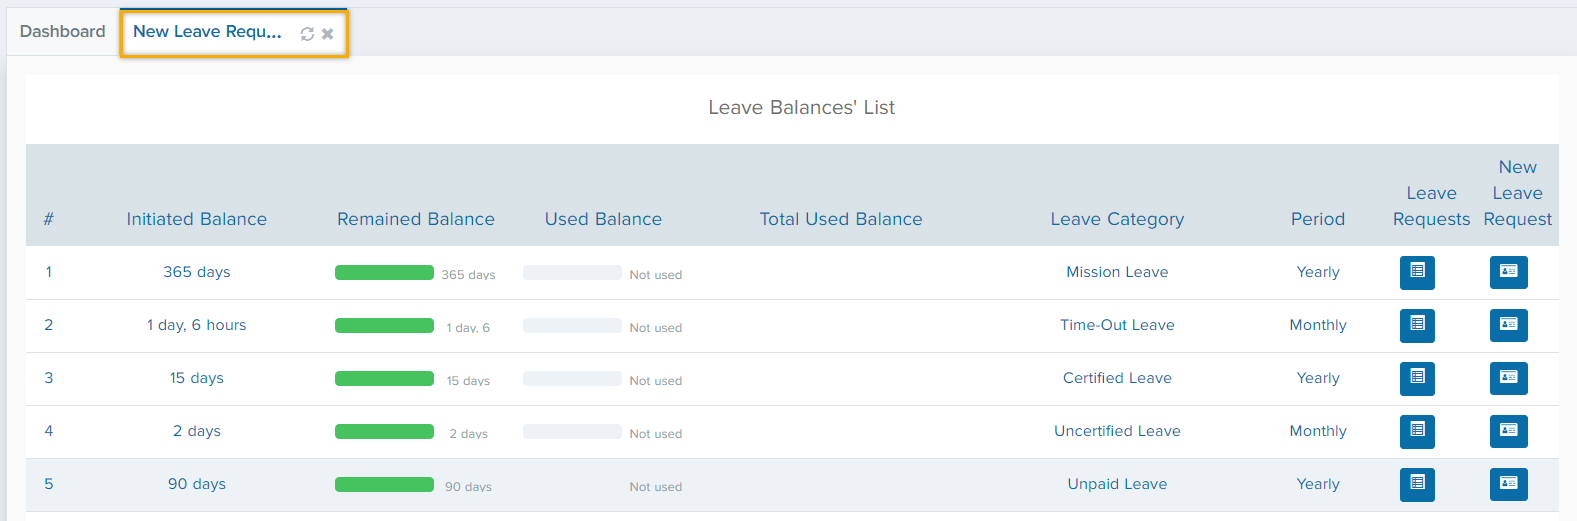
By clicking on this button  after that the below tab will pop up.
My leave request
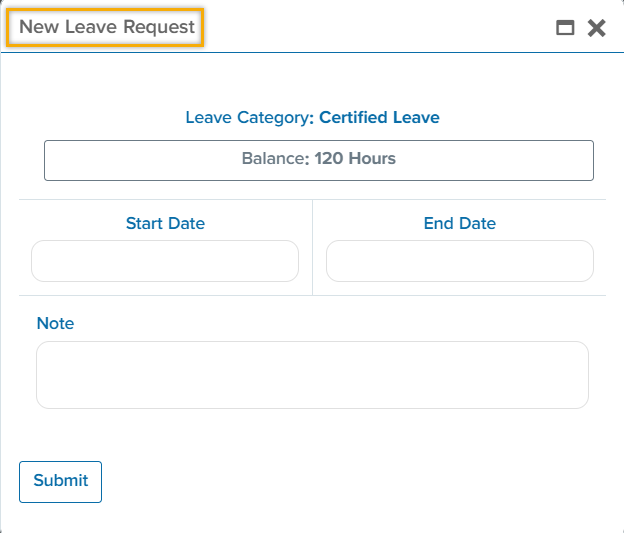
In this tab you are able to choose the start and the end date of your leave request according to the remained balance and then
click on “Submit”. After that, your request will go through an approval process which will also been shown in the “My Leave Requests”.
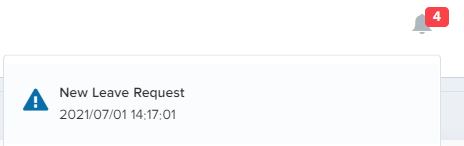
If the request is not approved or rejected yet that circle will be shown in grey color  after the first approver will be notified about the leave request
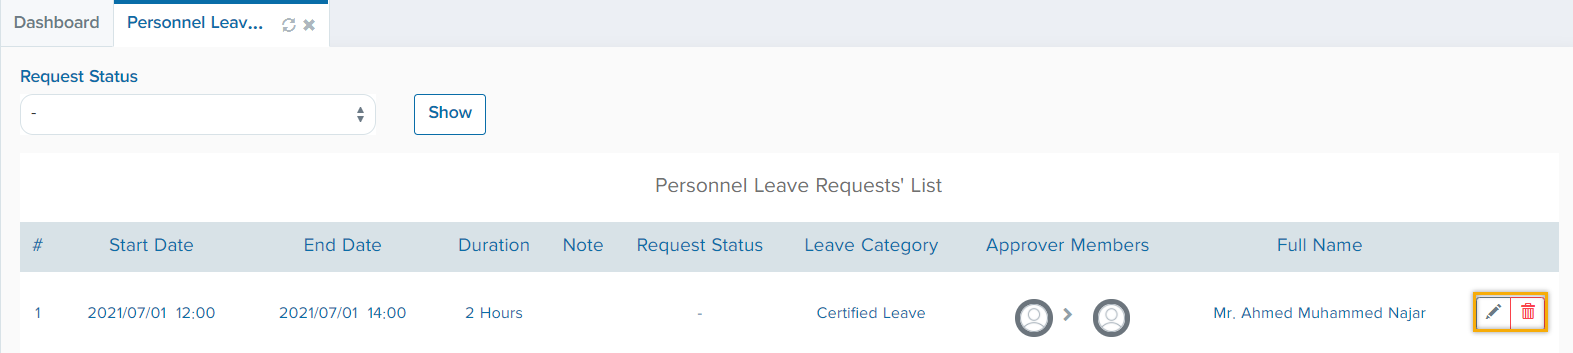
personal leave requests
The approver can click on the notification to proceed the process or go to Request management -> leave management -> personnel leave request
The request will be shown in this tab which is shown below and click on edit button.
And then this tab will pop up in which they will be able to approve or reject.

After approving by the first approver the circle will turn to green

Then it will flow to the second approver if exist and the circle will go on.
Evaluationback to top
How to Organize an Evaluation List?
HR Management -> Employee management-> Evaluation

Apprasisals List
To add a new a new evaluation, click on the “+” sign. The below figure will pop up
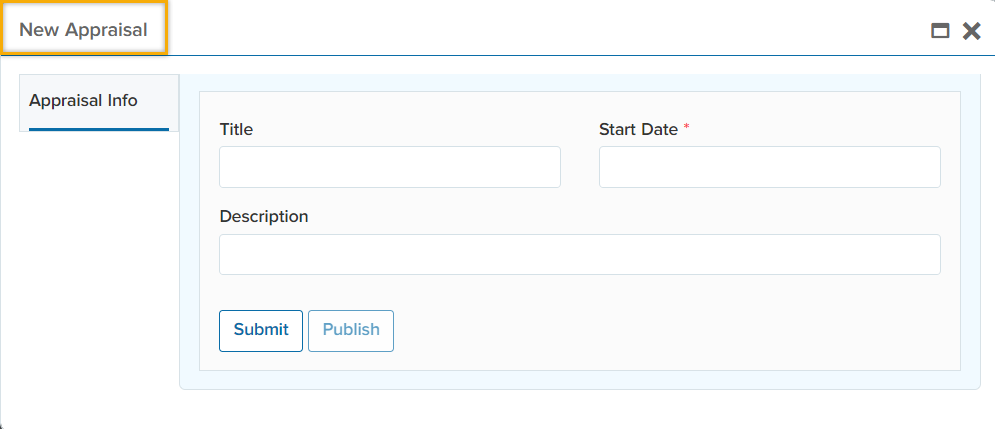
Name your “Appraisal” by clicking on “Title” as well as choosing a date. And click on “Submit”. Following that, you will be able to provide your questions by click on “Question List” as shown
in the below figure. Click on “+” for adding a new question or click on button to copy the question style that you may have created earlier. 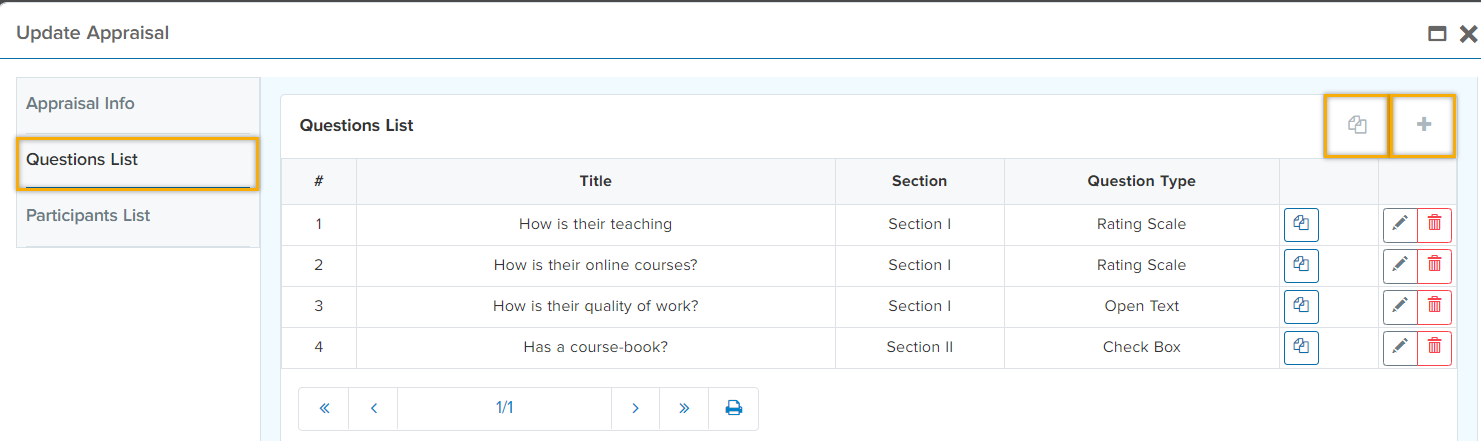
When click on “+” sign a window will appear that consists of several fields as shown in below figure.

There are three different types of questions which are:
Rating Scale is a set of categories which for instance consists of “Poor”, “Average”, “Excellent” to evaluate your question.
Open Scale is a set of categories which for instance consists of “Poor”, “Average”, “Excellent” to evaluate your question.
Check box is an option that permits the user to choose between one of two possible exclusive options.
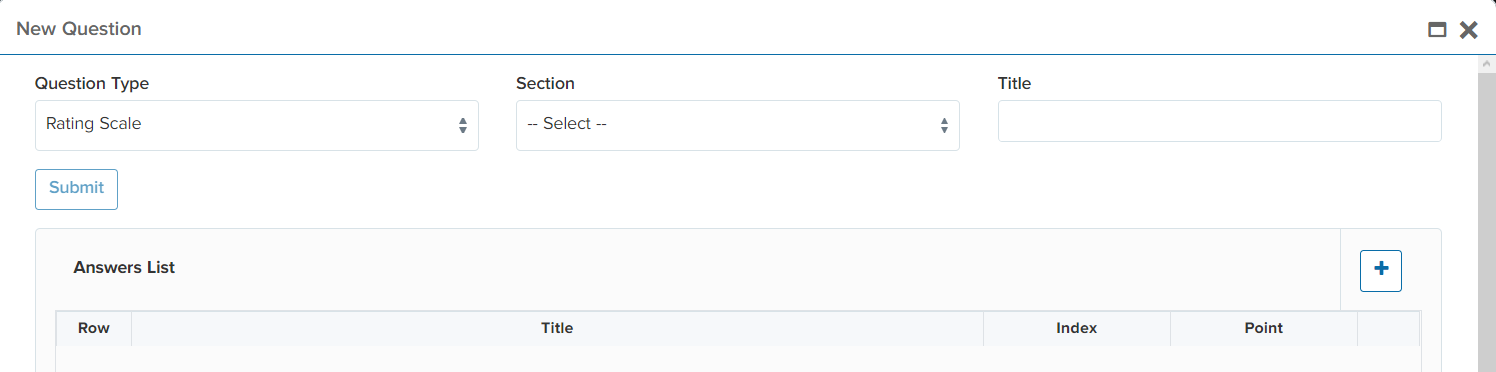
Following that, fill in the question type, section and write your question in “title”. Furthermore, click on “+” sign to fill in the “Answer List”.
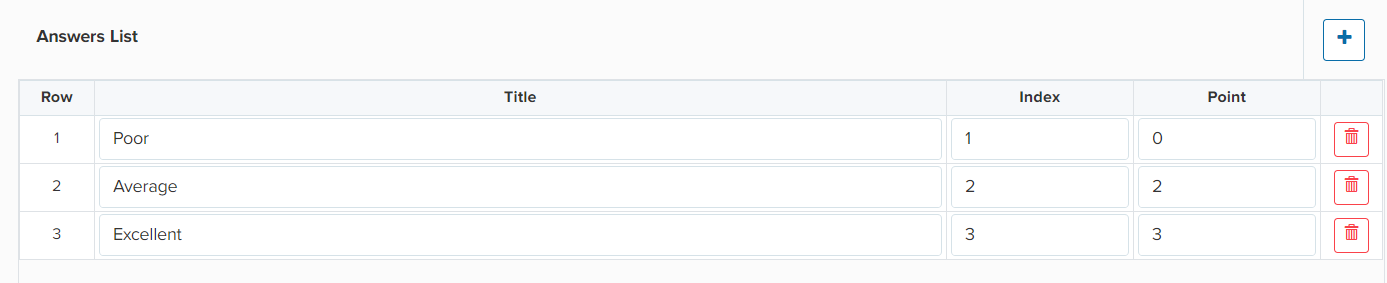
After filling in the title, index (which is an indicator to where you want to place that specific
question) and the point, click on “Submit”. You are able to hit on  to copy the format of previous questions. However, you need to change the question “Title” as well as the “Section”.
By clicking on the “Copy” sign the same format will be copied. For changing the question hit on
to copy the format of previous questions. However, you need to change the question “Title” as well as the “Section”.
By clicking on the “Copy” sign the same format will be copied. For changing the question hit on  button. After preparing your question, you are required to assign participants to it.

Participant List consists of number of members and participants that are participating in the evaluation. Hit on “+” and fill in the group name, employee which comes in a dropdown list as well as the evaluator. And “Submit”.
After submitting the “Participant List”, click on “Appraisal info” and publish it to notify to the participants about the evaluation.
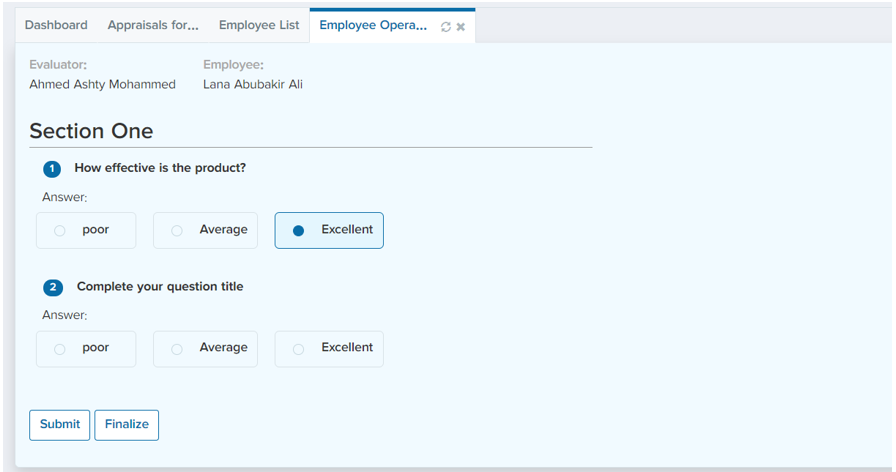
Apprasisals for Evaluator
Once the evaluation is submitted and sent to the evaluators, it will look like the figure showed below in the evaluators account.
My Profileback to top
This portal is accessible to all the personal information you would like to be shown along with the work experience, publication and qualifications.
HR Management -> My Profile
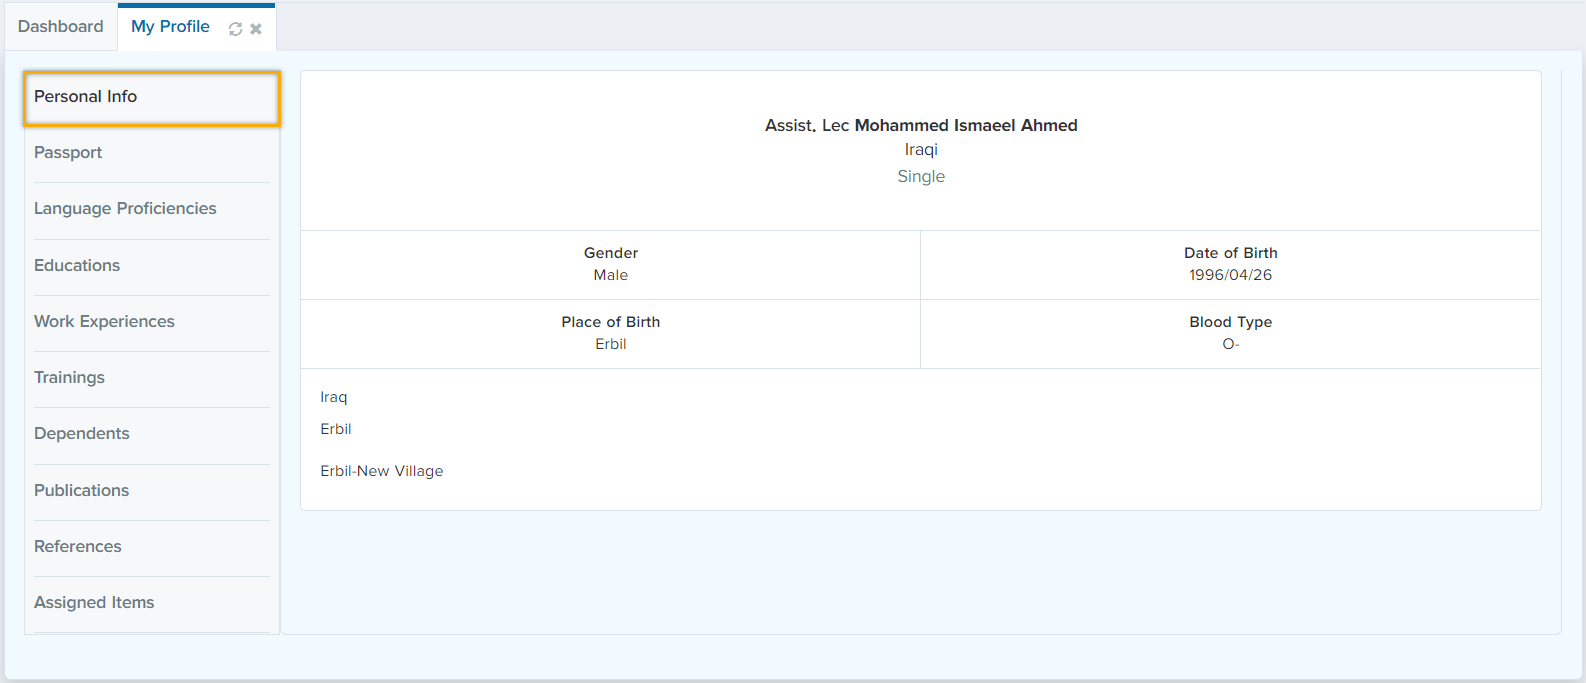
The below screen shows a clear visual representation of the user’s personal information which contains multiple features which are highlighted below
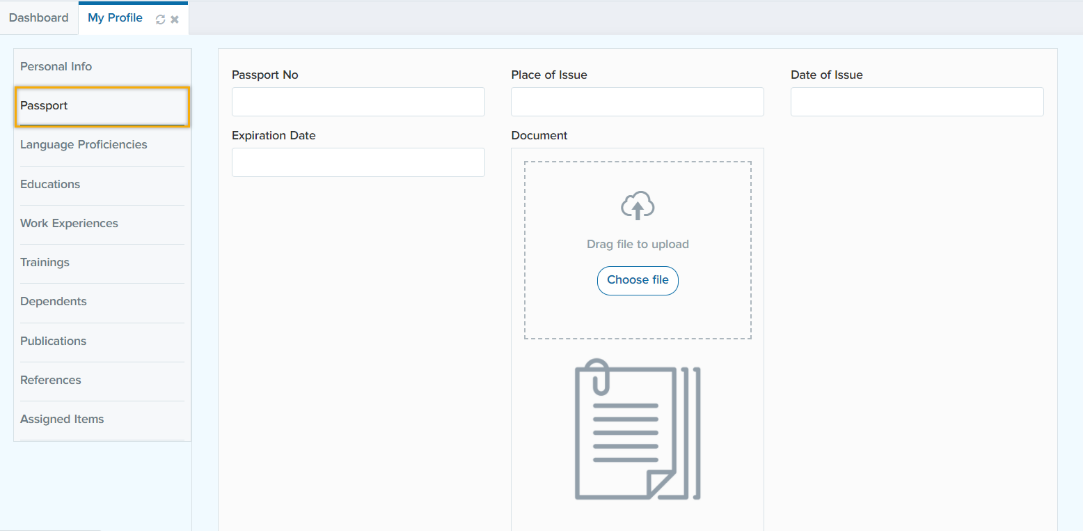
Passport
In this tab, you need to fill in your passport information as well as attaching a document file of your passport. After that, hit on “Submit” button.
Language Proficiencies
This tab shows the language proficiencies, to add more data click on “+”, add your data and submit it.

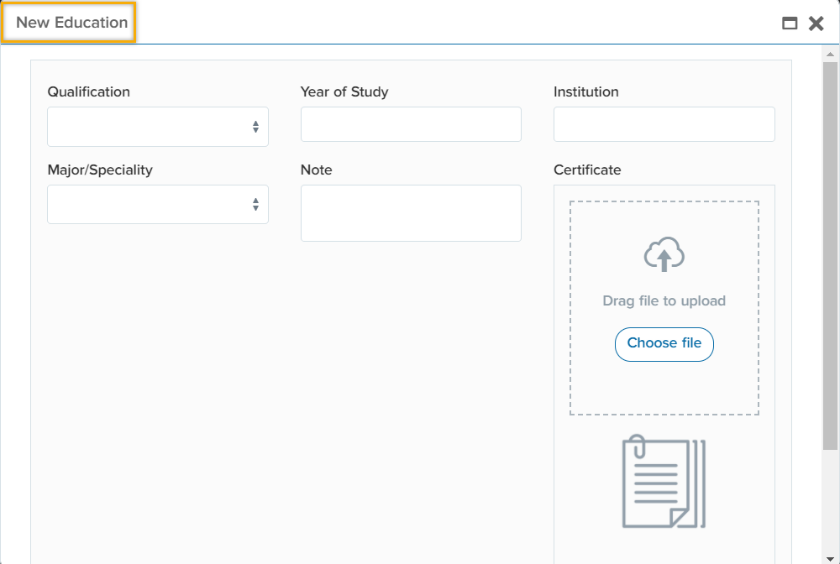
Education
In this tab, you need to fill in your major and specialty along with qualification and year of study.
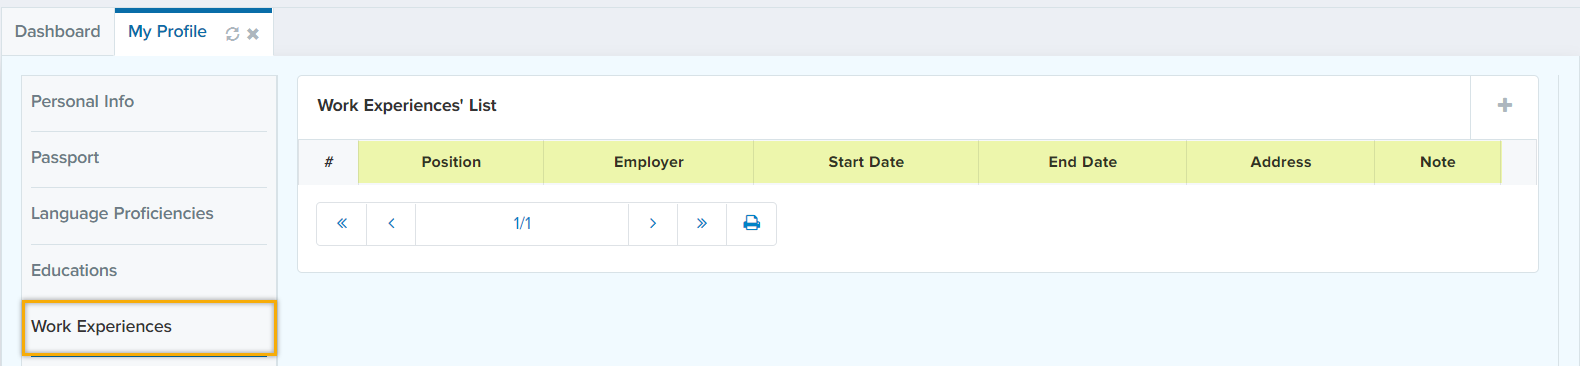
Work Experience
You need to fill in the highlighted areas by clicking on the “+” sign in addition to attaching a document of your own work.
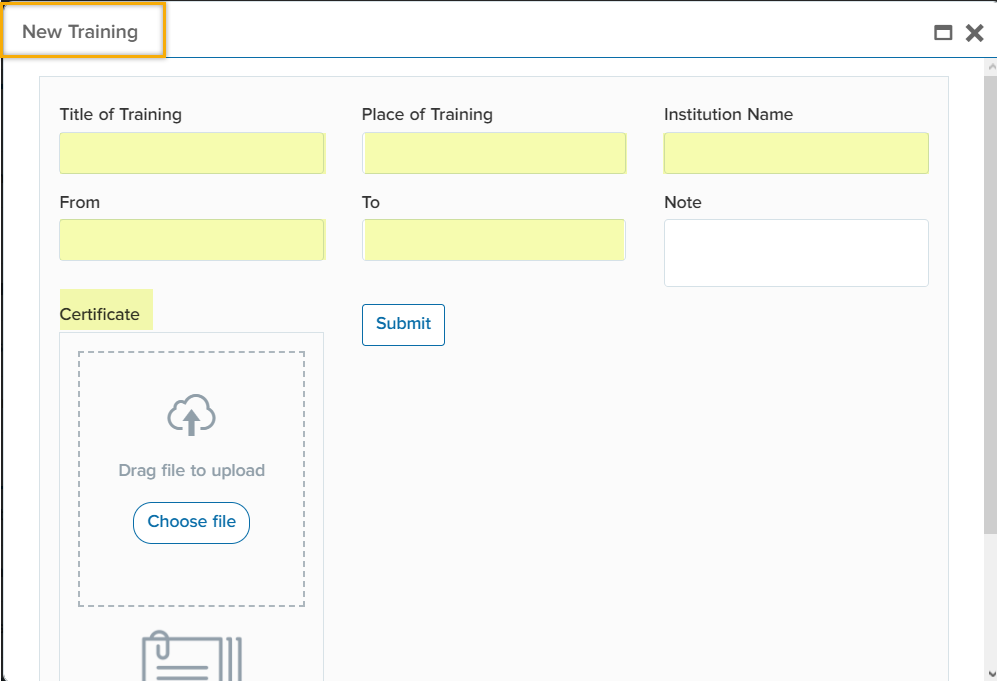
Trainings
Fill in the highlighted areas to mention the number of trainings you have done in your career by clicking on “+” sign in addition to attaching your references
Dependents
This portion of the system includes emergency contacts and the dependents of an employee. The highlighted areas are required to be filled.

Publications
Publication includes the distribution of work to public by sale or other transfer of ownership such as; books, journals, newspapers…etc. If the employee has any publications, write the title of the book/journal in “title” tab as well as the author(s) and the date of the publication

References
Show a list of documents that provides relevant details for consultation about a subject. The user is required to click on “+” sign for filling the details.

Assigned Items
Assigned Items are the number of items/equipment that are assigned from the company/organization.

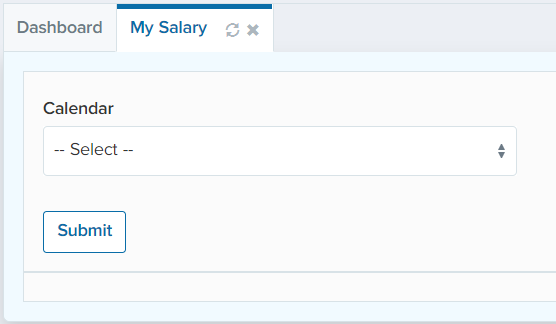
My Salaryback to top
HR Management -> My Salary
In this section, the employee can see their salary based on the selected month.
Attendance Managementback to top
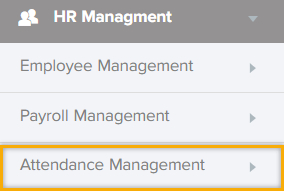
How to manage your attendance system?
This module features the employee’s attendance system which is a comprehensive and integrated tool for managing your organization/company management function. As we know the attendance system is very crucial for tracking the employees and their growth.
Basic Configurationsback to top
To manage your attendance system, first click on
Attendance Management -> Base Configuration
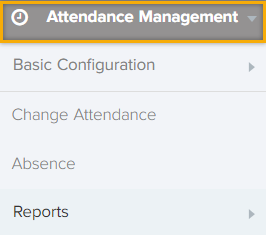
Base Configuration contains shifts, scheduled template & holidays.
In this field, you will be able to provide details about departments/employee’s division and the dates for which the attendance to be managed.
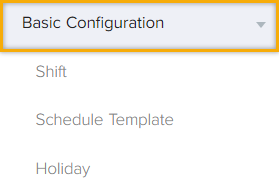
Shift
How to create shifts?
Attendance Management -> Base Configuration -> Shift
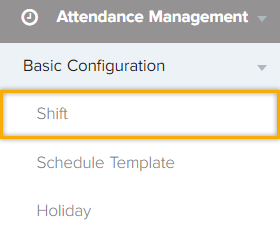
For defining a new shift, click on “+” sign. Then, provide a “Title” and write the timing of the shift in the “Description” section. Then “Submit”.
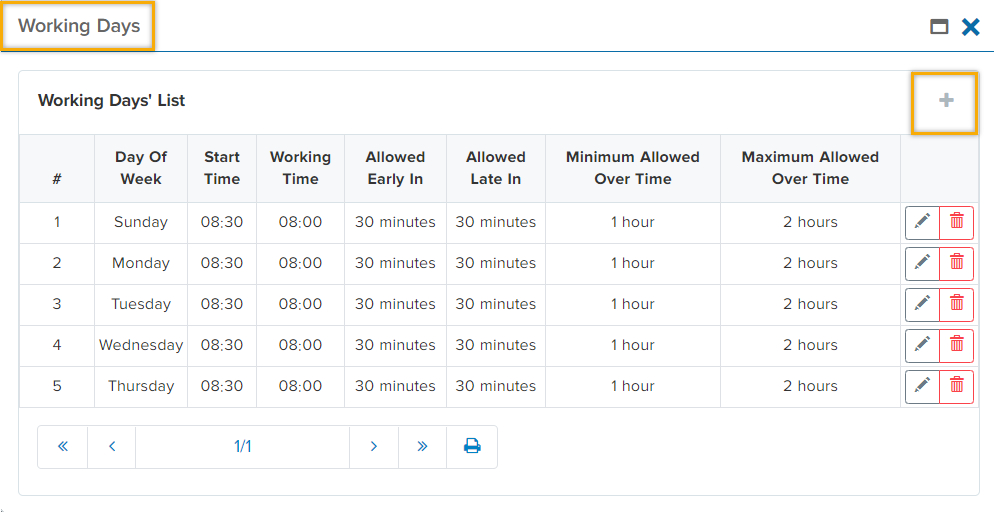
After the submission of the shifts, you are required to select the “Working Day” for it. Therefore, click on “Working Day”. In addition, provide it with the starting time of your organization/company as well as working time which is a period of time during which the employee is working. Moreover, “Allowed early in” is a period of time that the employees are allowed to arrive earlier than the starting time. Furthermore, “Allowed late in” is a period of late arrival time and the employee will not be marked as absence.
“Minimum Allowed Overtime” is the period of time that the system starts calculating an over time for an employee. After submitting one day, you are able to continue the same procedure for the rest of the days as shown in the below figure.
Additionally, it is very essential to define members on each “Shift List” that you have defined earlier. For performing this action click on  member button to add members. Then click on “+”. The below figure shows the member tab.
Here you have been provided with the list of employees and their departments as well as two fields for starting and ending dates. Select the preferred employee/departments and submit.
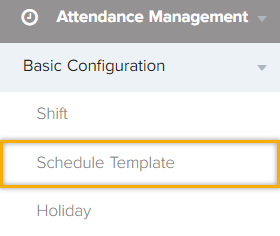
Schedule Template
How to create “Exceptions”?
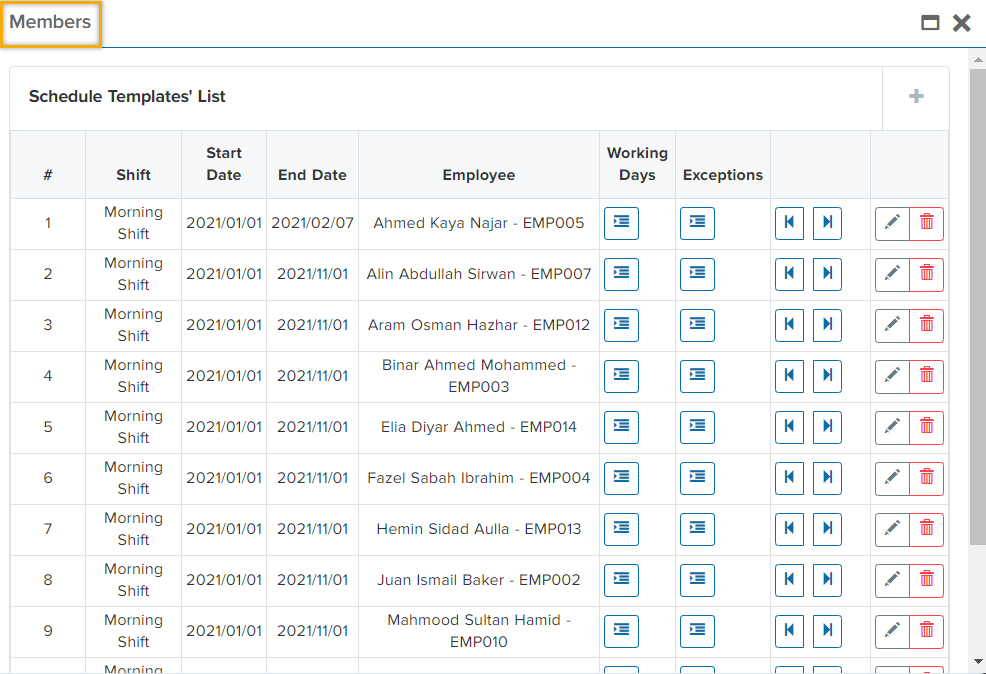
Attendance Management -> Base Configuration -> Schedule Template
You are provided with a filter option in this tab. You can filter it shift wise and employee wise. Another significant option in our system is providing “Exceptions” for employees. For example; employee X does not work on Tuesday, you are required to provide him/her a new template for Tuesday this way an exception will be created for employee X. For this purpose, click on the “+” sign to make a new template for that specific day.
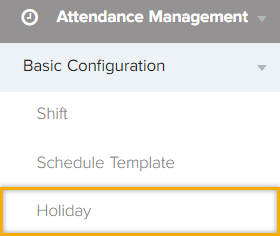
Holidays
How to create holidays?
Attendance Management -> Base Configuration -> Holidays
In this tab you are required to set the holidays that belong to your organization/company. It is crucial to define the holidays as it has an impact on leave requests and holds records of timely presence and absence of employees in an organization. For instance: if an employee requests for a sick leave and the timing of their request overlaps with a holiday,
the user will be notified with an error notification and it does not permit to proceed the leave request during holidays.
Click on “+” state the start and end date. As well as defining the description field. Subsequently, define department/s then click on “Save”. After clicking on “Save button”, a new row will appear which contains the employees of the selected department/s then click on “Employee Icon”.
You are able to exclude some employees by clicking on (-). This way the employee is eliminated from this holiday. For adding them back to the “Included employee” list click on (+).
Change Attendanceback to top
How to change attendance manually?
Attendance Management -> Change Attendance

In this tab, the list of attendance keeps track of all the previous records of attendance taken prior to this day. You are able to edit an employee’s attendance manually depending on the access (System Admin). For this purpose, click on edit sign.

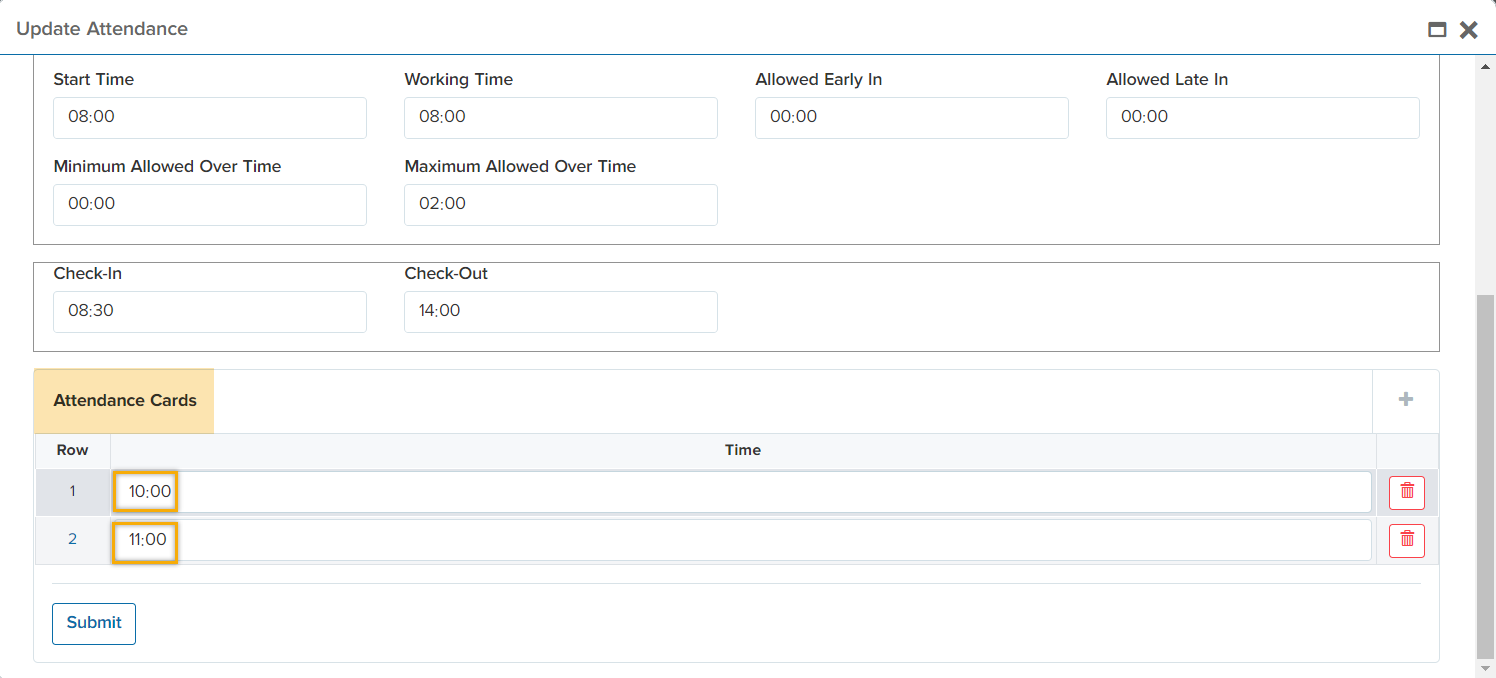
You are able to change/edit attendance (check in/out) for e.g., in case of lack of service or the employee forgot to record their check out. Therefore, when the employee puts a fingerprint on the attendance device after one day The system will automatically set the end time of the shift for the previous day that he/she forgot to record it and will count the current fingerprint as “check in” for the beginning of the new day.
For this purpose, click on the “Check In” and “Check Out” field, record it and then click on “Submit”.
On the other hand, if you want to record short-term leave request, for e.g., an employee wants to take a leave request from (10:00 – 11:00) and forgets to record their Check In/Out. You are able to set their attendance record manually by clicking on “+” sign that is located in “Attendance Cards”, record the starting time in the first row and then click on “+” again to set their end time of the short-term leave request (returning back to workplace). An example is shown in the figure below.
Absenceback to top
Attendance Management -> Absence
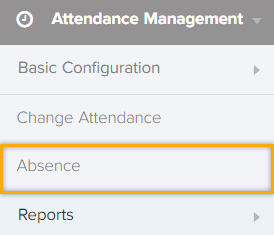
In “Absence” tab you are capable of seeing your absentees name wise, employee code wise or date wise. Then, click on “Show”.
For recording an attendance for an employee due to the lack of check in/out records, for e.g., the employee failed to record their check in/check out due to attendance device issue or any other issue that caused the lack of attendance record. click on the “+” and set their check in time as well as check out time.
Reportsback to top
Attendance Management -> Reports
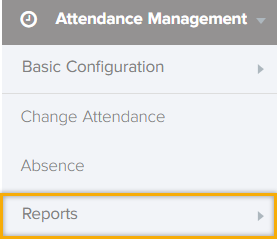
In this tab, you are provided with a list of different reports, for e.g., daily card list, monthly attendance system, employee attendance…etc.
Payroll Managementback to top
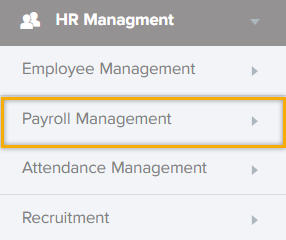
How to manage your payroll system?
Payroll management is a module that is designed to organize all your employee’s financial records in an automated fashion including employee’s salaries, bonuses, net pay, benefits and deductions and generation of pay slips for a specific period of time. There are three main sub-sections in payroll management; core configuration, calculation and reports.
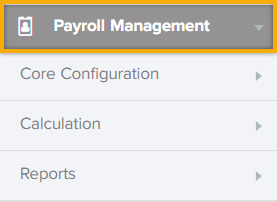
Core Configuration
How to configure your benefits and deductions?
Payroll Management -> Core Configuration
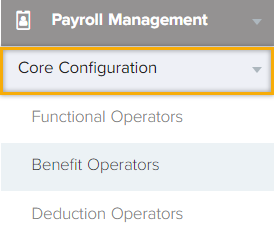
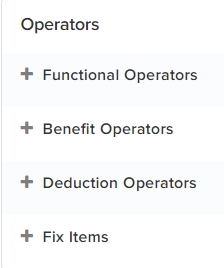
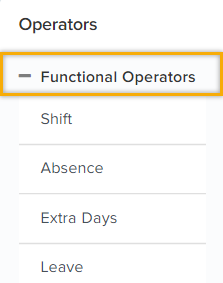
“Functional Operators” tab holds all the functional operators that will be used in benefit and deduction formulas later such as shifts, absence, extra days and leaves. In addition, the values of functional operators will be automatically calculated in employee’s pay slip each month. You are required to define a functional operator by clicking on a “+” sign. Firstly, define the “Shift” and choose “daily” action type for it. Secondly, define “Absence” and choose the “hourly” action type. Thirdly, add a new functional operator by the name of “Extra Days” and choose the “Hourly” action type. Lastly, add “Leave” functional operator and choose “Hourly” action type. These functional operators must be in the same order as we mentioned earlier.
Benefit Operators
Payroll Management -> Benefit Operators
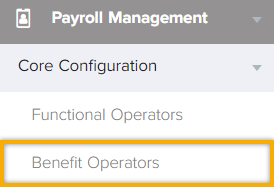
In this tab you are able to define a rate of different benefits in an accurate and fast way which reduces the risk of mistakes. Such components are not considered to be part of base salary.\ Instead, these benefits will be added to the base salary as preferred. The below picture shows the overall window

For this purpose, define the benefits by clicking on the “+” sign. Name the benefit and choose the action type. Action type refers to the type of the benefit if it is provided on hourly/daily/monthly basis. System will automatically generate a code for the benefit in which it will be used for the expressions in the following steps.
Account code is a six-digit number which is used for the transaction it indicated the type of the expense,
revenue or transfer that is being recorded in accounting management module. The 
Button is used if this benefit is applicable for all the employees you can enable it or vice versa and it will be called in their portal by default if the Auto button is ticked. In operator feature section, you will activate the benefit by filling the issue date, executive date as well as end date. In addition, choose the contract type if it is contractual or permanent. Tick off the “Is Active”
check box for activating your benefit  . Hit on the expression icon
  to write the formula for the benefit. After hitting the expression icon, the below window will appear

You are able to express your formula by using these operators:
Functional operator consists of the shifts, absence, extra days and leave in which it brings back the recorded data from attendance management module and calculates their clock in time. You are able to use these features in your formula as shownn below.
The benefit operators section will bring back the previous benefits that you have set in the system in which you can use it in the upcoming benefit formulas as shown in the below figure.

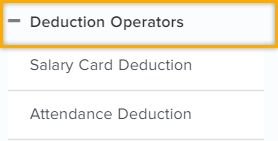
The deduction section will bring back the previous deductions that you have set in the system in which you can use it in the upcoming deduction formulas as shown in the below figure.
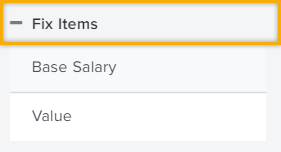
We have some fixed Items such as; Base Salary (which is reffered to in the contract of the employee in HR Management module) as well as value.
You are able to write the expression in the formula section. Moreover, you are provided with a bunch of logic operators that you are able to use them in the expressions. The below window shows the overall view

Hit on  to check for any syntax error.
For example; you want to define extra days as a benefit. Firstly you need to choose (Base Salary) in fix Items. Then divided by working days (30 days) multiply by extra days in fuctional operator. This way each time an employee has extra day it will be calculated based on this formula. The below picture shows the formula for this benefit.
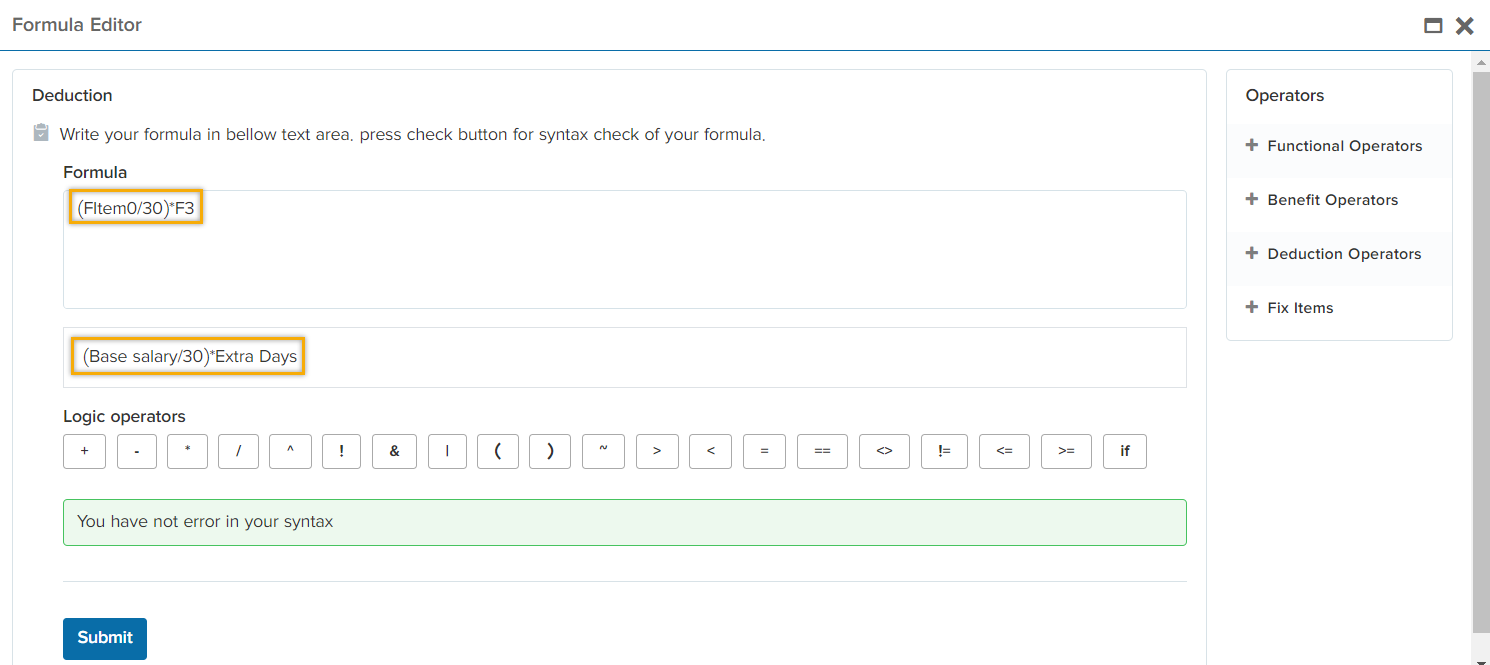
Then hit on  The code (F3) that is shown in the figure refers to the “Extra Days” that the system generated for it in the “Functional operators”earlier and Fitem0 refers to the “Base Salary” of the “Fix Item” tab.
Deduction Operators
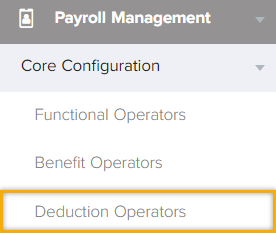
Deduction are wages withheld from an employee’s total salary for the purpose of paying taxes, garnishment…etc. The below picture shows the step by step procedure. After, clicking on deduction operators this window will pop out. Click on “+” for adding a new deduction.

After clicking on “+” sign, the below window will pop out
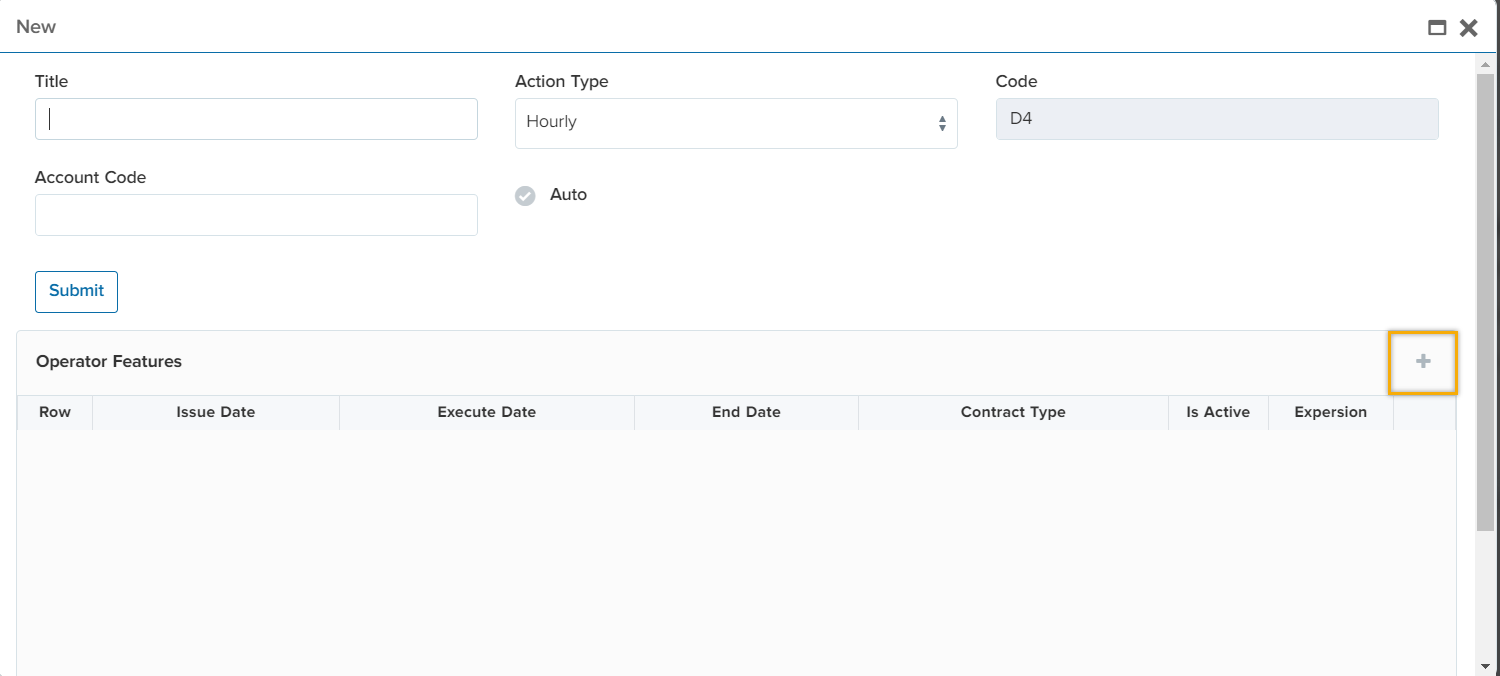
Name the deduction and choose the action type. Action type refers to the type of the deduction if it is provided on hourly/daily/monthly basis. System will automatically generate a code for the deduction in which it will be used for the expressions in the following steps.
Account code is a six-digit number which is used for the transaction it indicated the type of the expense, revenue or transfer that is being recorded in accounting management module.
. The  button is used if this deduction is applicable for all the employees you can enable it or vice versa and it will be called in their portal by default if the Auto button is ticked. In operator feature section, you will activate the deduction by filling the issue date, executive date as well as end date. In addition, choose the contract type if the deduction is enabled for contractual or permanent contract type.
Tick off the “Is Active” check box for activating your deduction
button is used if this deduction is applicable for all the employees you can enable it or vice versa and it will be called in their portal by default if the Auto button is ticked. In operator feature section, you will activate the deduction by filling the issue date, executive date as well as end date. In addition, choose the contract type if the deduction is enabled for contractual or permanent contract type.
Tick off the “Is Active” check box for activating your deduction  Hit on the expression icon
  to write the formula for the deduction. After hitting the expression icon, the below window will appear.
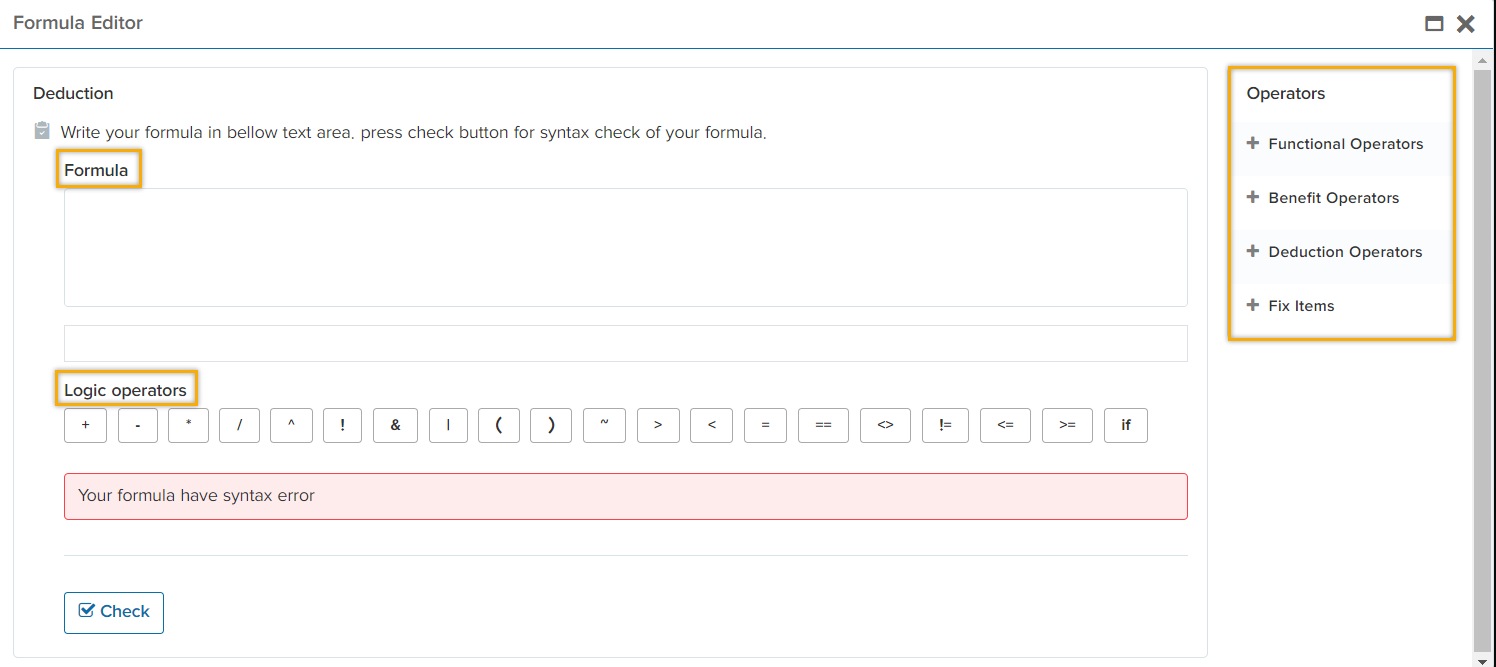
You are able to express your formula by using these operators.

Functional operator consists of the shifts, absence, extra days and leave in which it brings back the recorded data from attendance management module and calculates their clock in time. You are able to use these features in your formula as shown below.

The benefit operators section will bring back the previous benefits that you have set in the system in which you can use it in the upcoming benefit formulas as shown in the below figure.
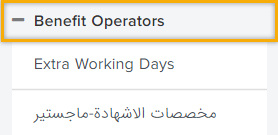
The deduction section will bring back the previous deductions that you have set in the system in which you can use it in the upcoming deduction formulas as shown in the below figure.

We have some fixed Items such as; Base Salary (which is reffered to in the contract of the employee in HR Management module) as well as value.

You are able to write the expression in the formula section. Moreover, you are provided with a bunch of logic operators that you are able to use them in the expressions. The below window shows the overall view

Hit on  to check for any syntax error.
For example; you want to define Card ID deduction. Name the “Title” as preffered. Choose the “Action type” for example hourly/daily/monthly. System will generate a code automatically for this specific deduction. Write the “Acount Code”. Tick off the
 if this deduction is applicale for all employees.
In operator feature section, set the issue/excute/end date. For instance; you want to to define this deduction for only one month. Choose the starting day and end day of one month. In
addition, it is very essential to choose the contract type as well as activating
if this deduction is applicale for all employees.
In operator feature section, set the issue/excute/end date. For instance; you want to to define this deduction for only one month. Choose the starting day and end day of one month. In
addition, it is very essential to choose the contract type as well as activating  icon.
Furthermore, hit on expression icon
icon.
Furthermore, hit on expression icon  to write your formulas. After hitting the expression icon, the below window will appear. You are able to choose “Value” in “Fix Items” in order to take out an amount of money ($25) from their pay salary manually later in their pay slip.
Calculationback to top
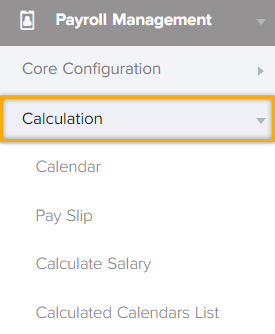
Calculation tab is made up of calendar, pay slip, calculated salary as well as calculated calendar list.Before sending salaries to your employees, you must create “Calendar”. Here in this tab, you are able to create a month in order to calculate and manage your employee’s salary. Click on “Calendar” tab and create a month. The figure below shows calendar tab.
Calendar
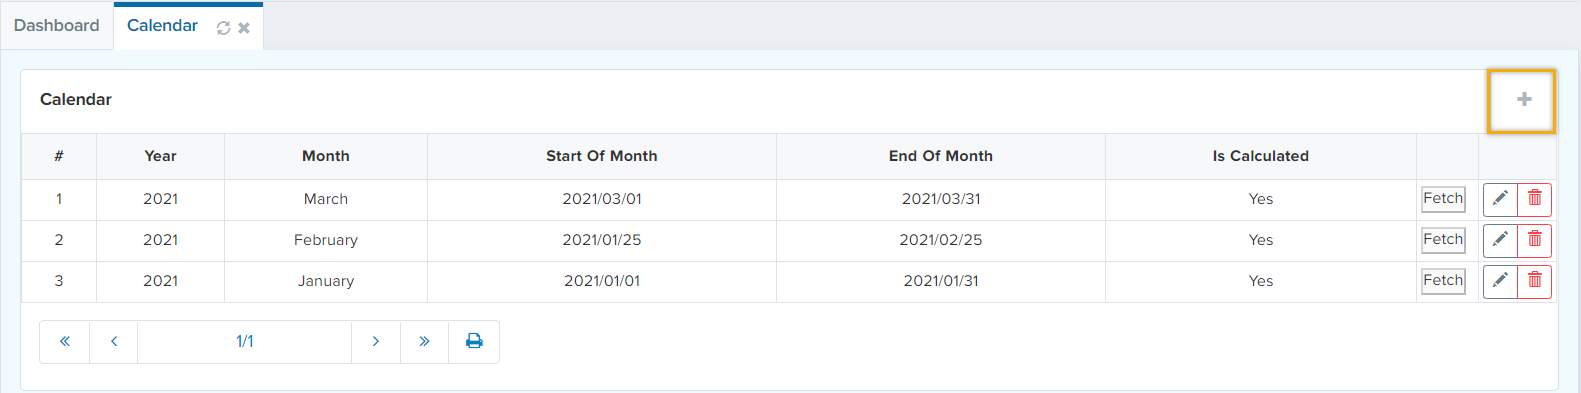
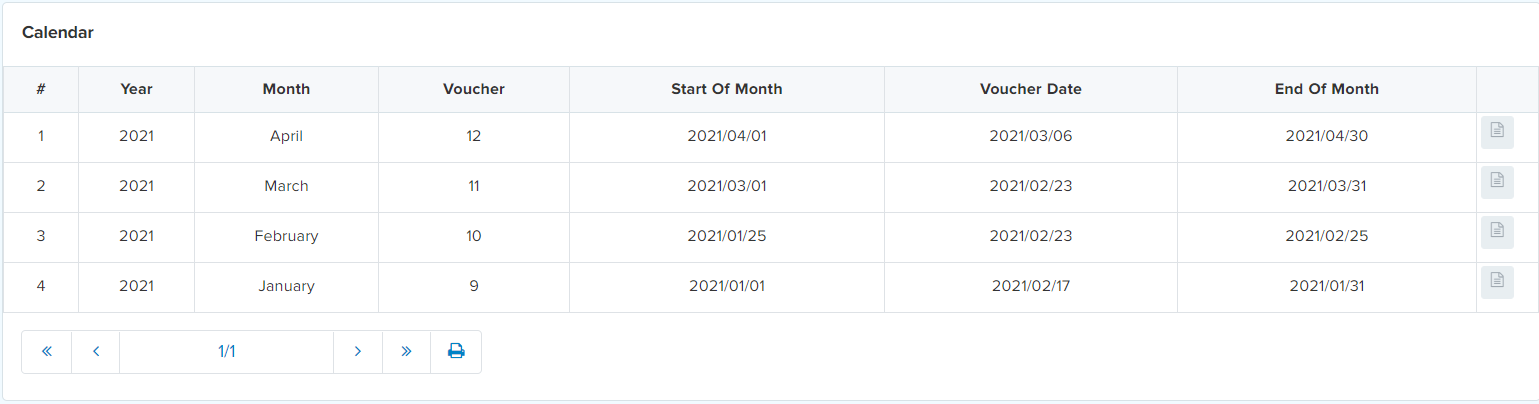
After clicking on “+” sign, this window will pop out.

You must choose the year and select the month. The duration of the month is set by default. However, it is editable and you can change it according to your rules and regulations. Then, click on “submit”. After the submission, a new row will be added to the calendar list which is shown below.

The  button consists of all attendance data of the employees. By clicking on it, it will bring back all the absence, extra time, leave requests and attendance.
Pay Slip
How to calculate pay slip?
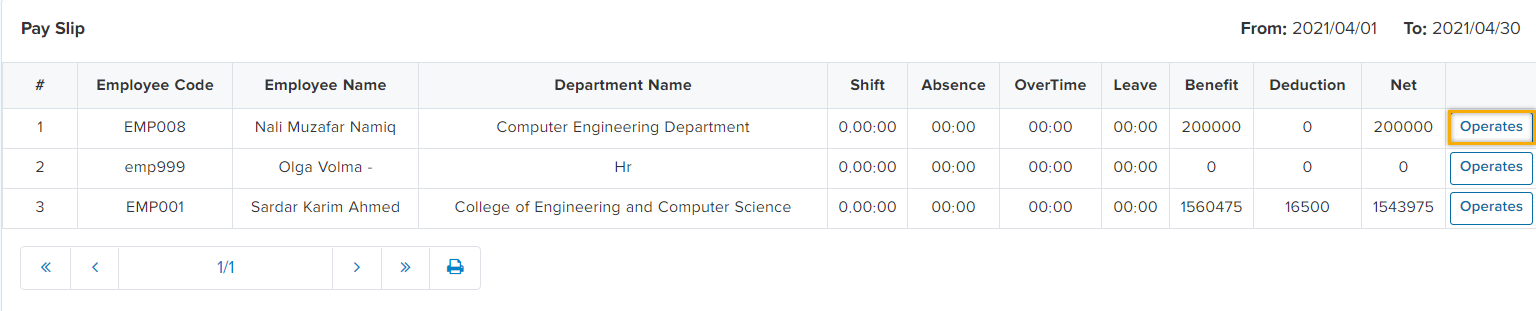
Pay slip is a pay statement you can share it with your employees after everytime you have sent a salary. In this tab, only those employees will appear that have contracts. The below tab is shown below. This tab shows all the benefits, deductions, net salary, shifts, absence, and overtime of the employees. For observing more details about ones payslip and adding benefits and deductions,
click on  button.
After clicking on  button, the below window will pop out
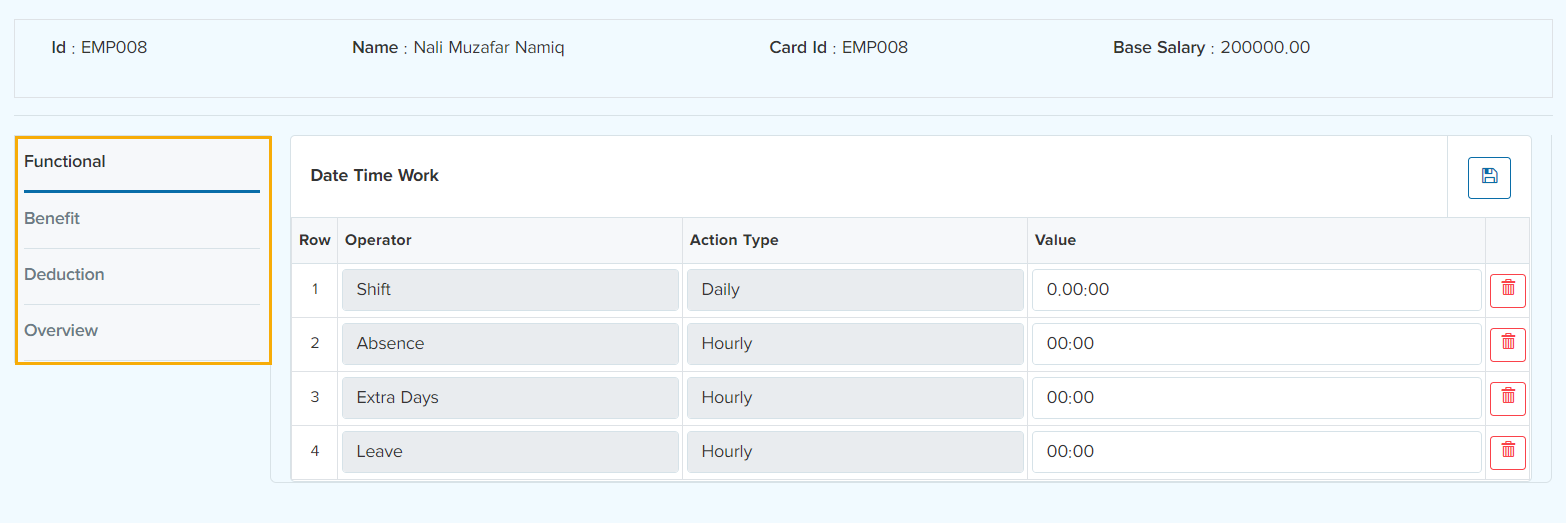
Functional tab will show all the data from attendance management including shifts, absence, extra days and leaves.
If you click on “Benefit” tab, you are able to add benefits as shown below.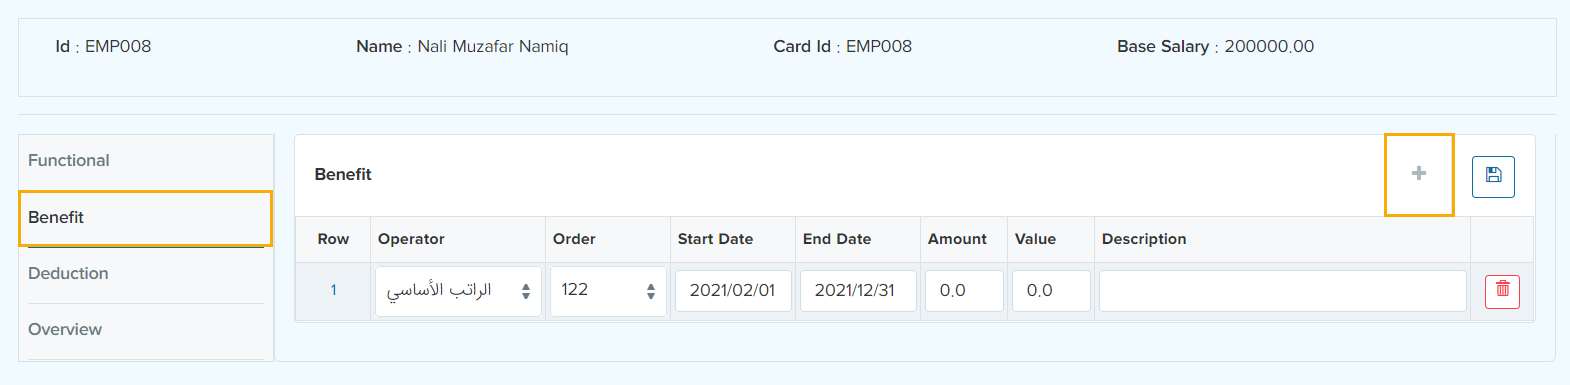
You can add a benefit by clicking on the “+” sign. “Operator” section in “Benefit” tab will call back all the benefits that you have defined in the system earlier. Assign a start and end date for this specific benefit. For example; if this benefit is only available for one month due to the income of a project, set a start and an end date for one month. In addition, “Amount” tab is a total quantity of something (benefit or deduction).
Moreover, “ Value” refers to amount of the money that is used for this benefit/deduction. Finally Click on  button. For example; we have a benefit named by (Child Benefit). This benefit offers 8000 per child. Therefore if the
employee has 2 kids you are required to write 2 in the “Amount” tab and 8000 in the “value” tab. This way the employee will get 16,000 as a child benefit.
If you click on “Deduction” tab, you will be able to add a deduction for a specific employee as shown below.
button. For example; we have a benefit named by (Child Benefit). This benefit offers 8000 per child. Therefore if the
employee has 2 kids you are required to write 2 in the “Amount” tab and 8000 in the “value” tab. This way the employee will get 16,000 as a child benefit.
If you click on “Deduction” tab, you will be able to add a deduction for a specific employee as shown below.
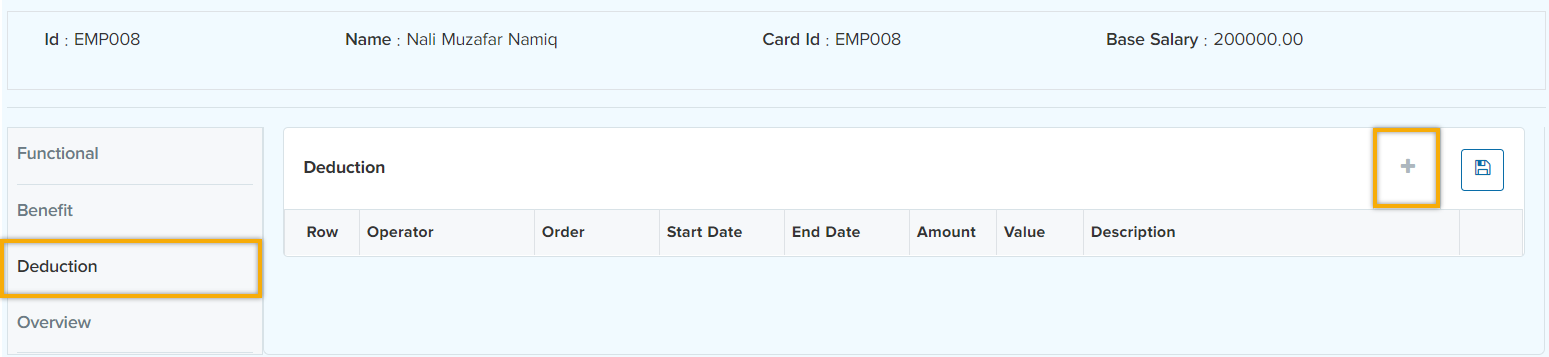
You can add a deduction by clicking on the “+” sign. “Operator” section in “deduction” tab will call back all the deductions that you have defined in the system earlier. Assign a start and end date for this specific deduction. For example; defining a card ID deduction will be like following steps. Firstly, select the card ID deduction in “Operator” section of “Deduction” tab if you have defined it in the system earlier. Then, define a starting and ending date for this specific deduction. You may want to activate this deduction for only one month and write the spending money in “Value” tab and save it by clicking on
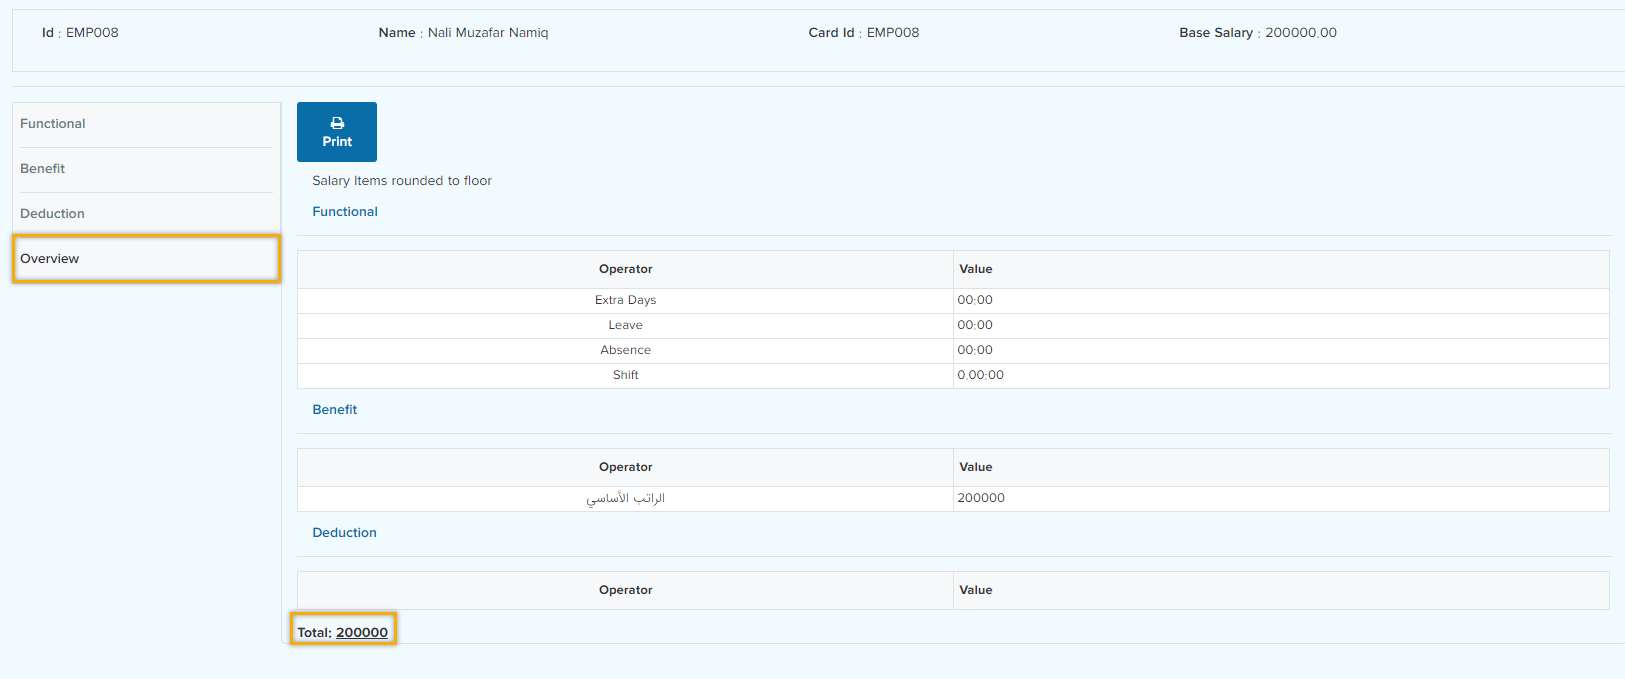
 In “Overview” tab, you are allowed to see all of the employee’s benefits, deductions and functional operators as well as the net salary. The figure below shows the overall window.
Calculate Salary
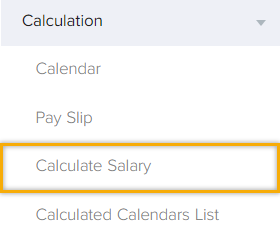
This tab is used to calculate the salary of those months that you have created in the calendar earlier. Note that before submitting the month (2021-April), as shown below 
The record for this specific month is shown as “ Not calculated”

After submitting the month (2021- April), this field will be updated to “yes” as shown below.

Calculated Calendar List
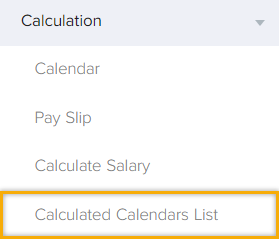
This tab holds a record for all financial transactions for the payroll process that have been submitted earlier.
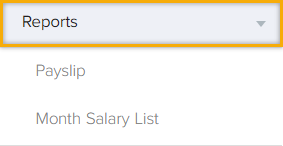
Reportsback to top
This tab consists of Pay slip and monthly salary list reports.
Recruitmentback to top
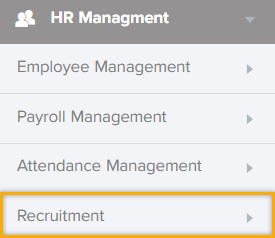
Recruitment list shows all the application forms of the announced job vacancy. In addition, you are able to filter out the jobs date and status wise as well as the job ID.
Job Vacancy
HR Management -> Job Vacancy Management
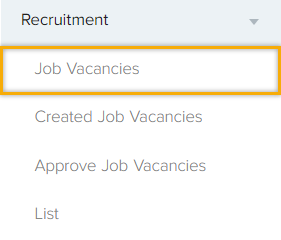
This tab is designed to automate and manage your organization/company recruiting operations. First, you need to define a specific workflow for each department separately otherwise you are not able to initiate a job vacancy. You can either define a Workflow the whole organization/company or defining one per department/s.
Creation of Job Vacancy
To create and enrich a new job vacancy start by capturing the following information.
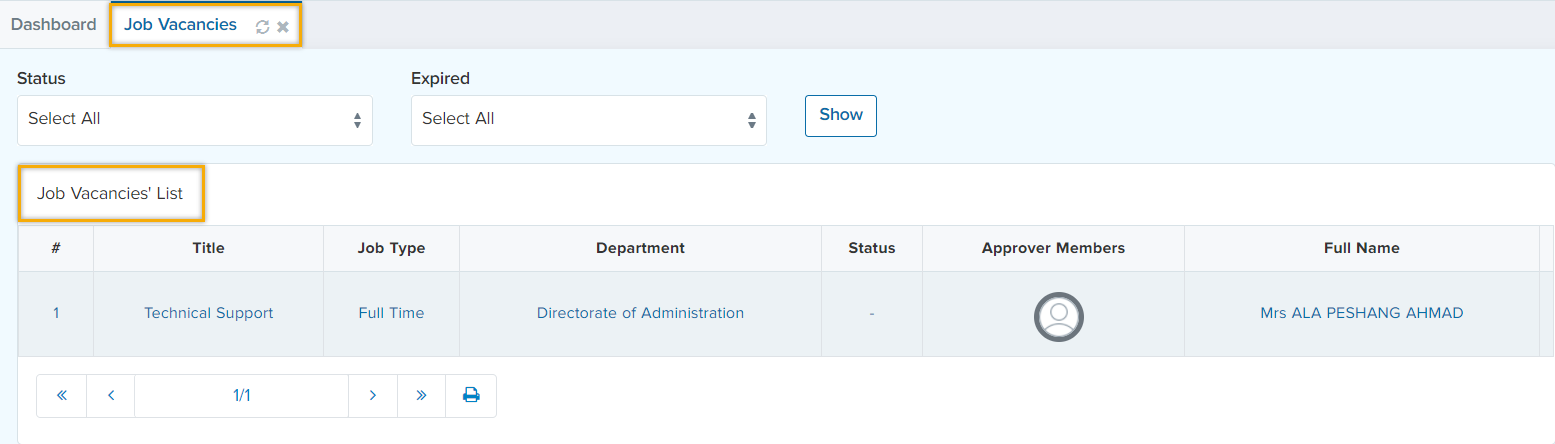
Job Vacancies: this field is look-up to the predefined job vacancies. Based on “Status” and “Expired” the job vacancies will be filtered out as shown below

To create a new job vacancy, click on “+” sign. After that, the below window will appear.
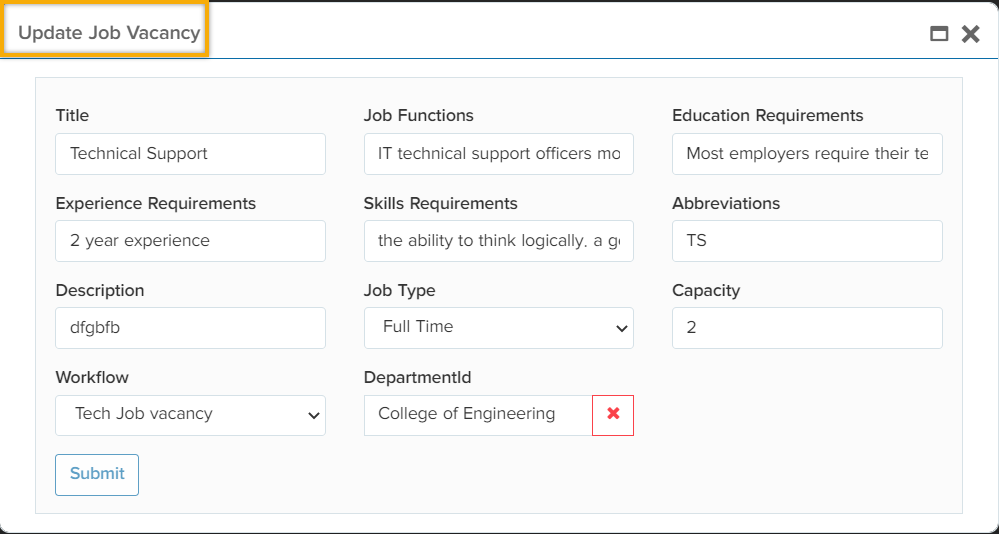
In this window you are able to create a new job vacancy by filling in the job title, functions, education requirements, experience requirements, skills requirements as well as an Abbreviation for the job title. In Job type, you are able to choose between full-time or part-time job options. In addition, write the number of required applicants in the “capacity” field. It is crucial to choose a specific workflow which consists of preferred members and it is
used for the approval of the job vacancies before publishing it as well as a specific department.
Click on “Submit” to continue working.
You are able to spot the created job vacancy in “Job vacancies” tab as shown below.
Approve Job Vacancies
After that, the job vacancy will go to the approver member/s account. If the job vacancy is set for two members to approve it, first it will go to the first member based on some specific criteria and then to the second member. The figure below shows a visual representation of the member’s window.
After approving the job vacancy by the first member, the icon of the first approver will change from grey to green. And the job creator will be notified

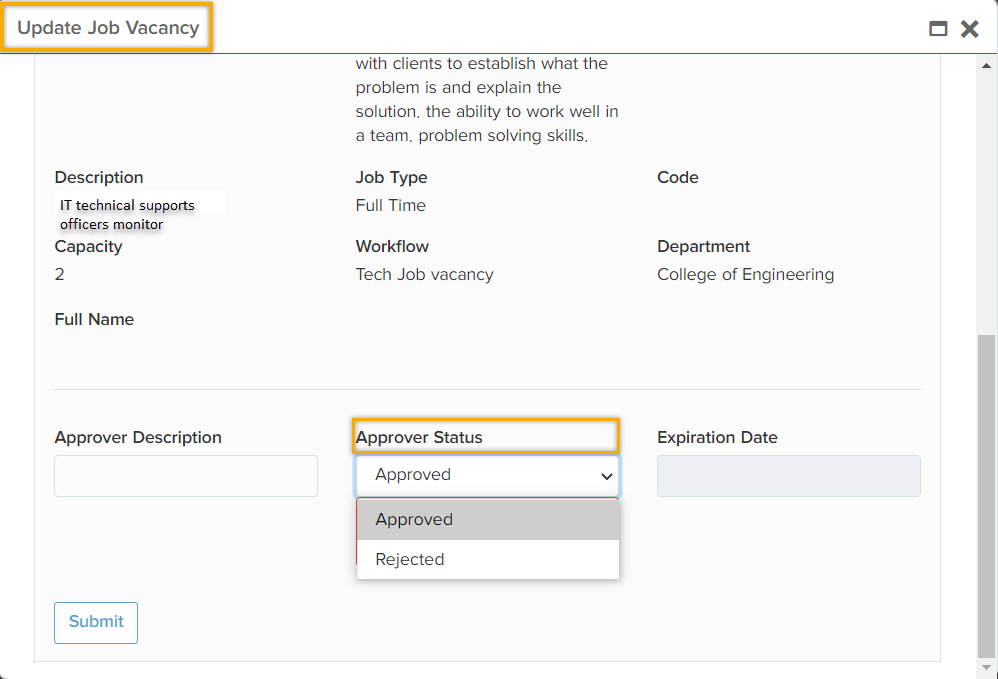
After that, the second approver will be notified about the job vacancy  then click on the edit sign to continue working on the approval of the job vacancy.

Then, the approver will approve/reject the job vacancy and a notification will be send to the creator of the job vacancy.
The creator of the job vacancy will be notified 
Following that, an URL will be send to the creator of the job vacancy to be able to publish the vacancy via Internet and external recruitment channels to display all the published and the available jobs for your company/organization. After clicking on the URL, the URL will take you to the tab shown below.
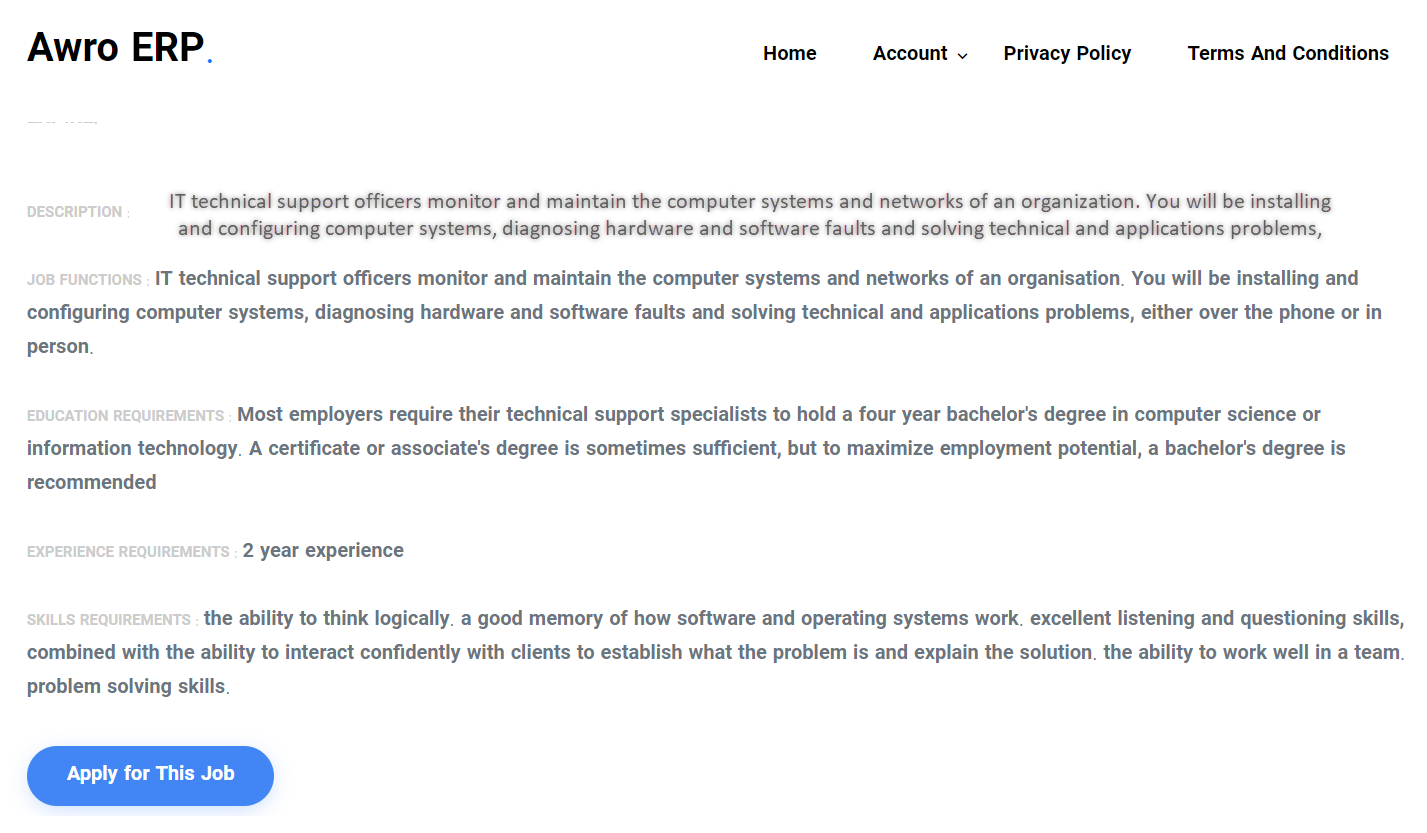
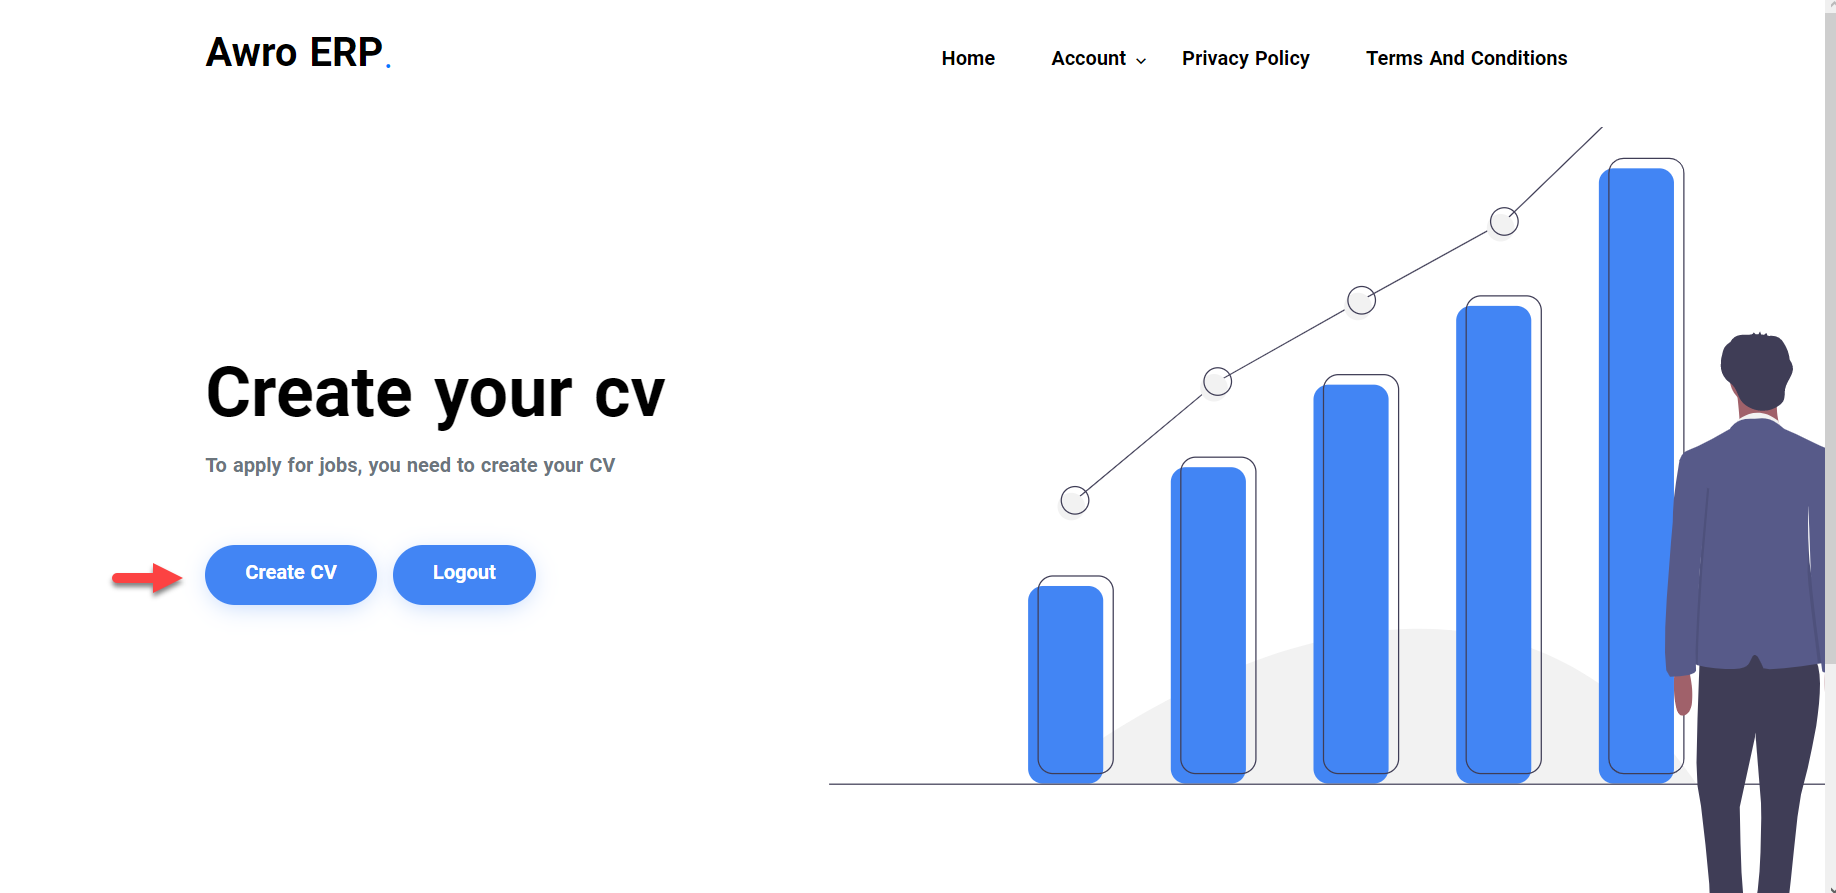
For applying for this job click on 
click on  it will take you to the below window.
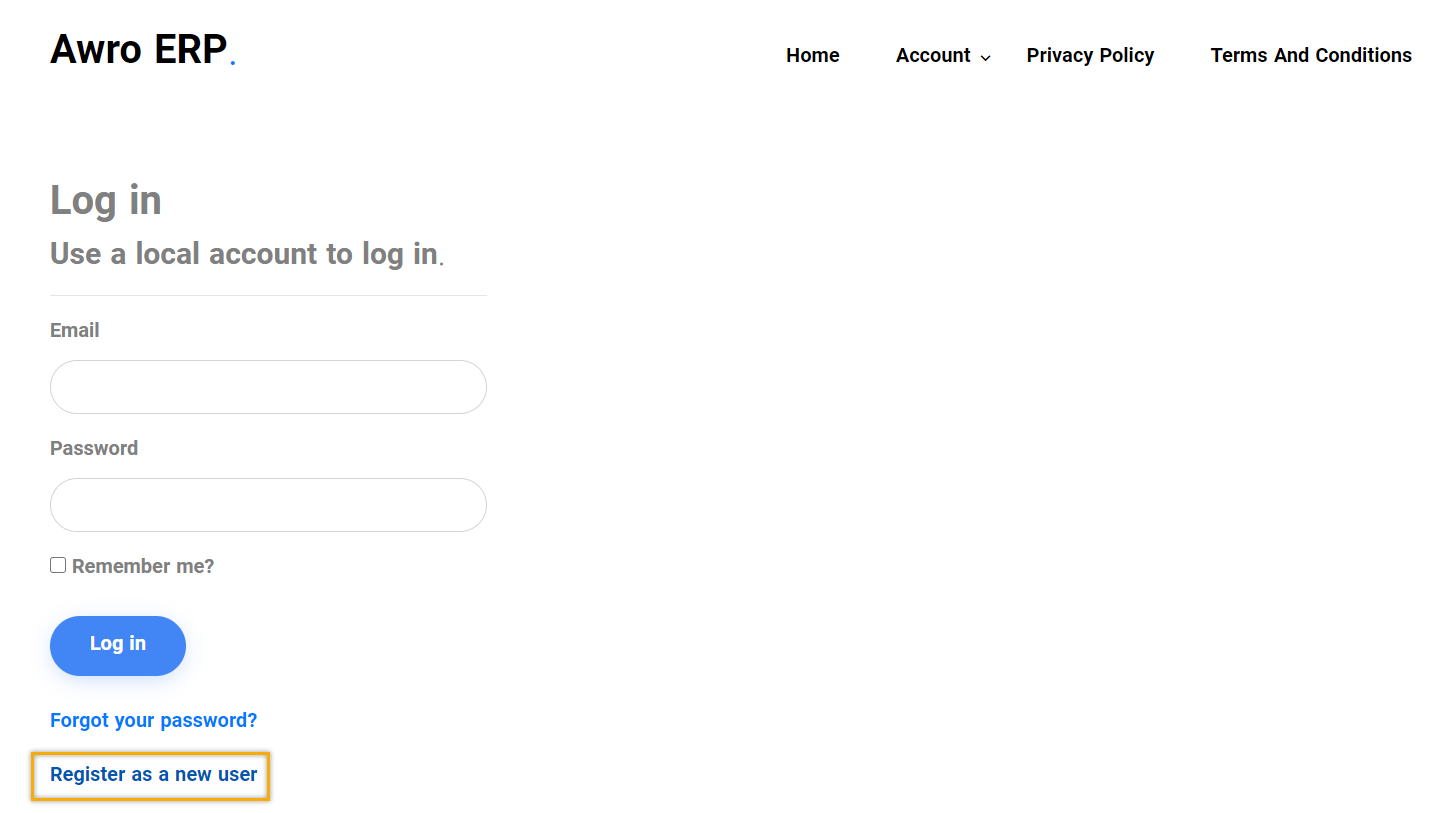
Create an account to be able to apply for the job vacancy. If you have registered previously, you can login immediately and your CV is already saved attached there.
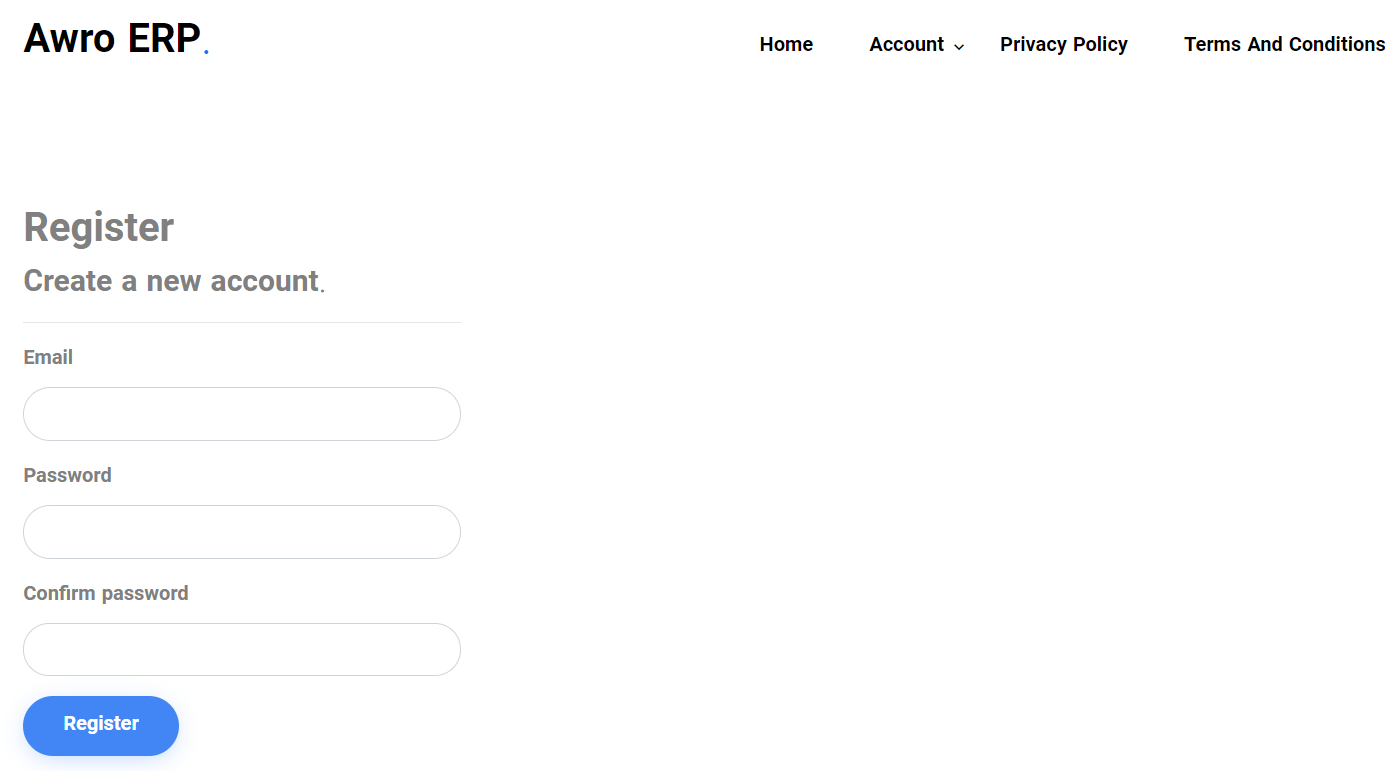
Or else create an account by clicking on 
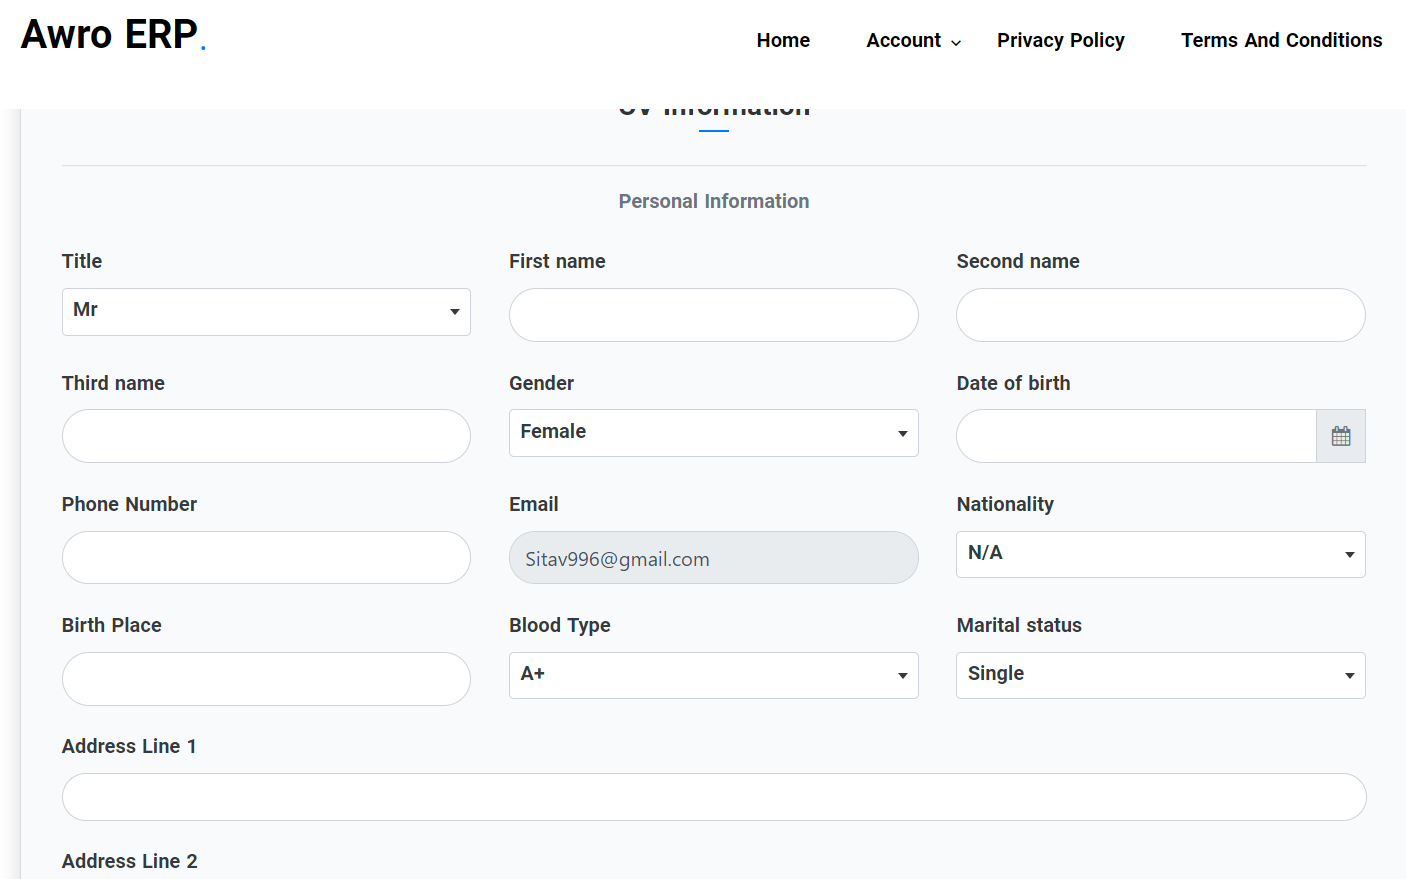
Fill out the above information.
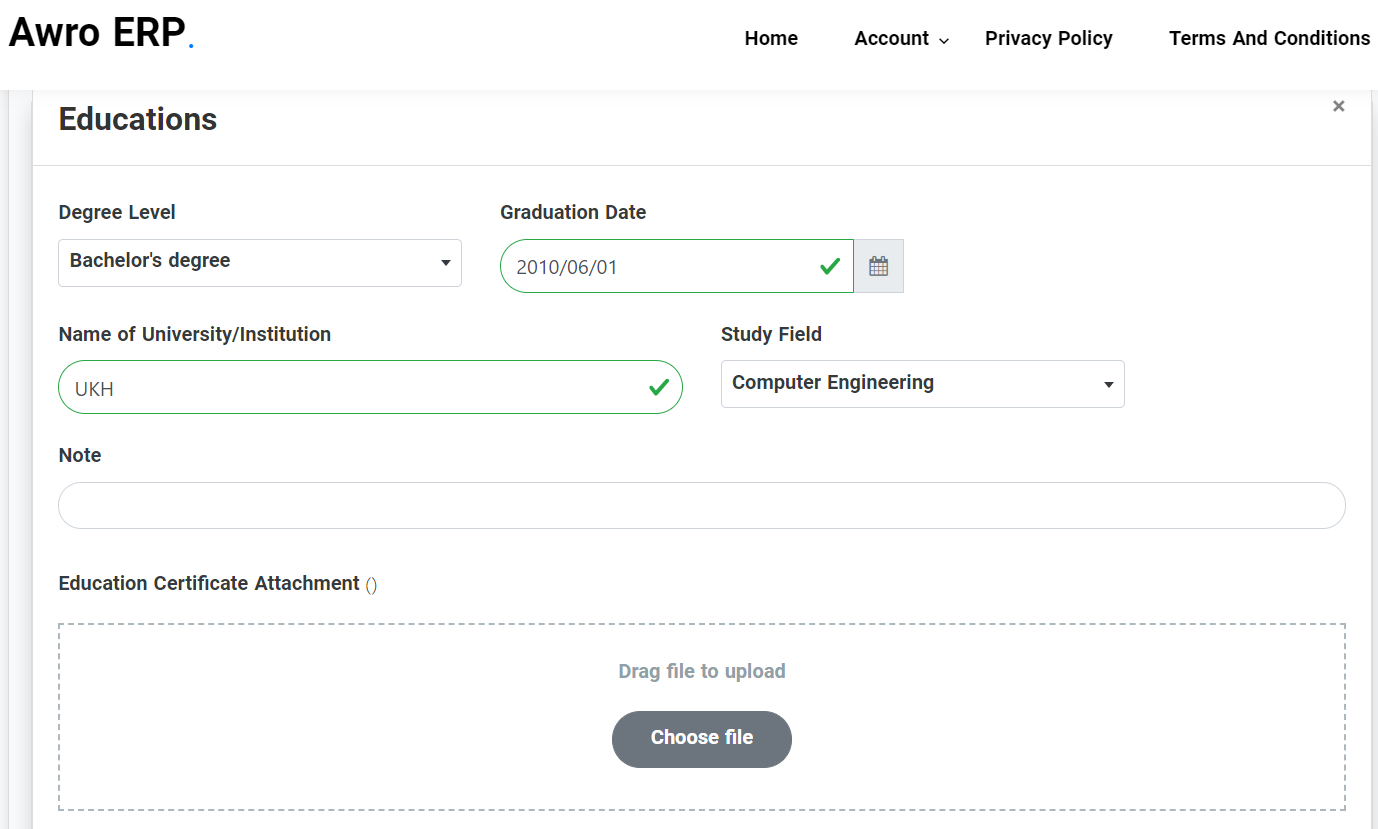
For adding an extra attachment click on  Continue adding your info and then click on
After submission, a confirmation email will be sent to your email
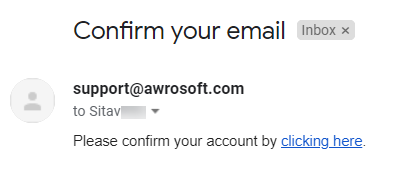
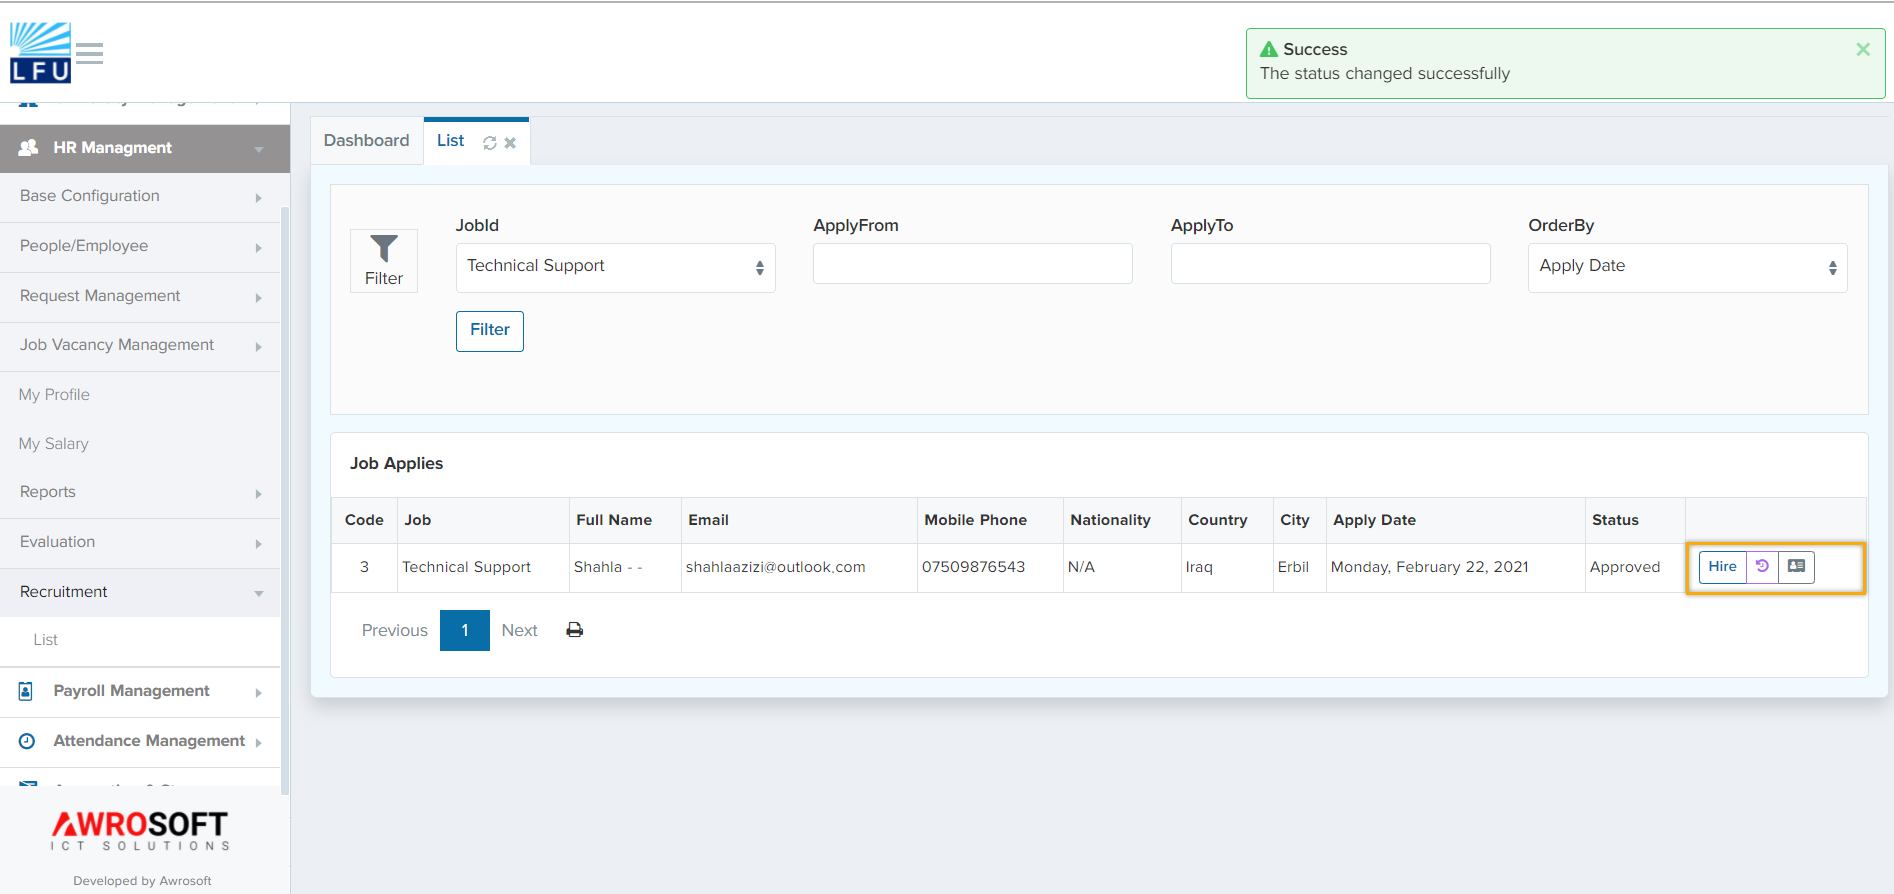
After that, the job vacancy applications will apear in the “Recruitment List” of the job creater.
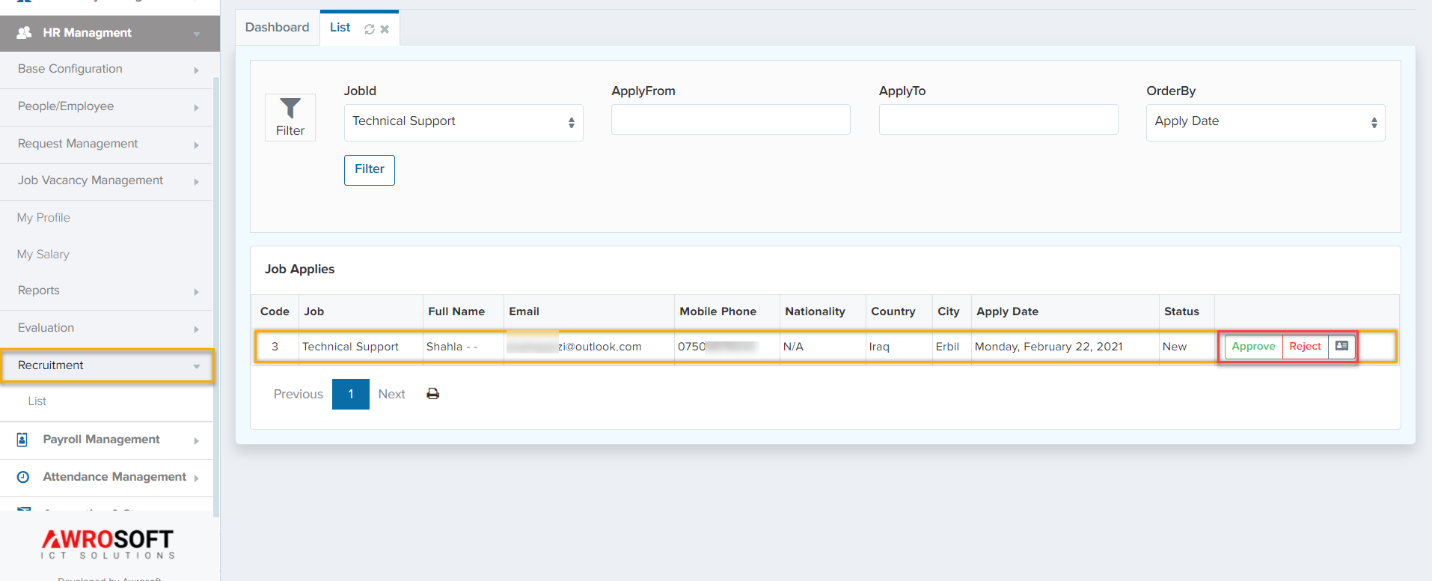
After approving the applicant you can hire him/her automatically by clicking on 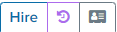 as shown in the below figure
Accounting Managementback to top
This module ensures the safety on investments and optimum fund acquisition.
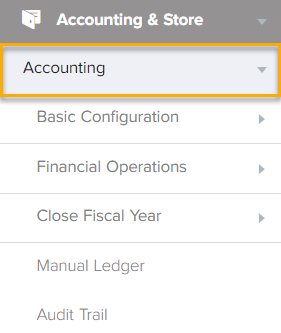
Basic Configurationback to top
Accounting -> Basic Configuration
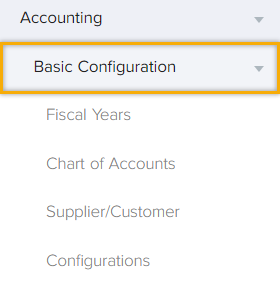
Basic Configuration consists of Fiscal years, chart of accounts, supplier/customer and configurations.
Fiscal Year
Accounting -> Basic Configuration -> Fiscal Year
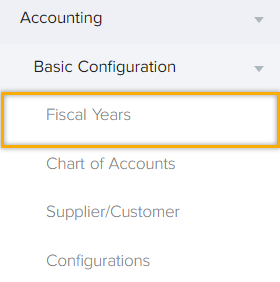
Fiscal year is a period of time that the companies and governments use for financial reporting and budgeting. For defining a new fiscal year click on “Fiscal Years” and then “+” sign as shown below.

After hitting on “+” sign the below window will pop up.
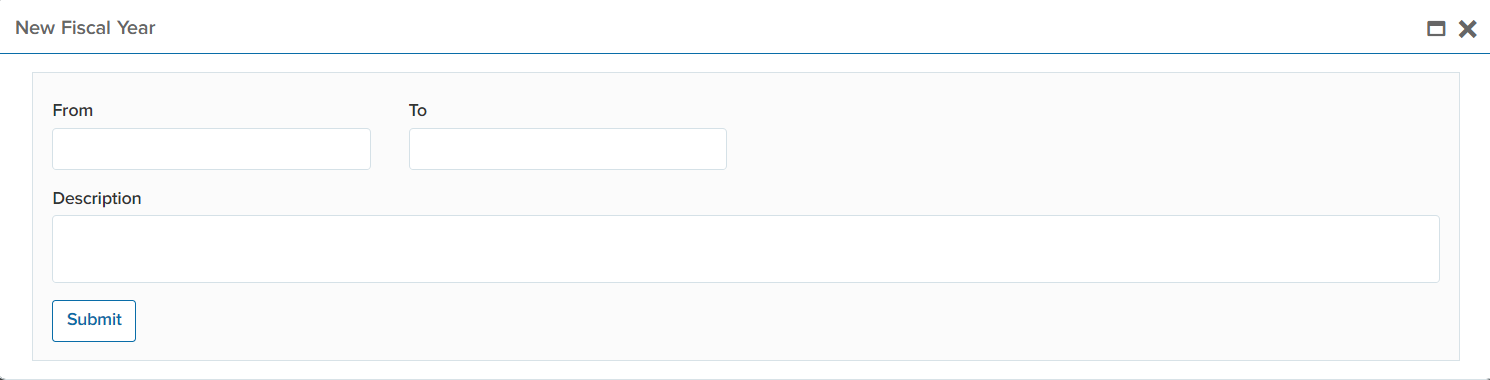
In this tab, you are able to set the starting and ending year of this fiscal year. And “Submit” it.
Chart of Accounts
Accounting -> Basic Configuration -> Chart of Accounts
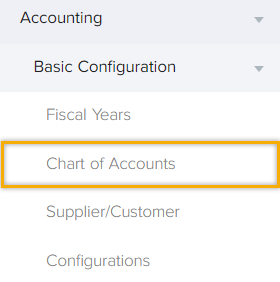
Chart of Accounts consists of some groups and categories to simplify the transactions as well as a list of financial accounts that a company has identified and made available for recording transactions in its general ledger. Generally, the system works with the transactions, the groups (Expenses) are only for categorizing and simplifying transactions. You are able to add new groups by right clicking on the existing accounts as shown below.
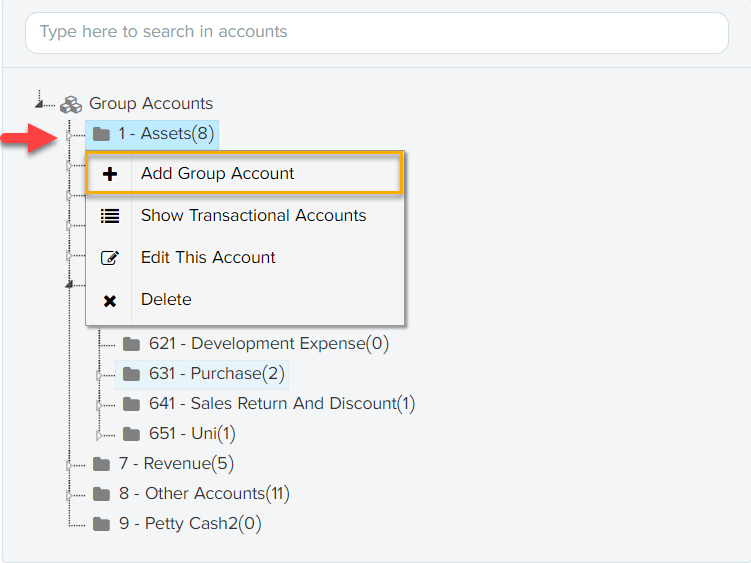
Similarly, you can add sub-groups to categorize your accounts. You are able to add a transaction on the last level of the groups as shown in the below figure.
The group accounts have the  icon, in addition the transactions have the icon. To add a new transaction, you must right click on the last level of the account group and click on the Add/Show Transaction Account/s.
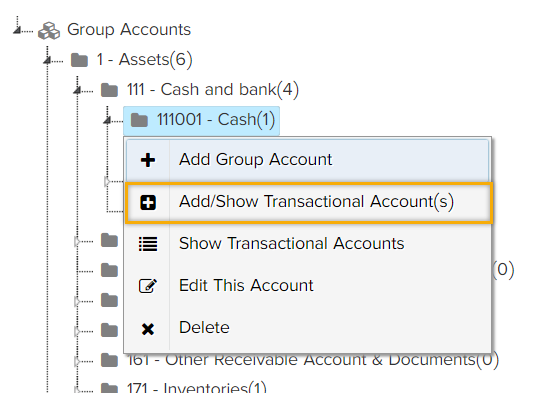
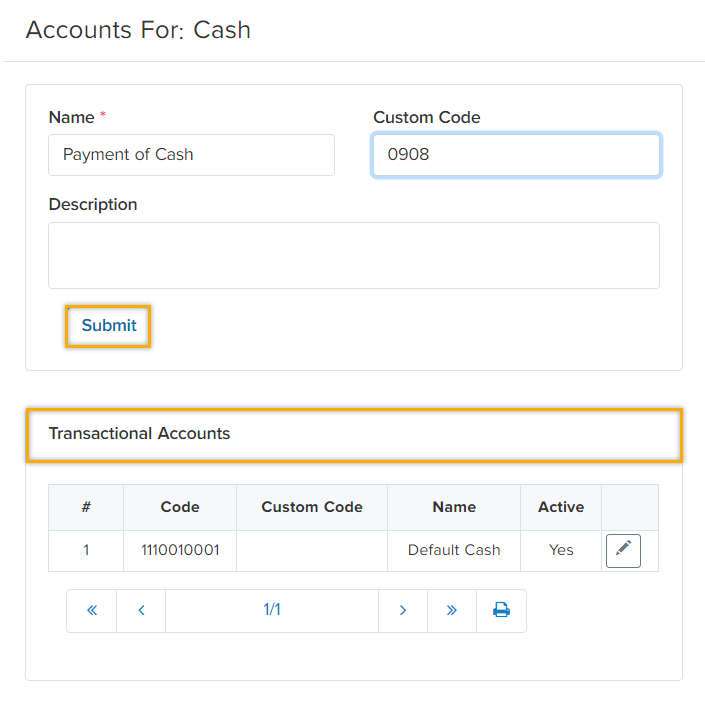
When you click on Add/Show Transactional Account/s, the below window will pop up.
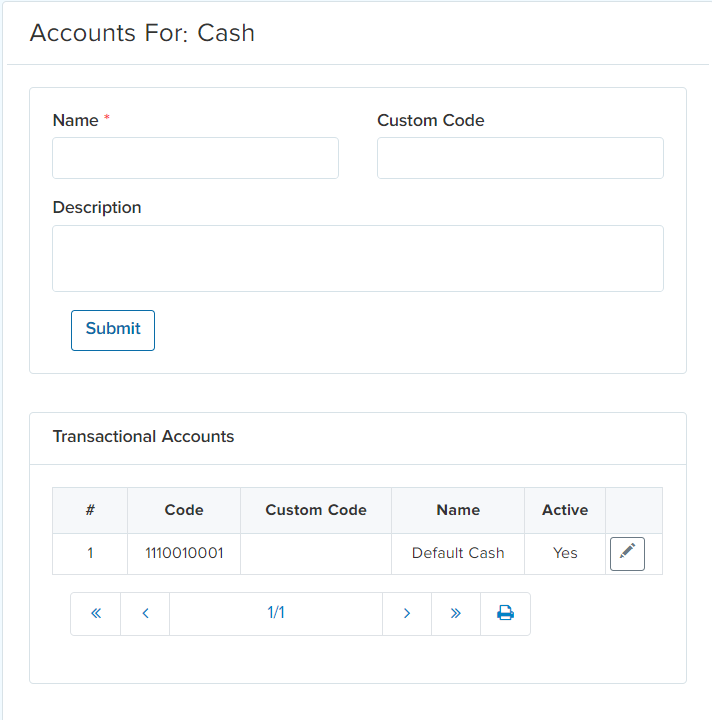
Define the transaction in “name” tab. Custom code is a short account code used as simplification. And then “Submit” it. In addition, all the transactions of this account will be shown in a hierarchical order.
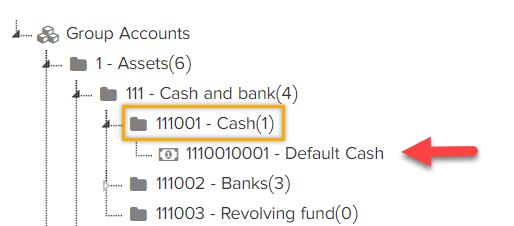
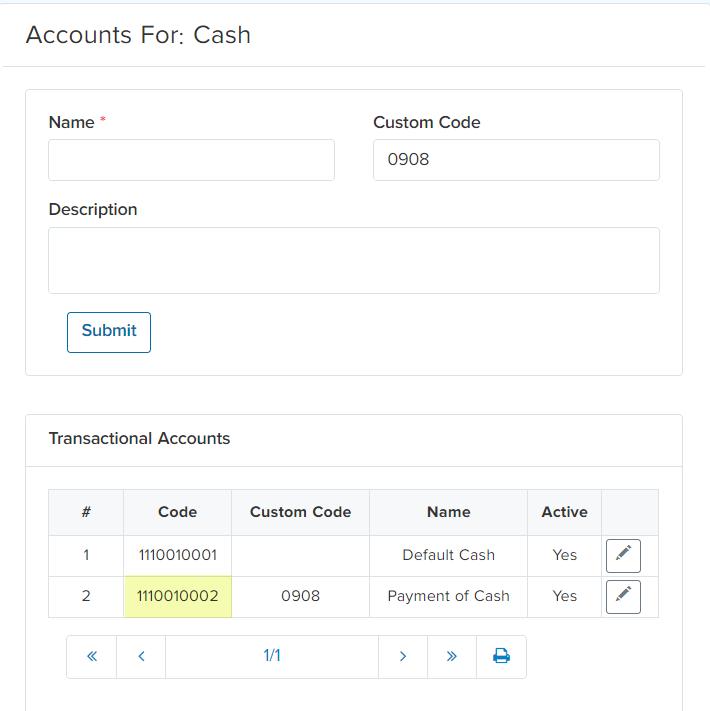
System will automatically generate a code for that specific transaction as shown below.
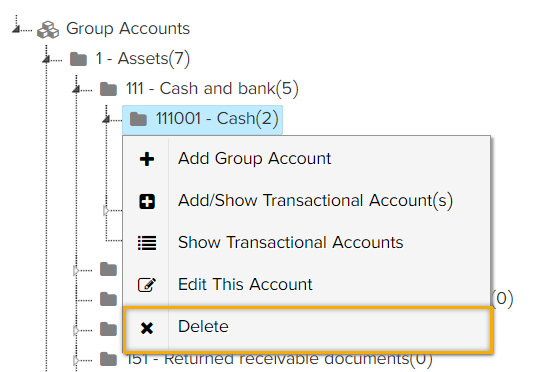
Another action is showing transactional accounts of a specific group, right click on the group and the below tab will appear.
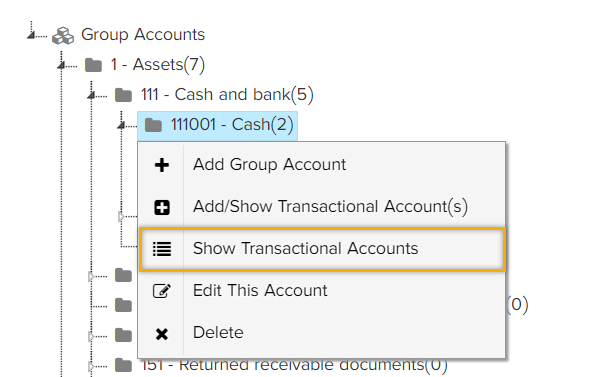
After clicking on the “Show Transactional Accounts” the below window will appear which shows the list of the group’s transactional accounts.
Another action is editing account, if you right click on the group account “Edit This Account” will allow you to update the custom code.
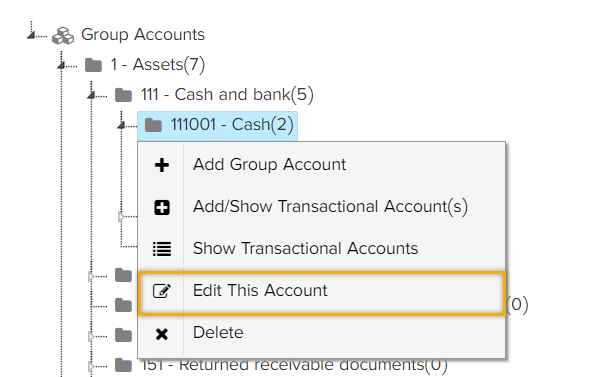
While if you want to edit the transactions, right click on the transaction and hit the “Edit This Account”
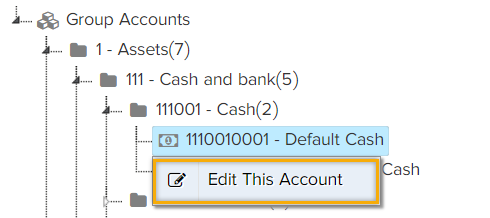
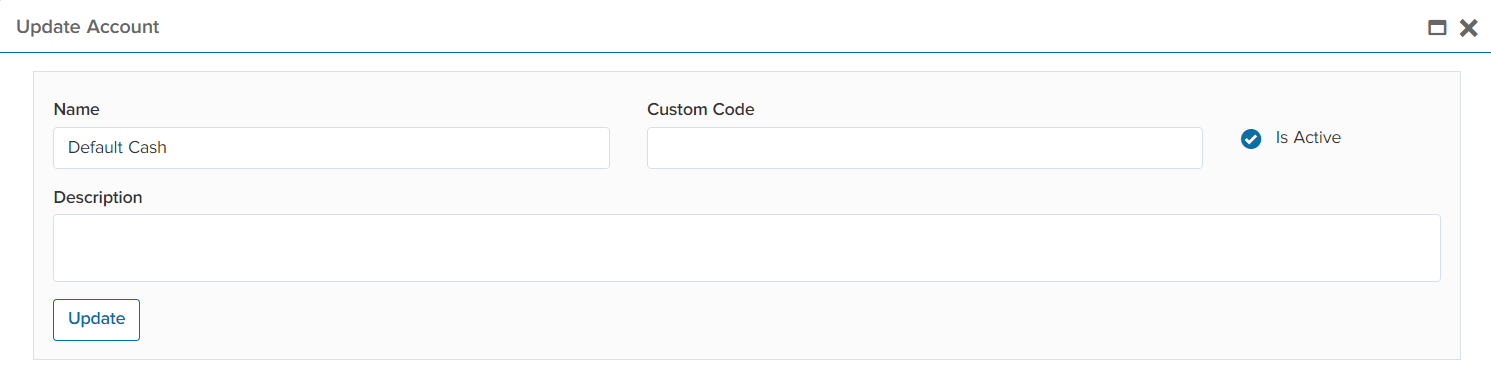
When you hit “Edit This Account” the below window will appear. Finally, hit “Update”.
Last but not least, for deleting accounts you are able to delete the transactions by clicking on “Delete”.
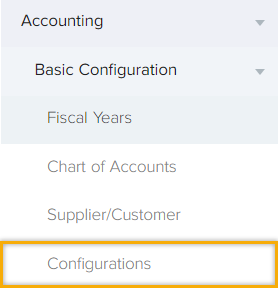
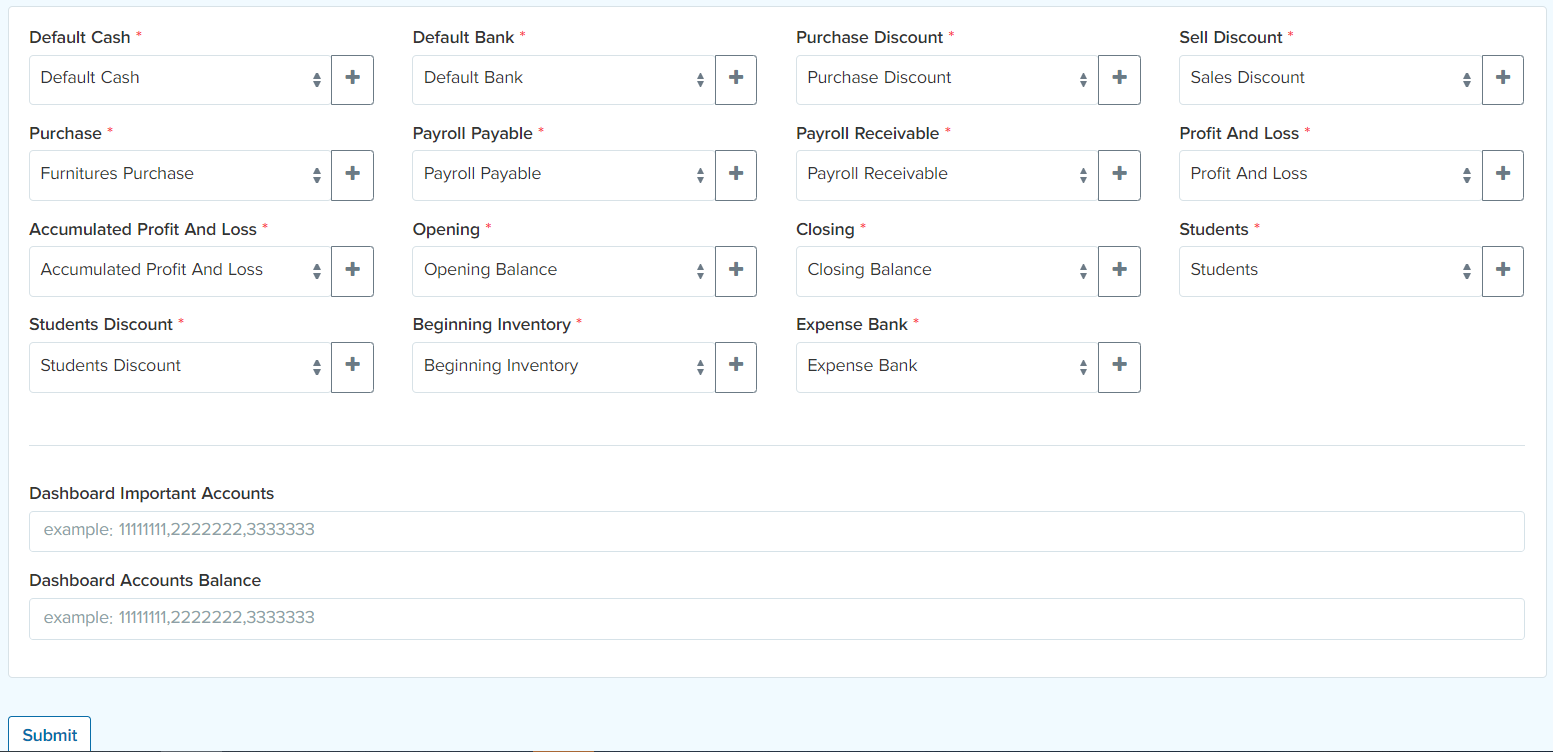
Configuration
Accounting -> Basic Configuration -> Configurations
This tab consists of configuring and setting your accounts by the admin in order to track the transactions on the configured accounts whenever you have an expense, revenue, discount…etc. Thus, there is a connection between Supply Chain module and Accounting. In addition, you can also set your currency type in the configuration tab and submit it.
Financial Operationsback to top
Accounting -> Financial Operations
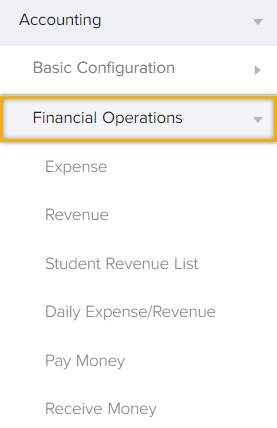
This tab consists of the expense, revenue, pay money, receive money and daily expense/revenue.
Expenes
Accounting -> Financial Operations -> Expenes
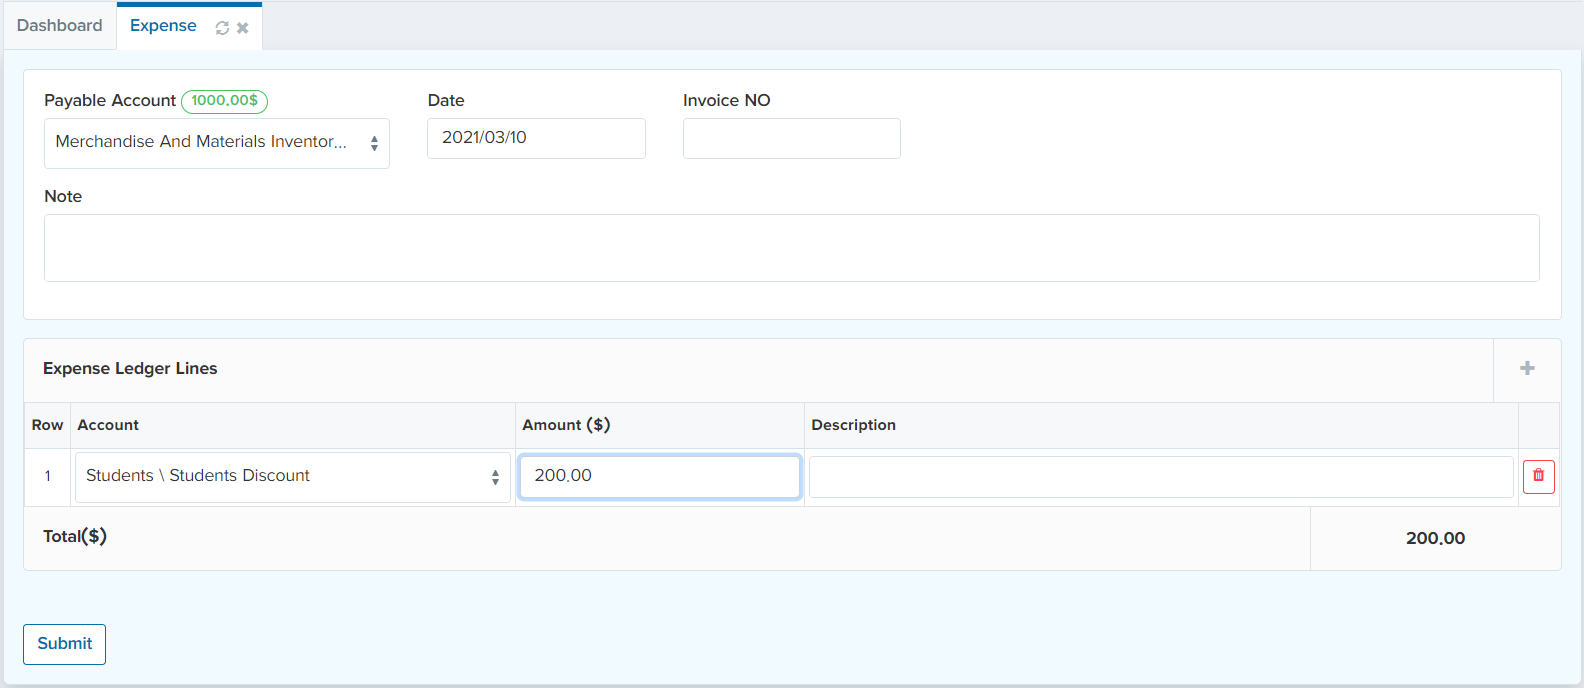
Expense is the cost of operation that a company incurs to generate a revenue. Therefore, in this tab you will define the expenses of your organization/company. “Payable Account” tab is the account within the general ledger that represents company’s obligation to pay off a short-term debt to its supplier/customer. Moreover, the payable accounts show the updated balance in a green box .
In addition, the “Date” of the expense should be set as well as the invoice number. To define an expense, click on “+” sign in “Expense Ledger Line” section as shown below.
.
In addition, the “Date” of the expense should be set as well as the invoice number. To define an expense, click on “+” sign in “Expense Ledger Line” section as shown below.
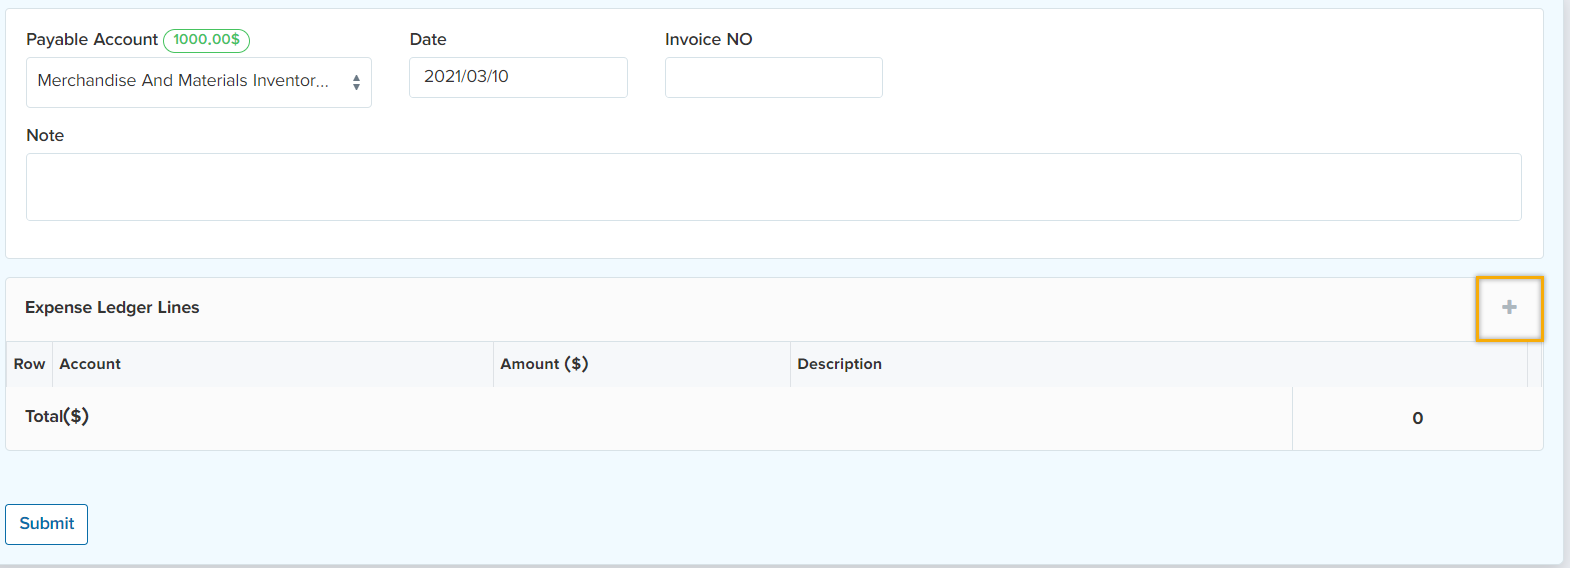
After clicking on “+” sign, you are able to define the expense by selecting the account (for which reason the expense is being defined) and the amount of the expense. And then click on “Submit”. This way you have defined an expense to the system which will be paid according to the selected payable account. The figure below shows the details of the expense.
Revenue
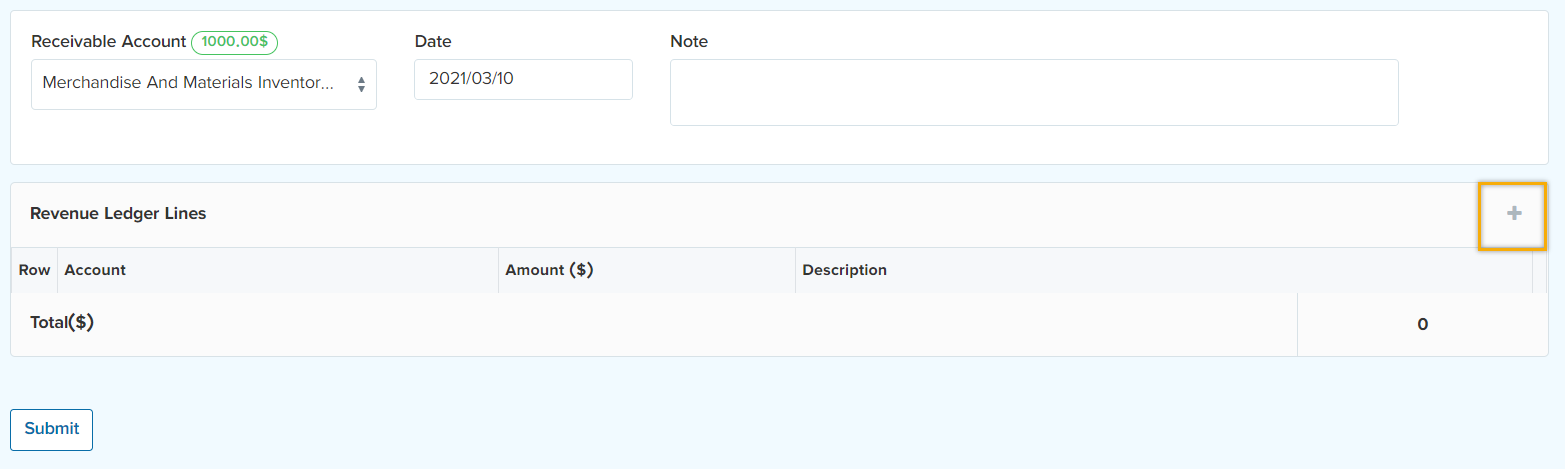
Accounting -> Financial Operations -> Revenue
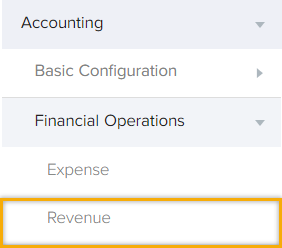
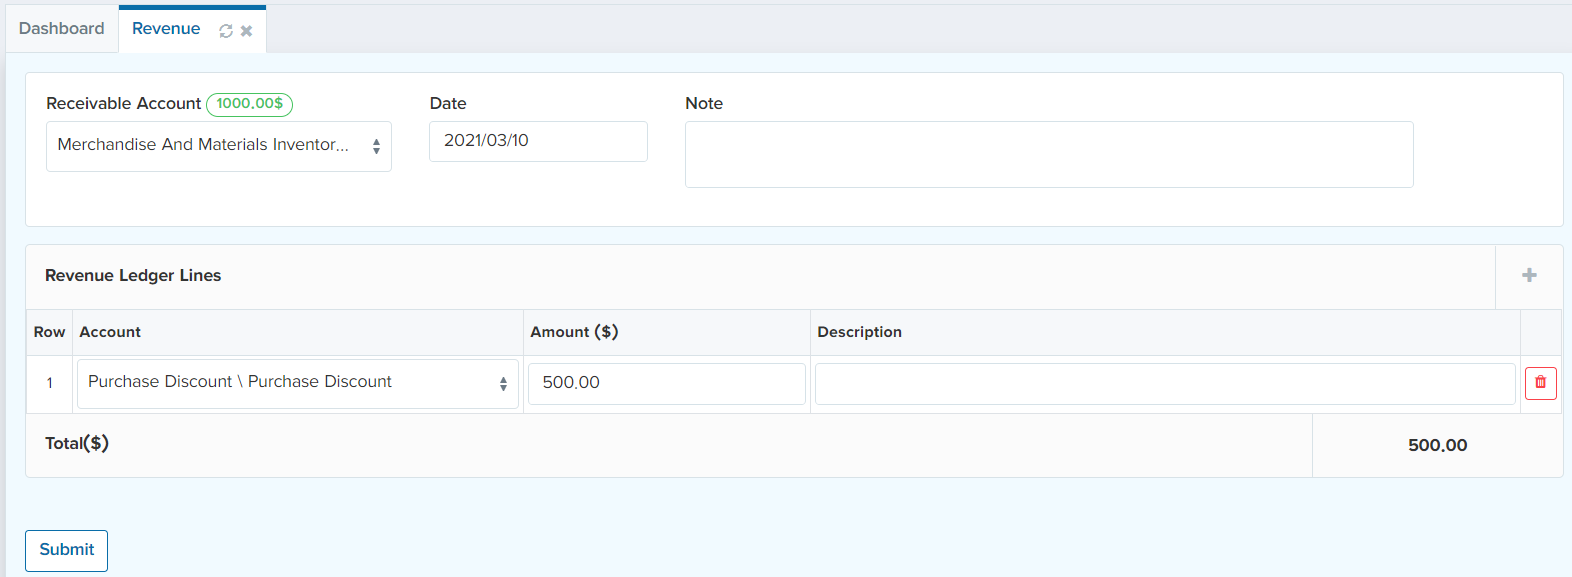
Revenue is the total amount of income generated by the sale of goods or services related to the company's primary operations. Therefore, in this tab you will define the revenue of your organization/company. “Receivable Account” tab is the account within the general ledger that represents money due company short-term. Moreover, the receivable accounts show the updated balance in a green box . In addition, the “Date” of the revenue should be set as well as the invoice number. To define a revenue, click on “+” sign in “Revenue Ledger Line” section as shown below.
After clicking on “+” sign, you are able to define the revenue by selecting the account (for which reason the revenue is being defined) and the amount of the revenue. And then click on “Submit”. This way you have defined a revenue to the system which will be received according to the selected receivable account. The figure below shows the details of the revenue.
Daily Expense/Revenue
Accounting -> Financial Operations -> Daily Expense/Revenue
This tab consists of all the daily expenses/revenues along with their invoice number, date, amount and notes if available.
Close Fiscal Yearback to top
Accounting -> Close Fiscal Year
This tab provides an overview about the earnings and the pay outs of the fiscal year. Close Fiscal year refers to the completion of a one-year, or 12-month, accounting period. If a company has a fiscal year-end that is the same as the calendar year-end, it means that the fiscal year ends on December 31. In addition, you are able to close your fiscal here in this tab.
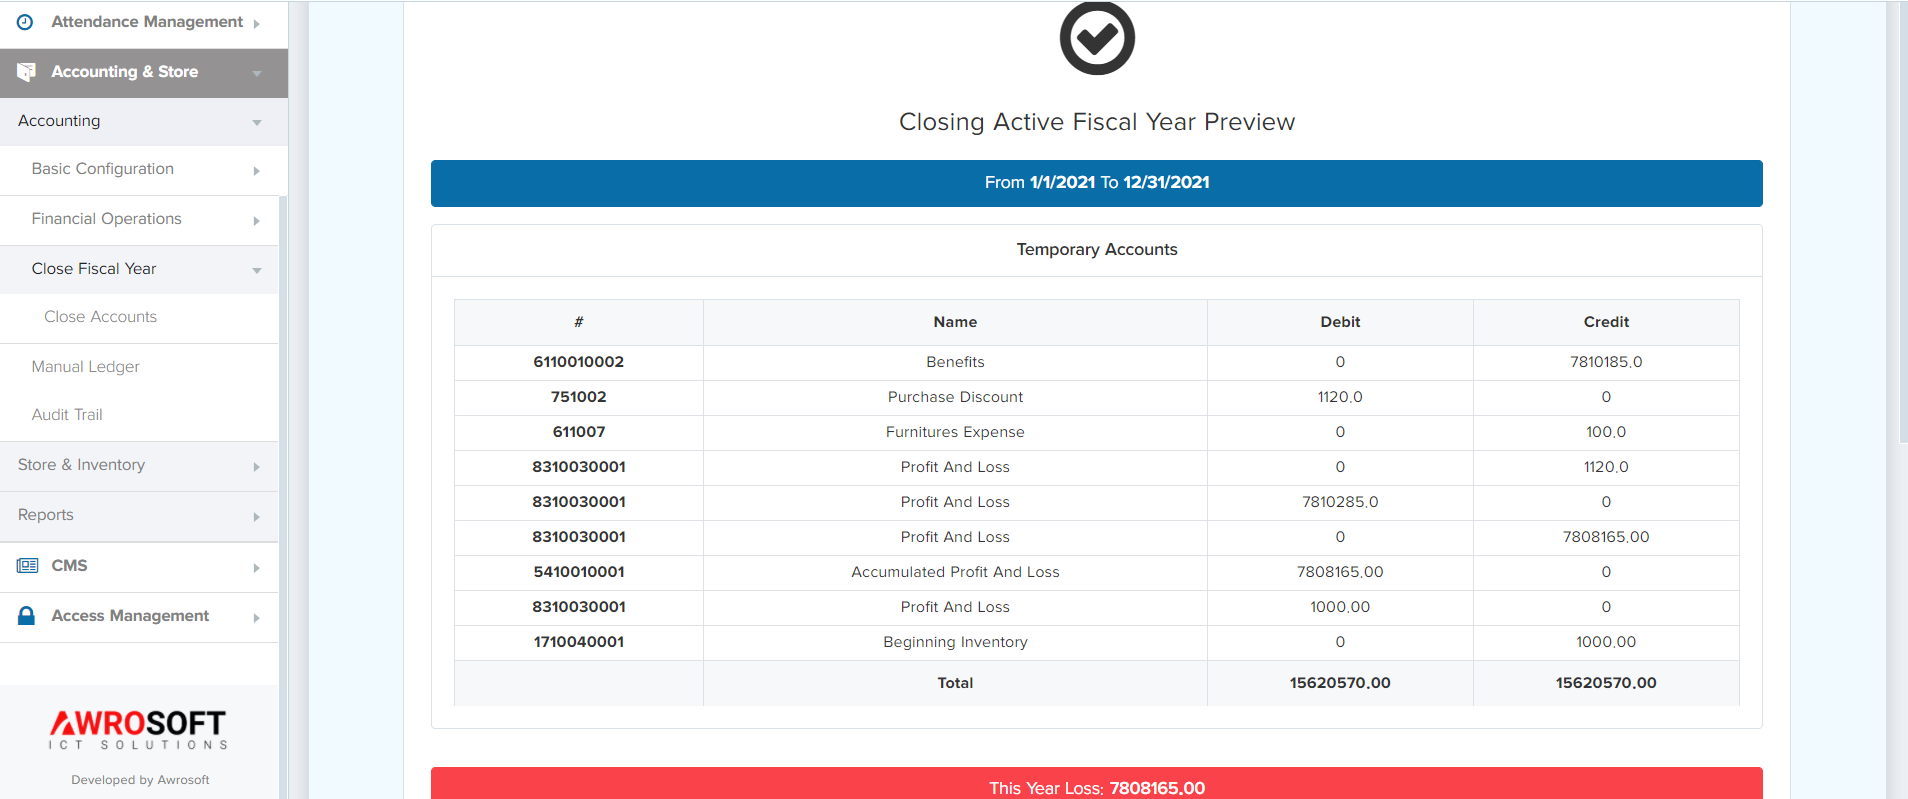
For closing a fiscal year click on the “Close This Fiscal Year”. Additionally, you can print the layout by clicking on the 
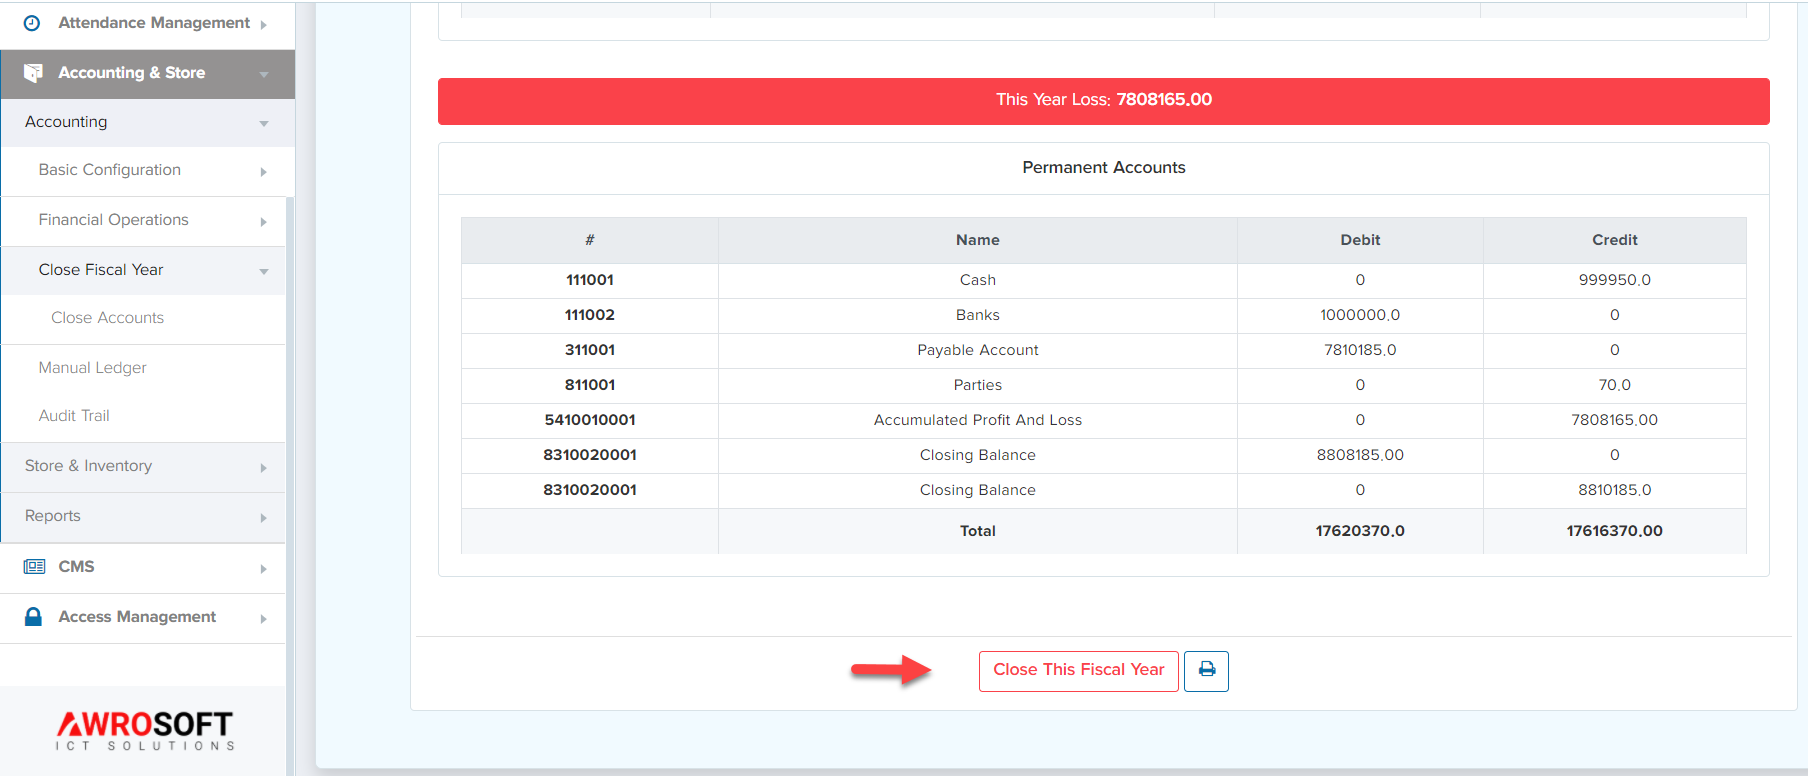
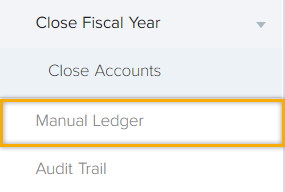
Manual Ledgerback to top
Accounting -> Manual Ledger
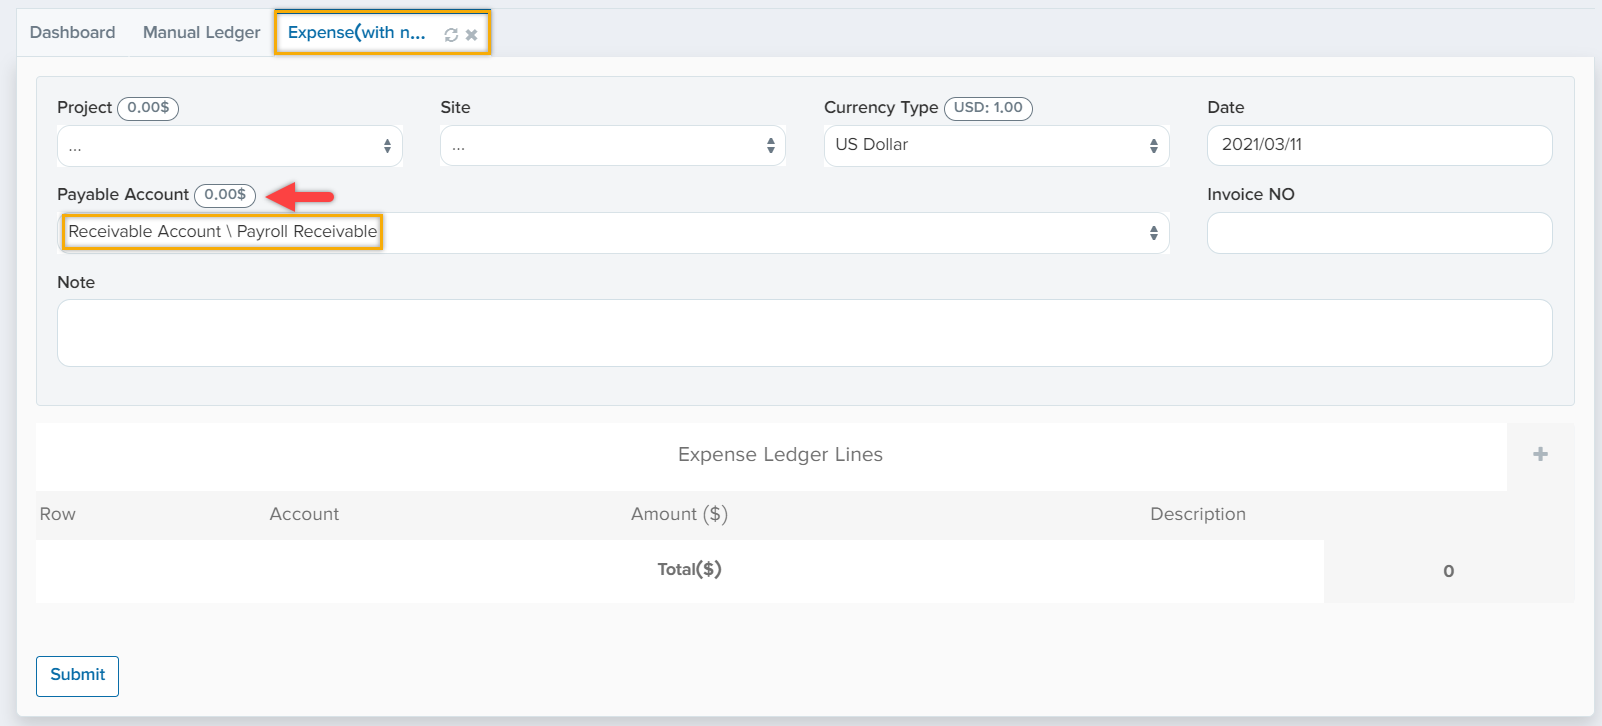
In this tab you are able to transfer money from one account to another. In this case, an amount of money will be counted as debit for one account and credit for another account. For example; you want to transfer money form (Cash) account to (payroll Receivable) account. Note that the payroll receivable account has zero balance as shown below.
And Cash account is $20903.10 as shown below.
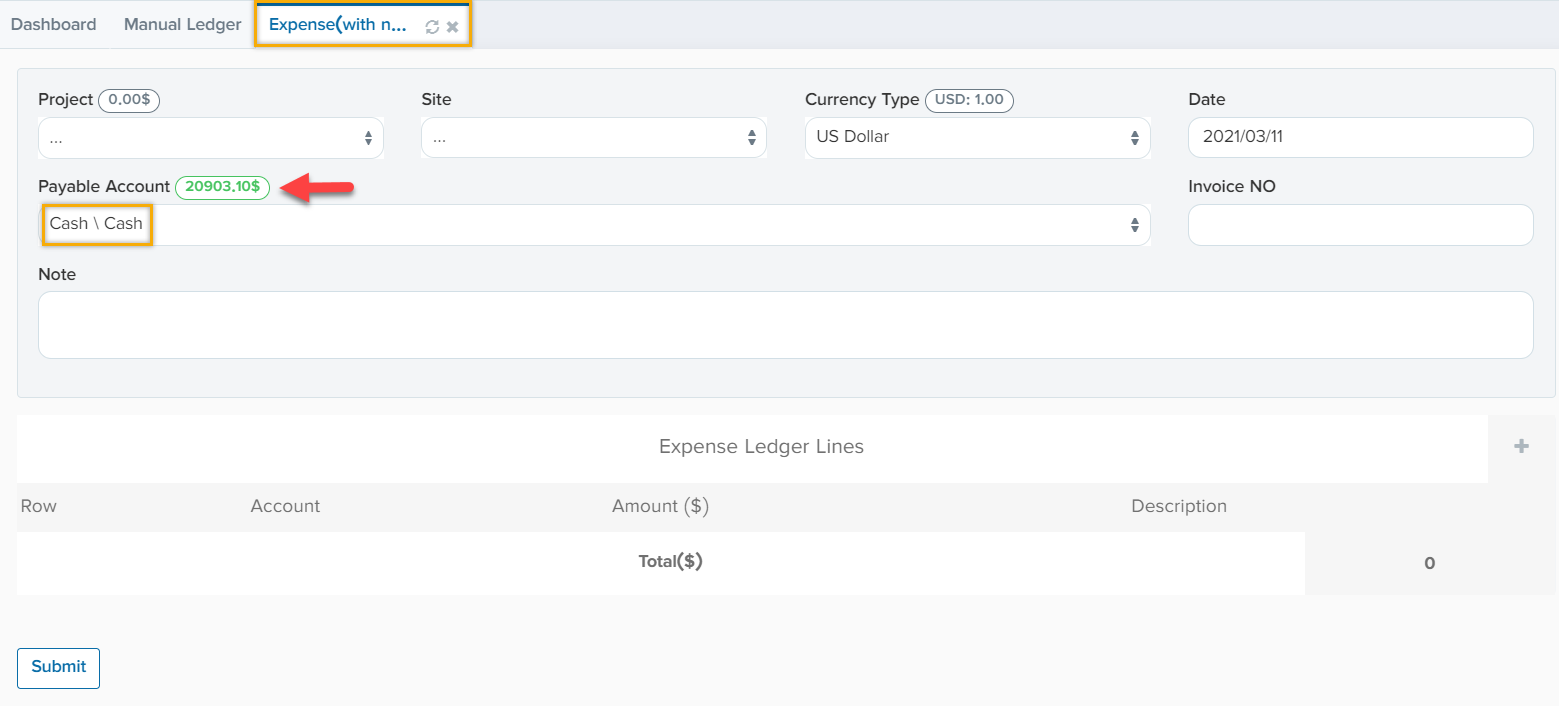
For transferring money form cash account to payroll receivable account, click on manual ledger.
Then click on the “+” sign. Then add the account that you want to transfer money from (for example; cash) and write the amount of the money in the “Credit” section. Additionally, add another row to receive the money (for example; payroll receivable) and add the amount that it will receive in “Debit” section. This way one account will be debitter and the other one will be the creditor. And then click on “Submit”.
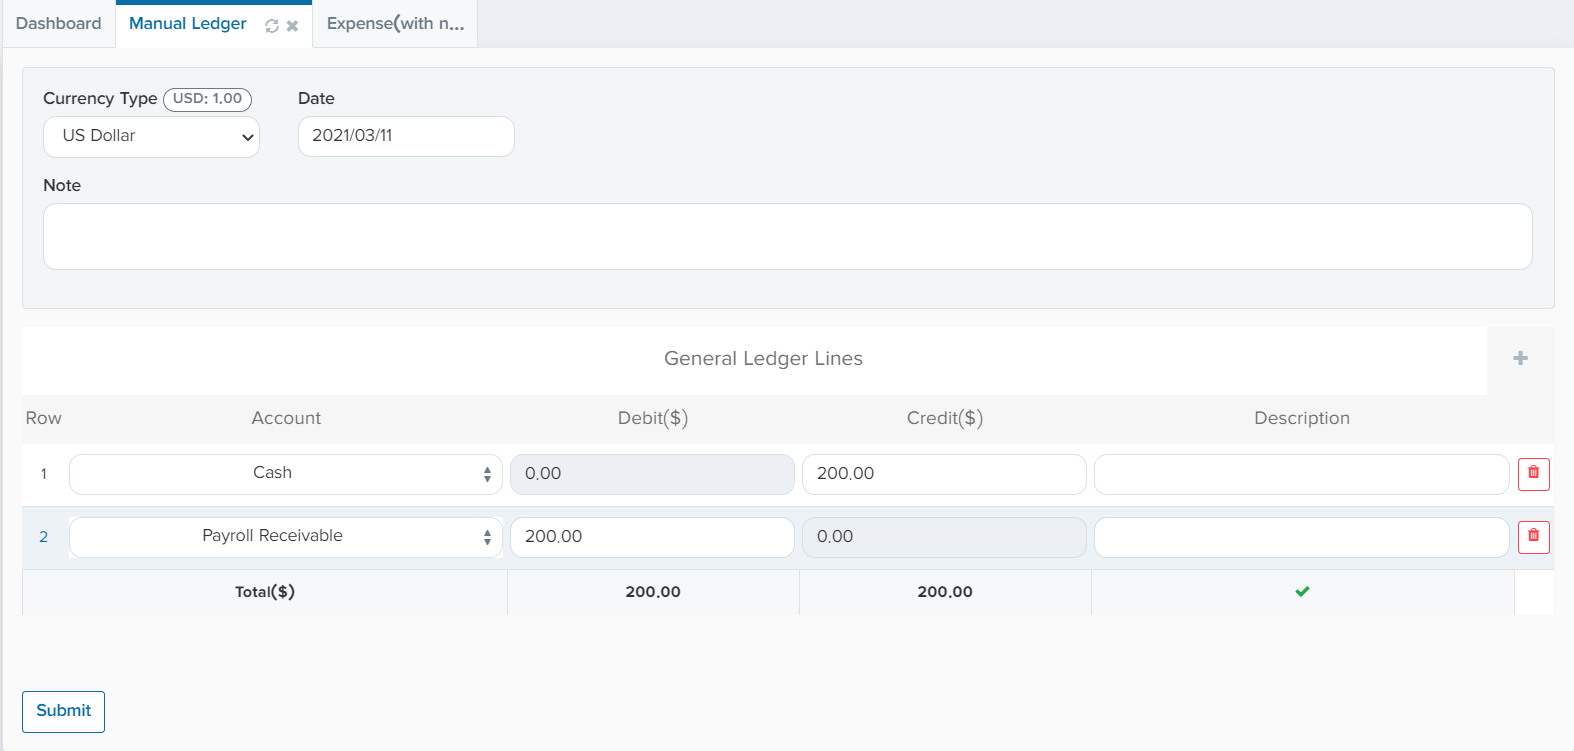
After clicking on “Submit”, the money will be transferred between the accounts.


Audit Trialback to top
Accounting -> Audit Trial
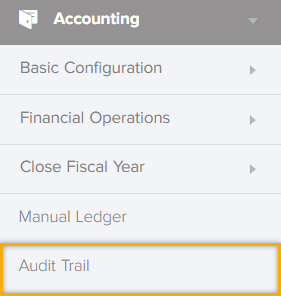
Audit trail is a step-by-step record by which accounting or trade data can be traced to its source. Audit trails are used to verify and track many types of transactions including accounting transactions and it will be documented in this tab date wise as shown below.
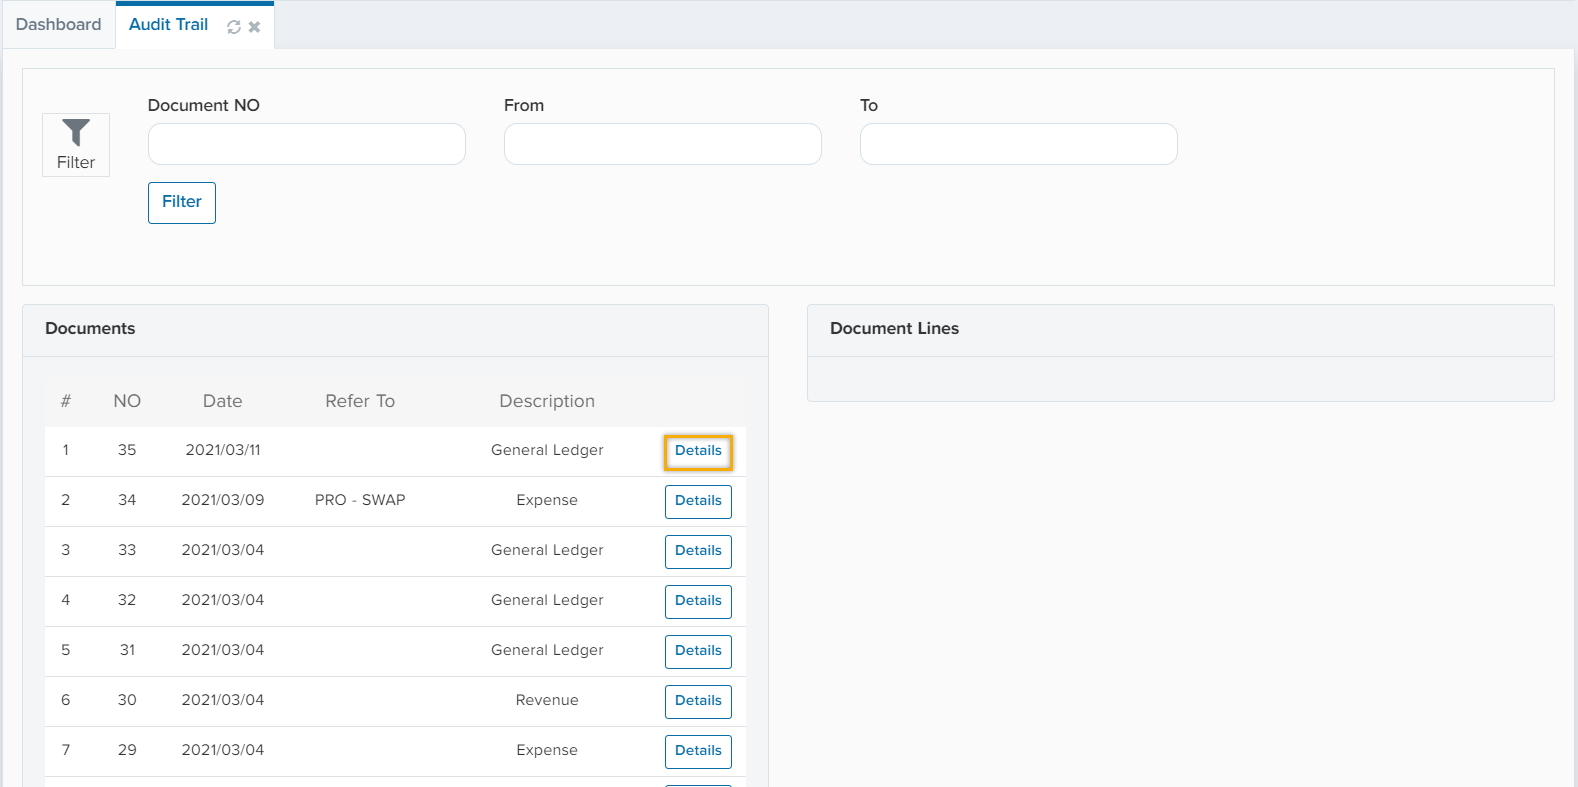
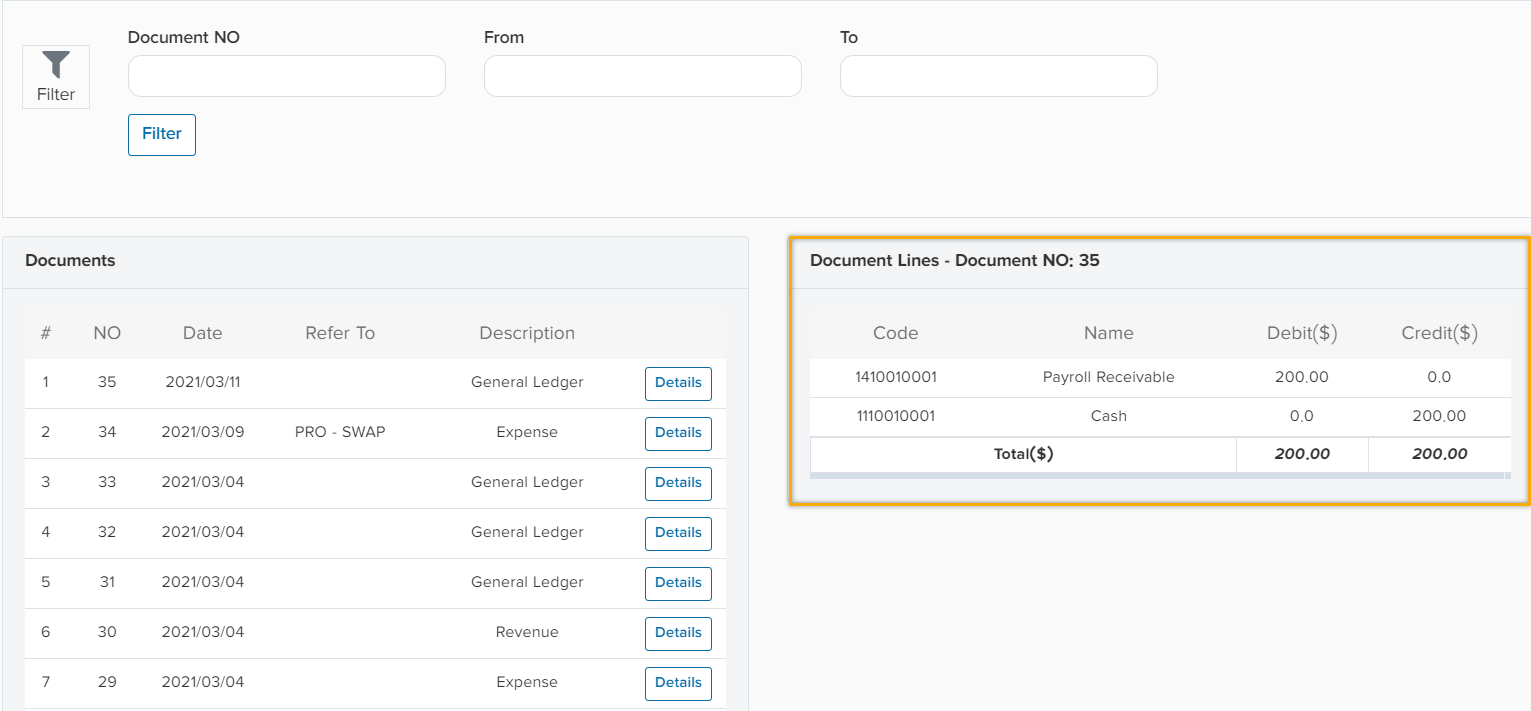
Click on “Detail” to see more details about the document. When you click on “Detail” the below window will pop up.
Reportback to top
Accounting -> Report
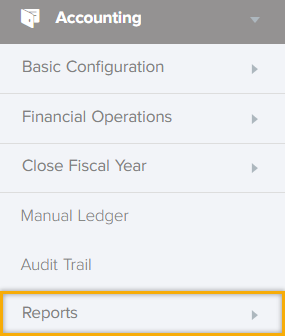
This tab consists of several reports that presents the financial status of an organization/company at a certain point in time as well as tracking the details of the transactions. The below figure illustrates the report tab.
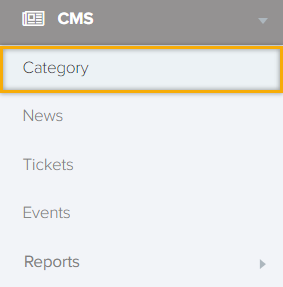
CMSback to top
Content management system, often abbreviated as CMS, is a software that helps users to create and manage content on the system without the need for specialized knowledge.
CMS -> Category
How to define Ticket, News or Events?
When you hit the “Category” tab, for adding a new category hit the “+” sign as shown below.
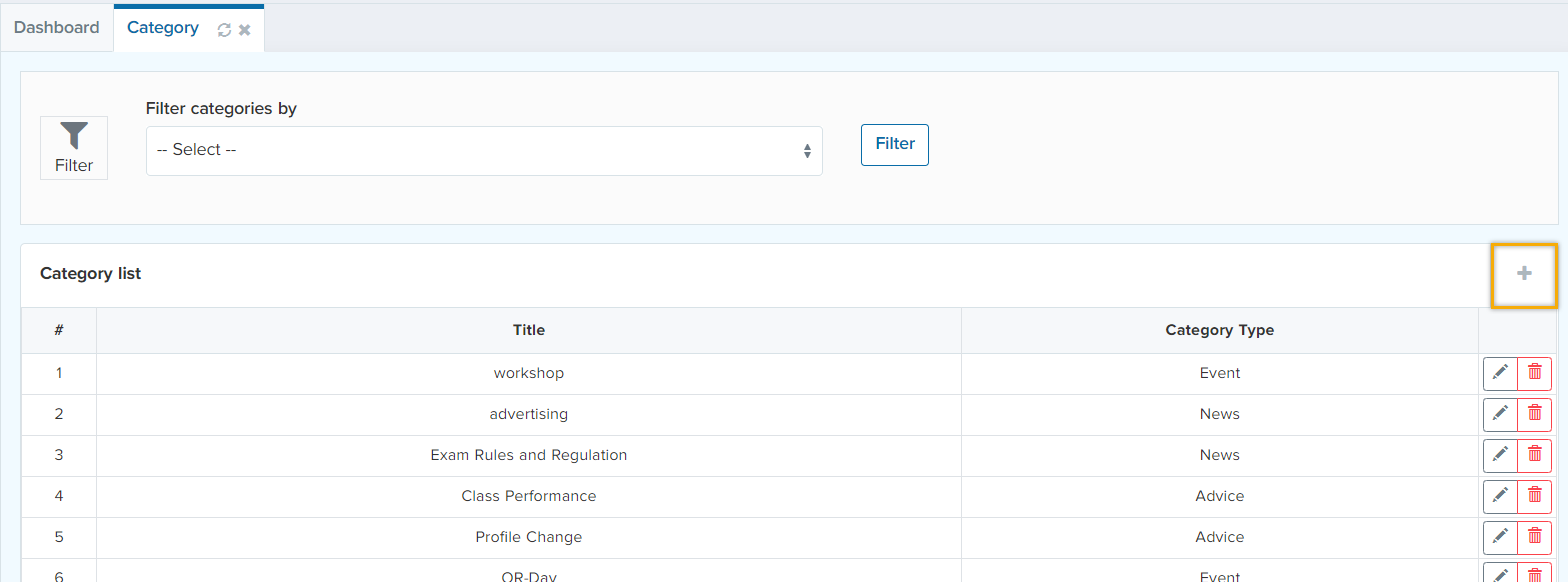
When you hit the “+” sign, the below window will be shown.
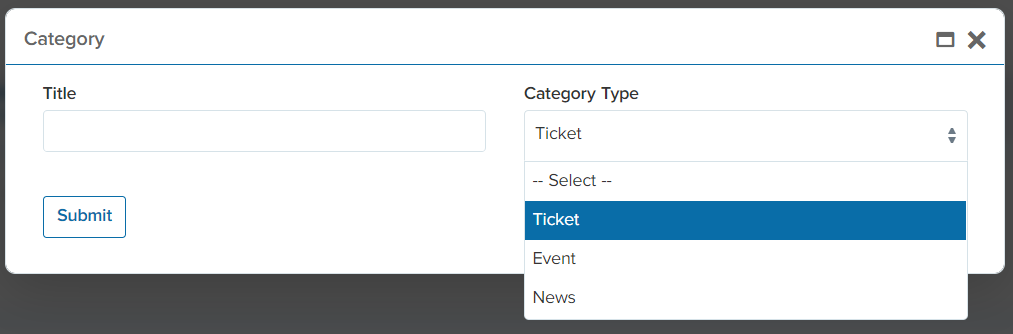
You are able to define the “Title” and select its category type.
Newsback to top
How to define Ticket, News or Events?
CMS -> News
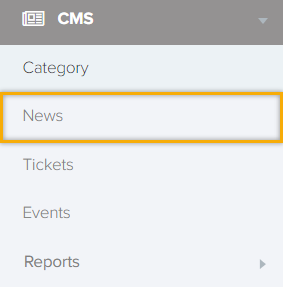
The below window will be shown after hitting the “News” tab. In addition, for adding a news click on the “+” sign. 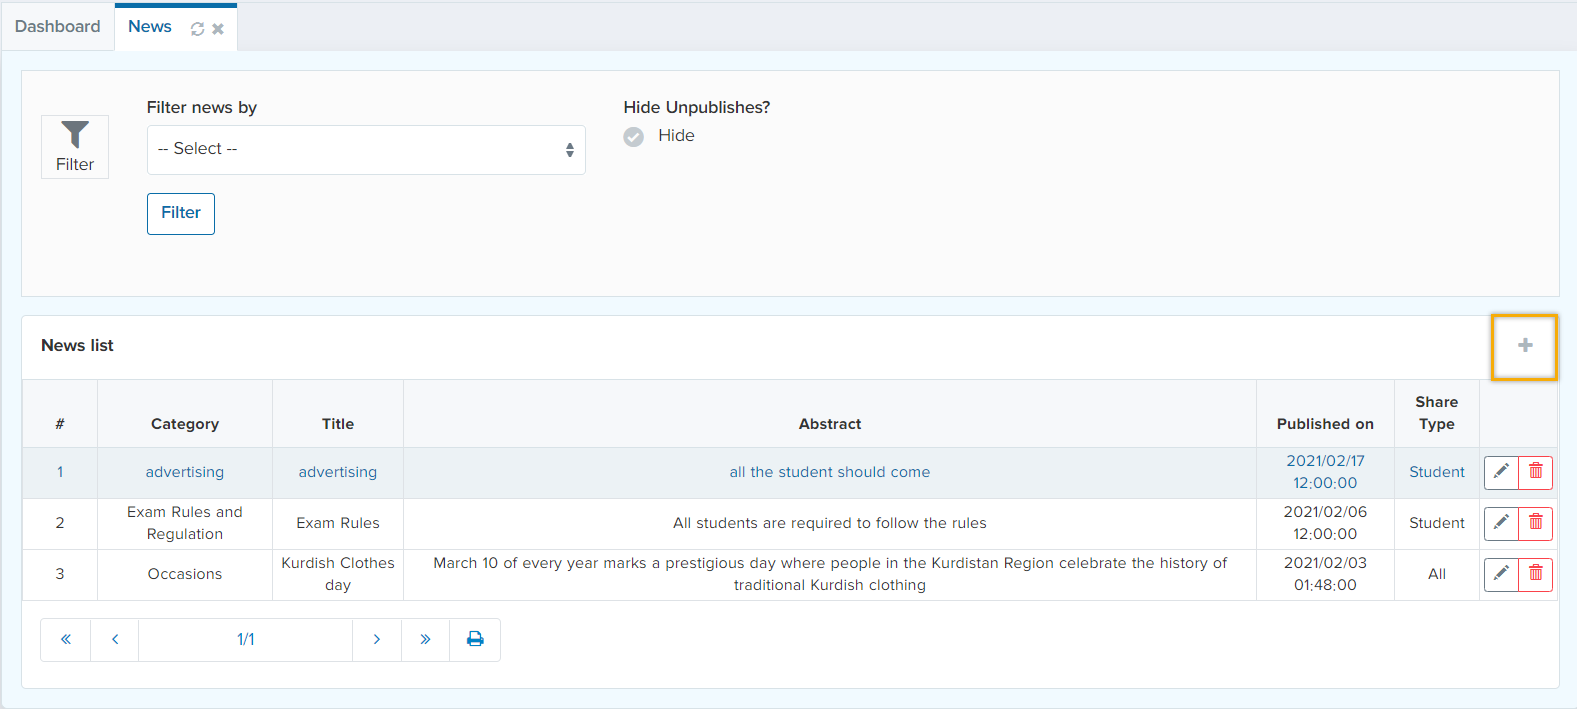
When you hit the “+” sign the below window will appear.
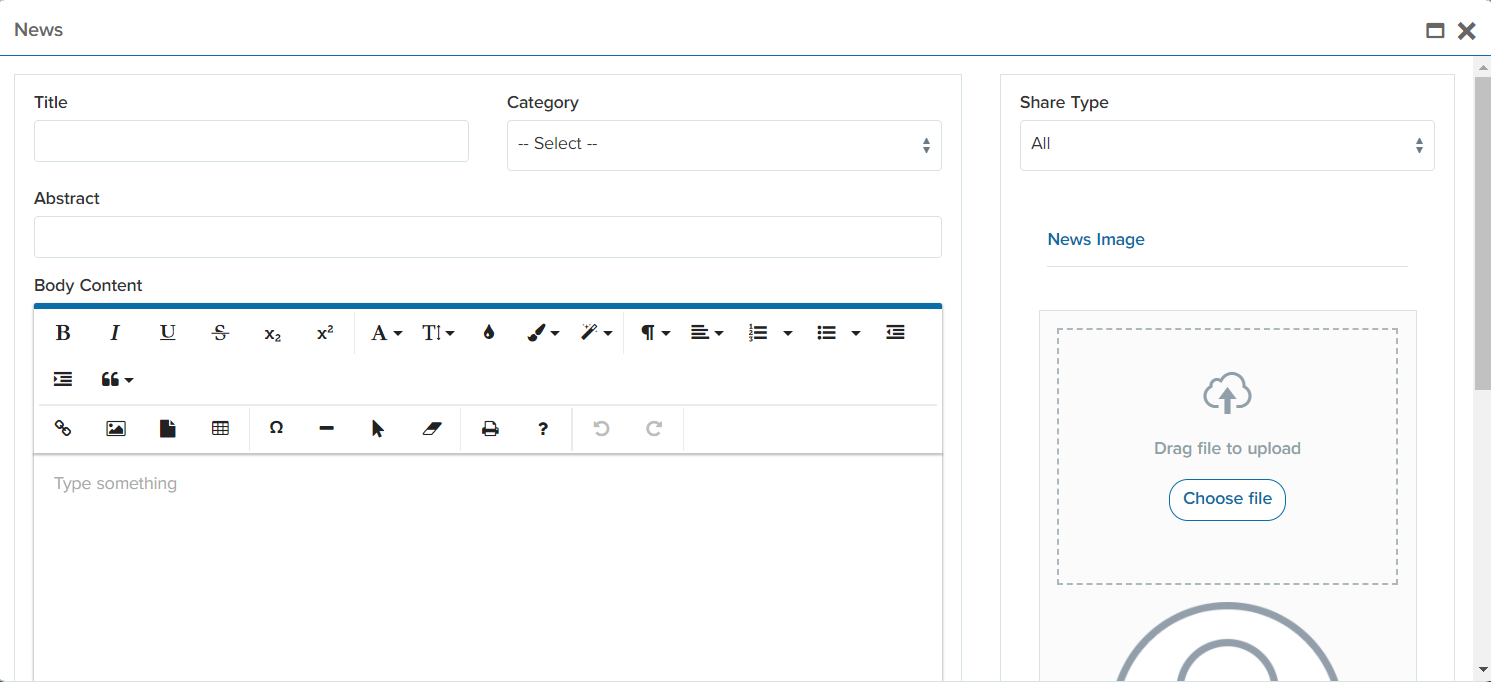
In this tab you are able to define the “Title” of your news. Additionally, selected the categories that you have made earlier. In the “Share Type” field, you are able to choose the participants of the knows and who do you want to share the news with. After that, you are required to express an “Abstract” for the news as well as attaching an image. In “Body Content” tab, you are able to write the details of the content of the news. For publishing the news, select the date and hit the “Publish” button. On the other hand, you are able to save the news as a draft if you are not willing to publish it yet. If you scroll down the window, you are able to see the below figure.
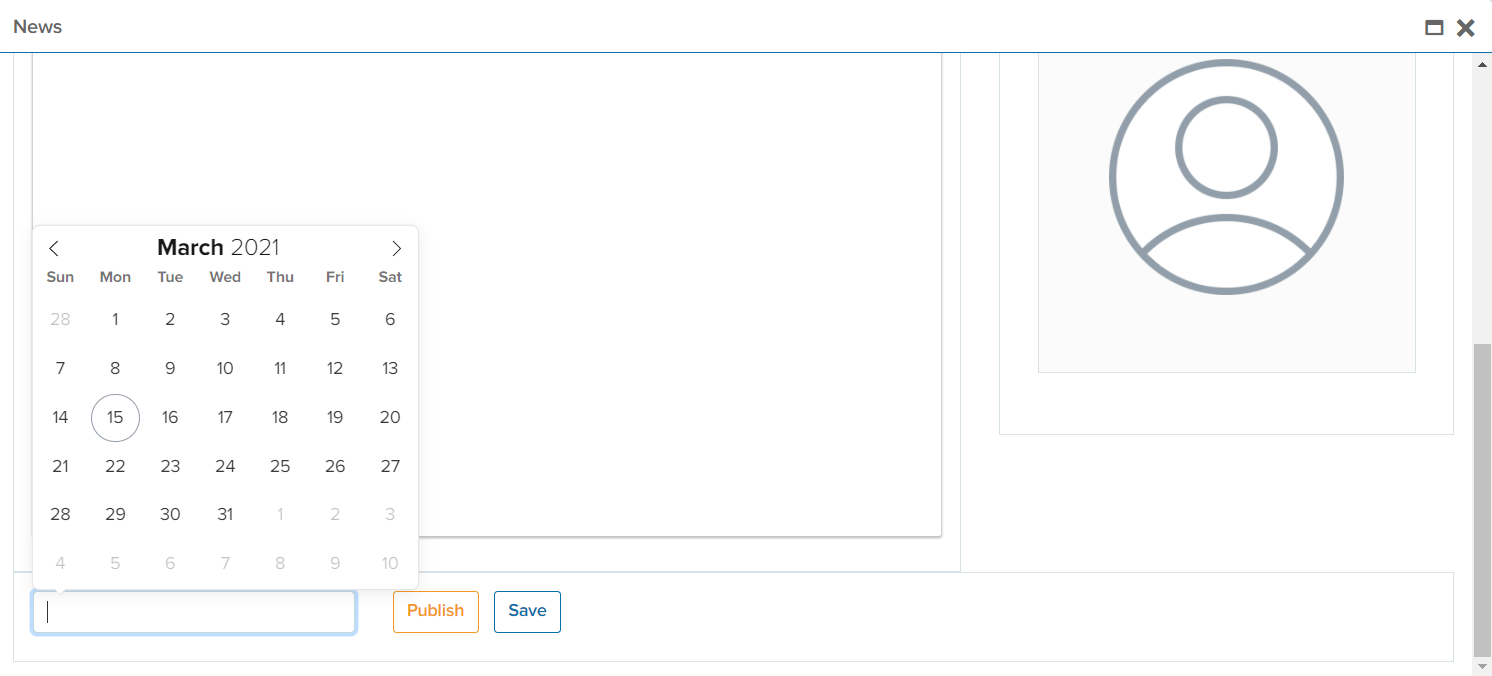
This way you have created a news.
Ticketsback to top
How to create tickets?
CMS -> Tickets
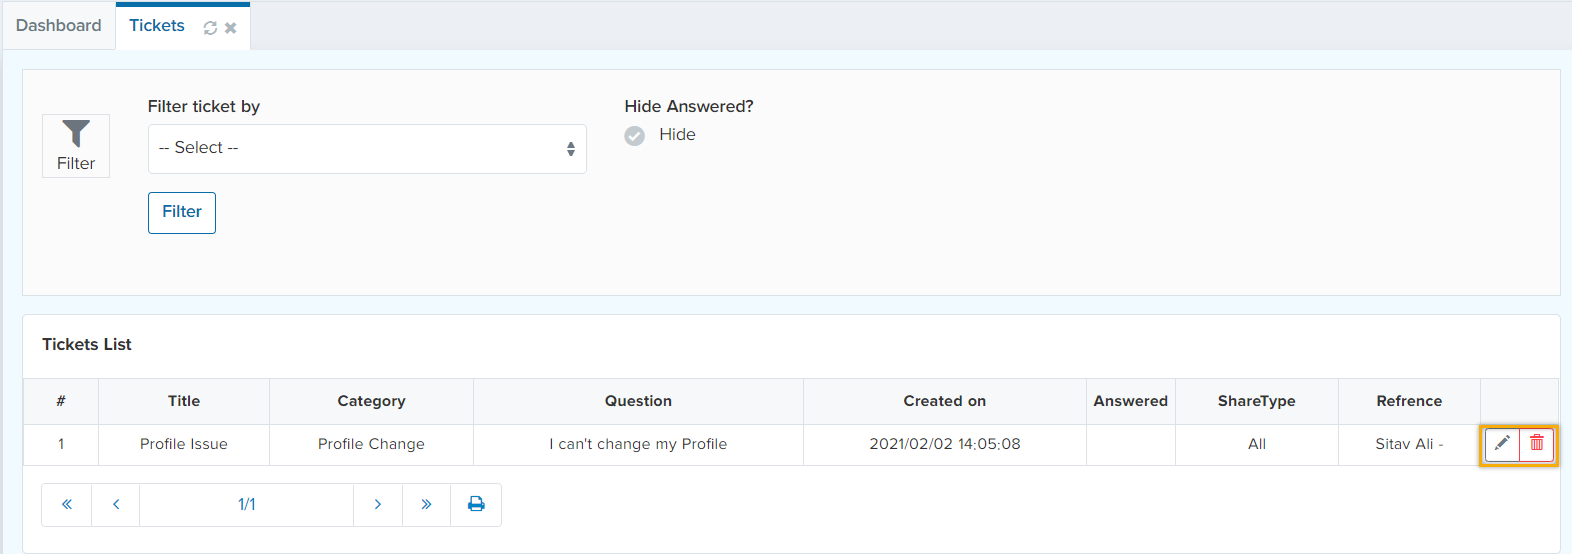
In this tab teachers are able to respond to student’s tickets by clicking on the “Edit” sign as shown below.
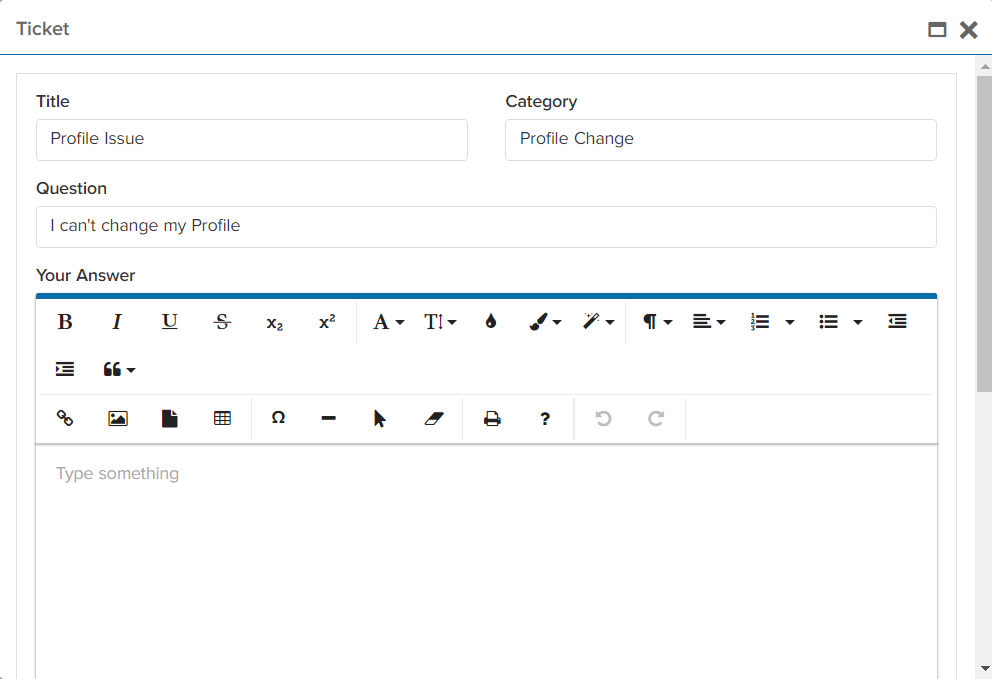
When you hit on the button, you are able to answer the ticket as shown below and hit the “Submit” button.
Eventsback to top
How to create Events?
CMS -> Events
The below window will be shown after hitting the “News” tab. In addition, for adding a news click on the “+” sign.

When you hit the “+” sign the below window will appear.
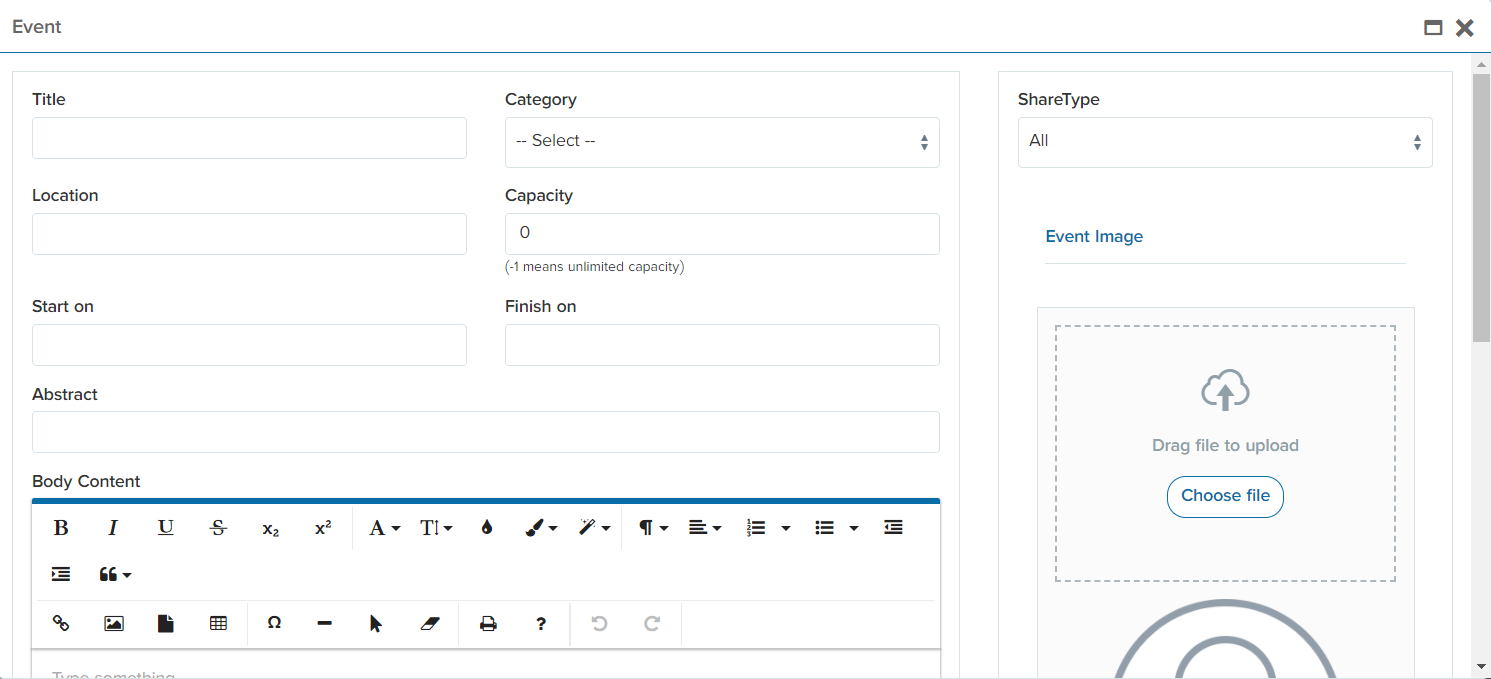
In this tab you are able to define the “Title” of your event. Additionally, selected the categories that you have made earlier. In the “Share Type” field, you are able to choose the participants of the knows and who do you want to share the news with. Nevertheless, define the location of the event in the “Location” tab as well as selecting the capacity of the participants. After that, assign a starting and finishing time of the event. you are required to express an “Abstract” for the event as well as attaching an image. In “Body Content” tab, you are able to write the details of the content of the event. After hitting the “submit” button a new record will be added to the “Event List”. You are able to see the list of attendees of the event in the button as shown below.
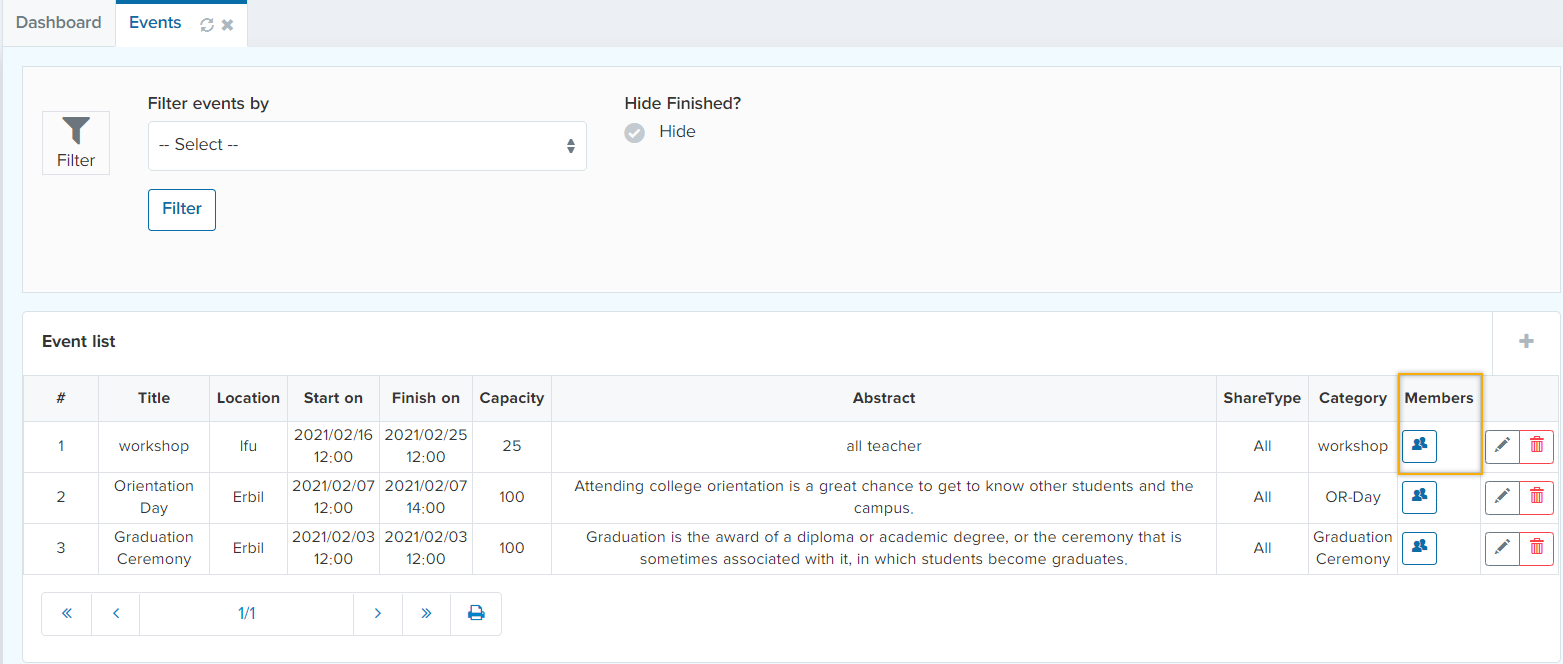
Or you are able to see the list of the members as a report in “Report” tab.
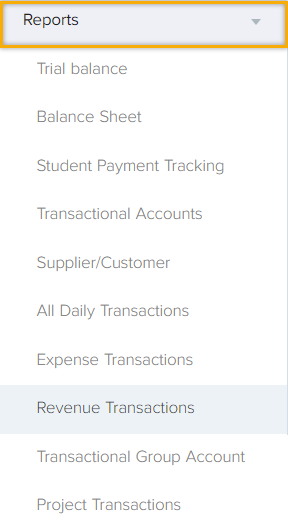
Reportsback to top
CMS -> Reports
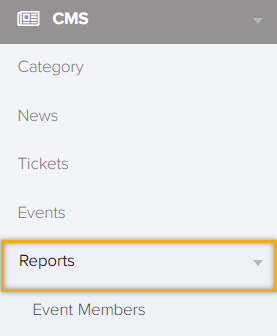
Event Members
You are able to see the event member report when you click on the “Event Members” can be filtered category wise and event wise the next tab will be seen as below.
